
Live stream
Live stream puts your service in your app and on your website, with live chat. With Culminate Live, you stream from your encoder once, and we can send it on to YouTube, Facebook, and more at the same time.
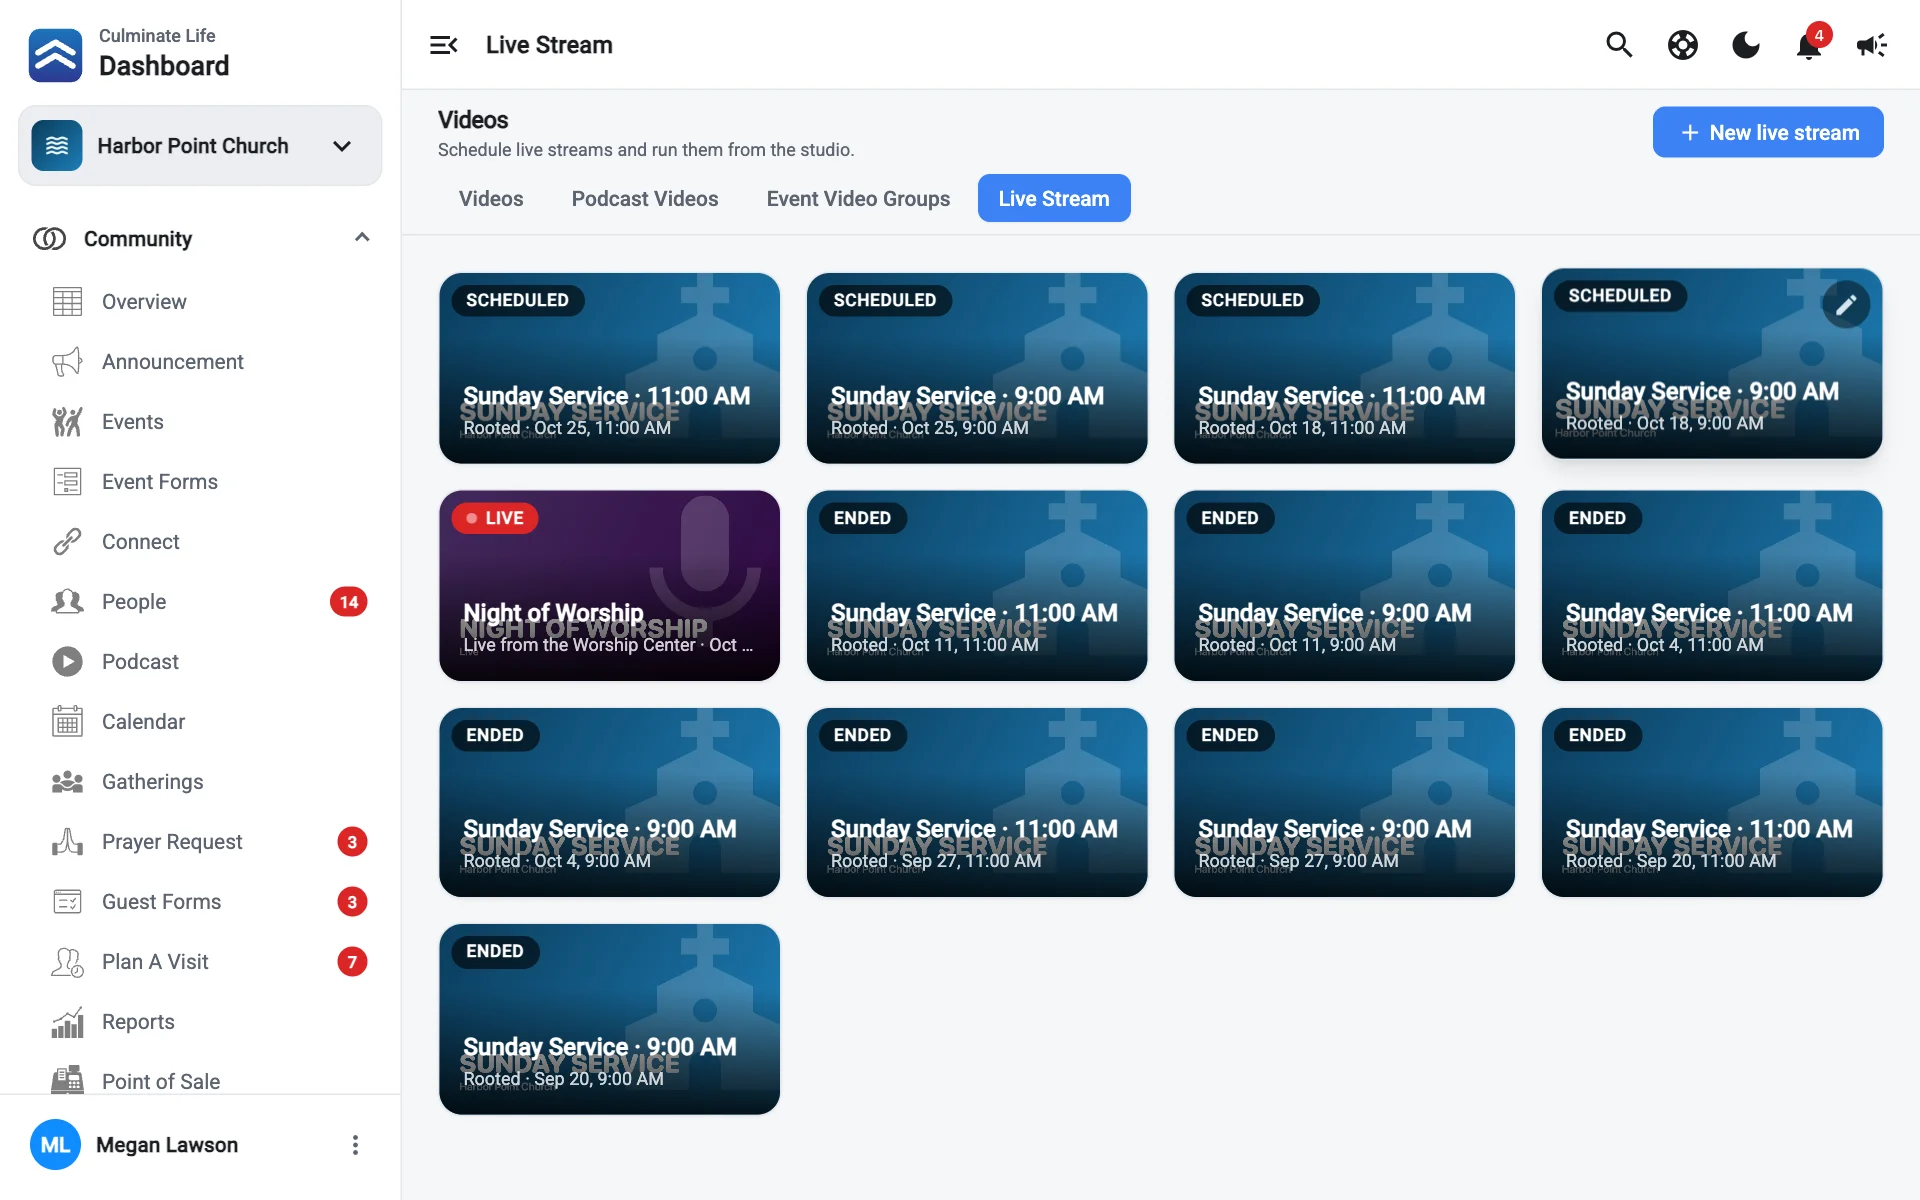
Open Organization → Videos and select the Live Stream tab.
Set up your encoder (once)
- Select Encoder settings.
- Copy the Server and Stream key into your encoder (OBS, vMix, Blackmagic ATEM, or any RTMP encoder). They’re the same for every stream.
- Most Blackmagic devices need the RTMP server instead (it isn’t encrypted).
- For an ATEM, select Download settings file, then paste the stream key in ATEM Software Control.
- Use the Recommended settings:
| Setting | Value |
|---|---|
| Video | H.264, 1080p at 30 fps |
| Bitrate | 4–6 Mbps (up to 9 Mbps at 60 fps) |
| Keyframe interval | 2 seconds |
| Audio | AAC, 128 kbps, 48 kHz |
Your upload speed should be at least twice the video bitrate.
Add restream destinations (optional)
Select Destinations to send your stream to other places at the same time.
- YouTube: connect your channel in Integrations. Each stream is scheduled on your channel and goes live with it.
- Facebook: connect your Page in Integrations. Streams go live on your Page, and Facebook comments show in the studio.
- Add with a stream key: for anywhere else, like Twitch. Enter a Name, Server, and Stream key. You create and manage the event on that platform.
Turn on Use on new streams for destinations you always want.
Test your stream
Select Test stream, start streaming from your encoder, and check the private preview. You can also test your destinations, but stream-key destinations get your real video, and many go public as soon as video arrives. The test stops on its own after 15 minutes and isn’t recorded.
Schedule a live stream
Select New live stream
Fill in the details
Title, Speaker, Scheduled start, Thumbnail, Details, and an optional Podcast episode.
Choose the stream source
- Culminate Live: stream from your encoder (recommended).
- Third-party URL: the playback URL from another streaming provider.
- From YouTube Live Studio or From Facebook Live: show a stream you run there.
Choose where else it goes
Under Also stream to, pick destinations. Set the YouTube visibility (Public, Unlisted, or Private).
Choose what happens to the recording
Don’t keep a recording, Save to Videos, or Save as the podcast episode’s video.
Set the options
- Start automatically: goes live at the scheduled start once your encoder is sending video.
- Live chat: viewers can chat while you’re live.
- DVR playback: viewers can pause and rewind.
Select Create
Go live
Select the stream to open the Studio.
- Start streaming from your encoder. The studio shows Receiving video and a Preview.
- Select Go live (or let it start automatically).
- Watch Live chat and send messages. Who is watching shows signed-in viewers.
- Select Stop stream when you’re done.
The studio’s Analytics tab shows viewers, peak, watch time, and chat afterwards.
YouTube broadcasts
If you’d rather stream straight to YouTube, use the YouTube option on this tab. Select New YouTube broadcast, set the Title, Scheduled start, Visibility, and Latency, and choose Go live automatically and End automatically. Every YouTube broadcast uses the same server URL and stream key. You can run the broadcast and watch YouTube chat from the dashboard.