
Point of sale items
Point of sale runs your café, bookstore, or merch table. You set up items here, then sell them on the Community Portal app at a register, or let people order ahead in your app.
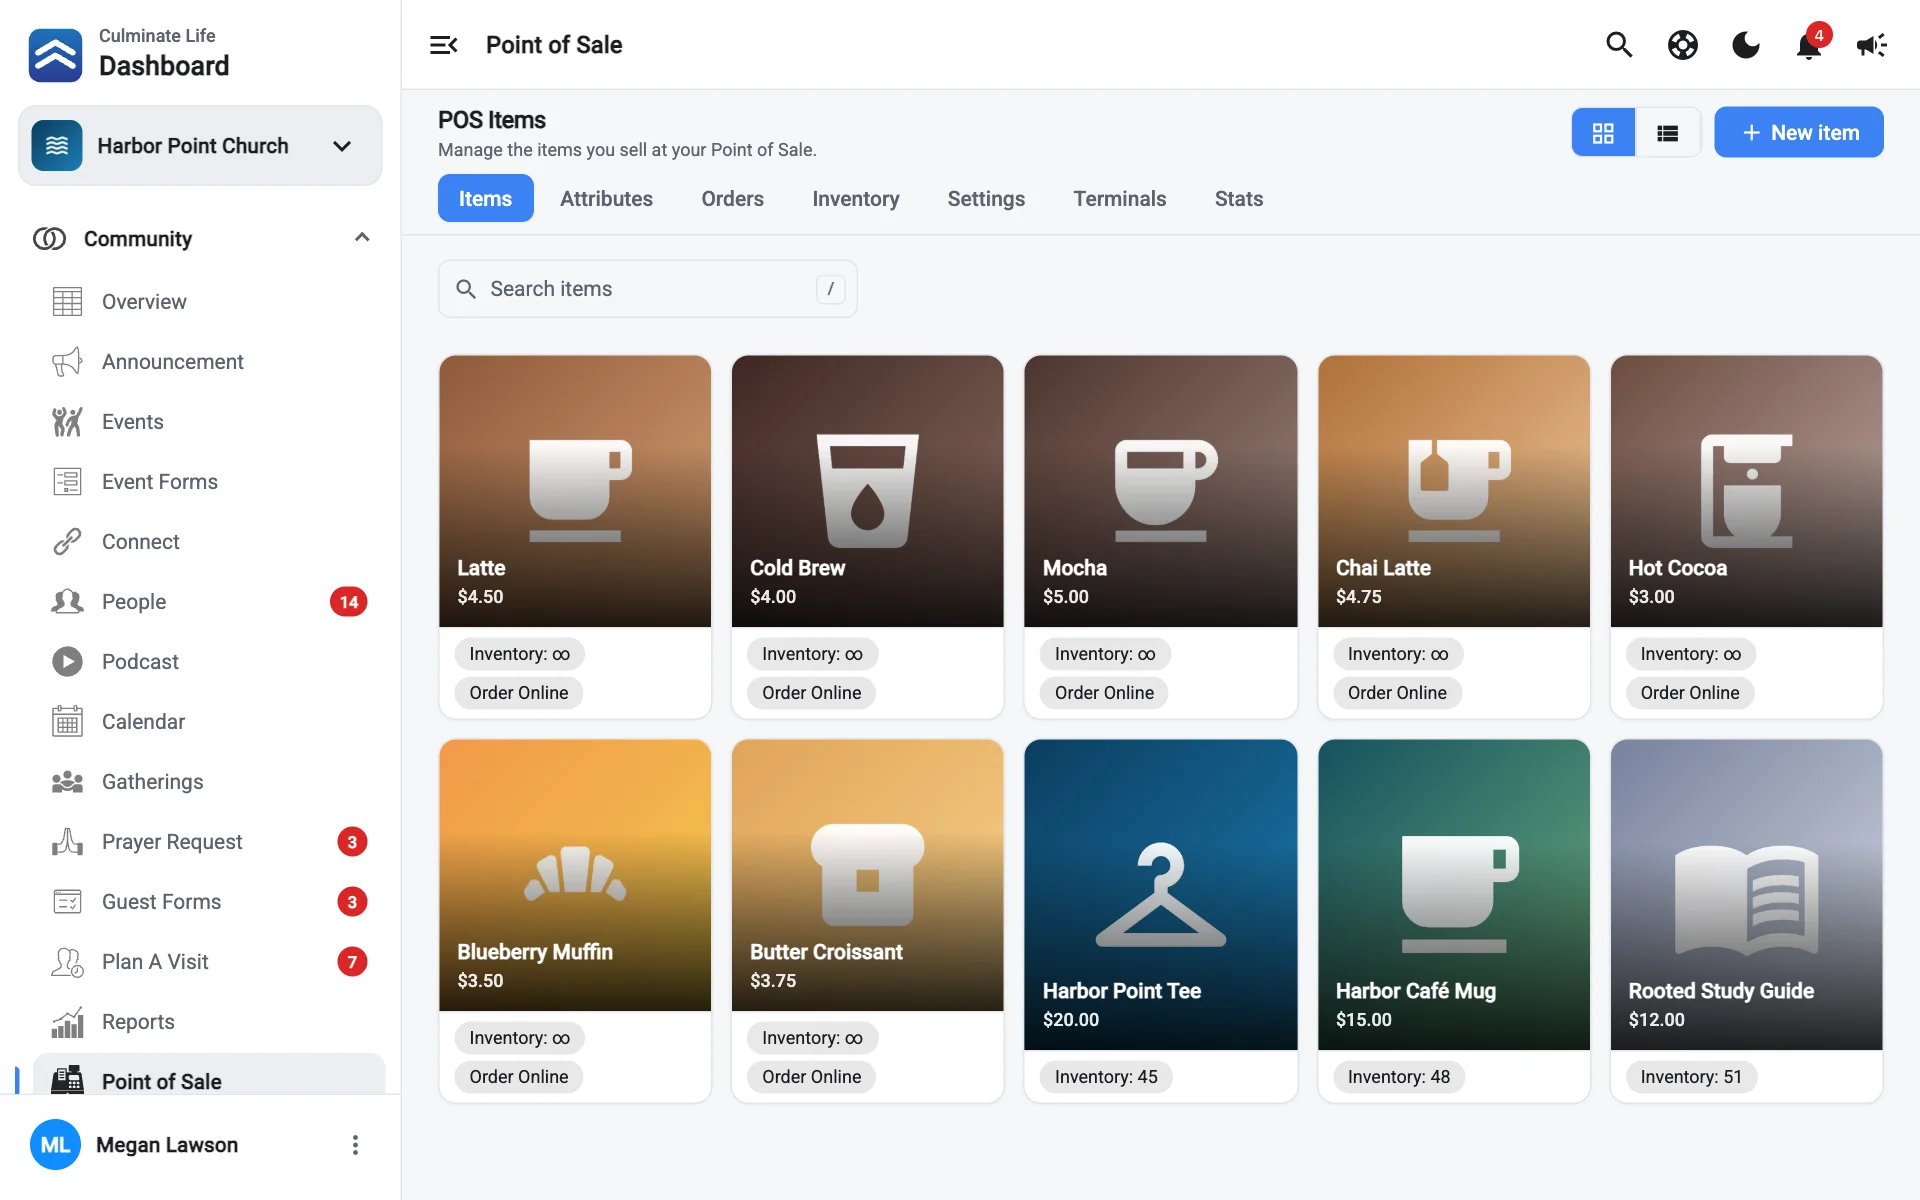
The Point of sale pages
Open Community → Point of Sale. The tabs switch between:
| Tab | What it’s for |
|---|---|
| Items | What you sell. |
| Attributes | Options like milk, flavours, or toppings. See Attributes. |
| Orders | Every sale. See Orders. |
| Inventory | Stock and sales by item. See Inventory. |
| Settings | Stores, online ordering, discount codes, tax, gift cards, and hours. See Settings. |
| Terminals | Card readers. See Terminals. |
| Stats | Sales at a glance. See Stats. |
Items
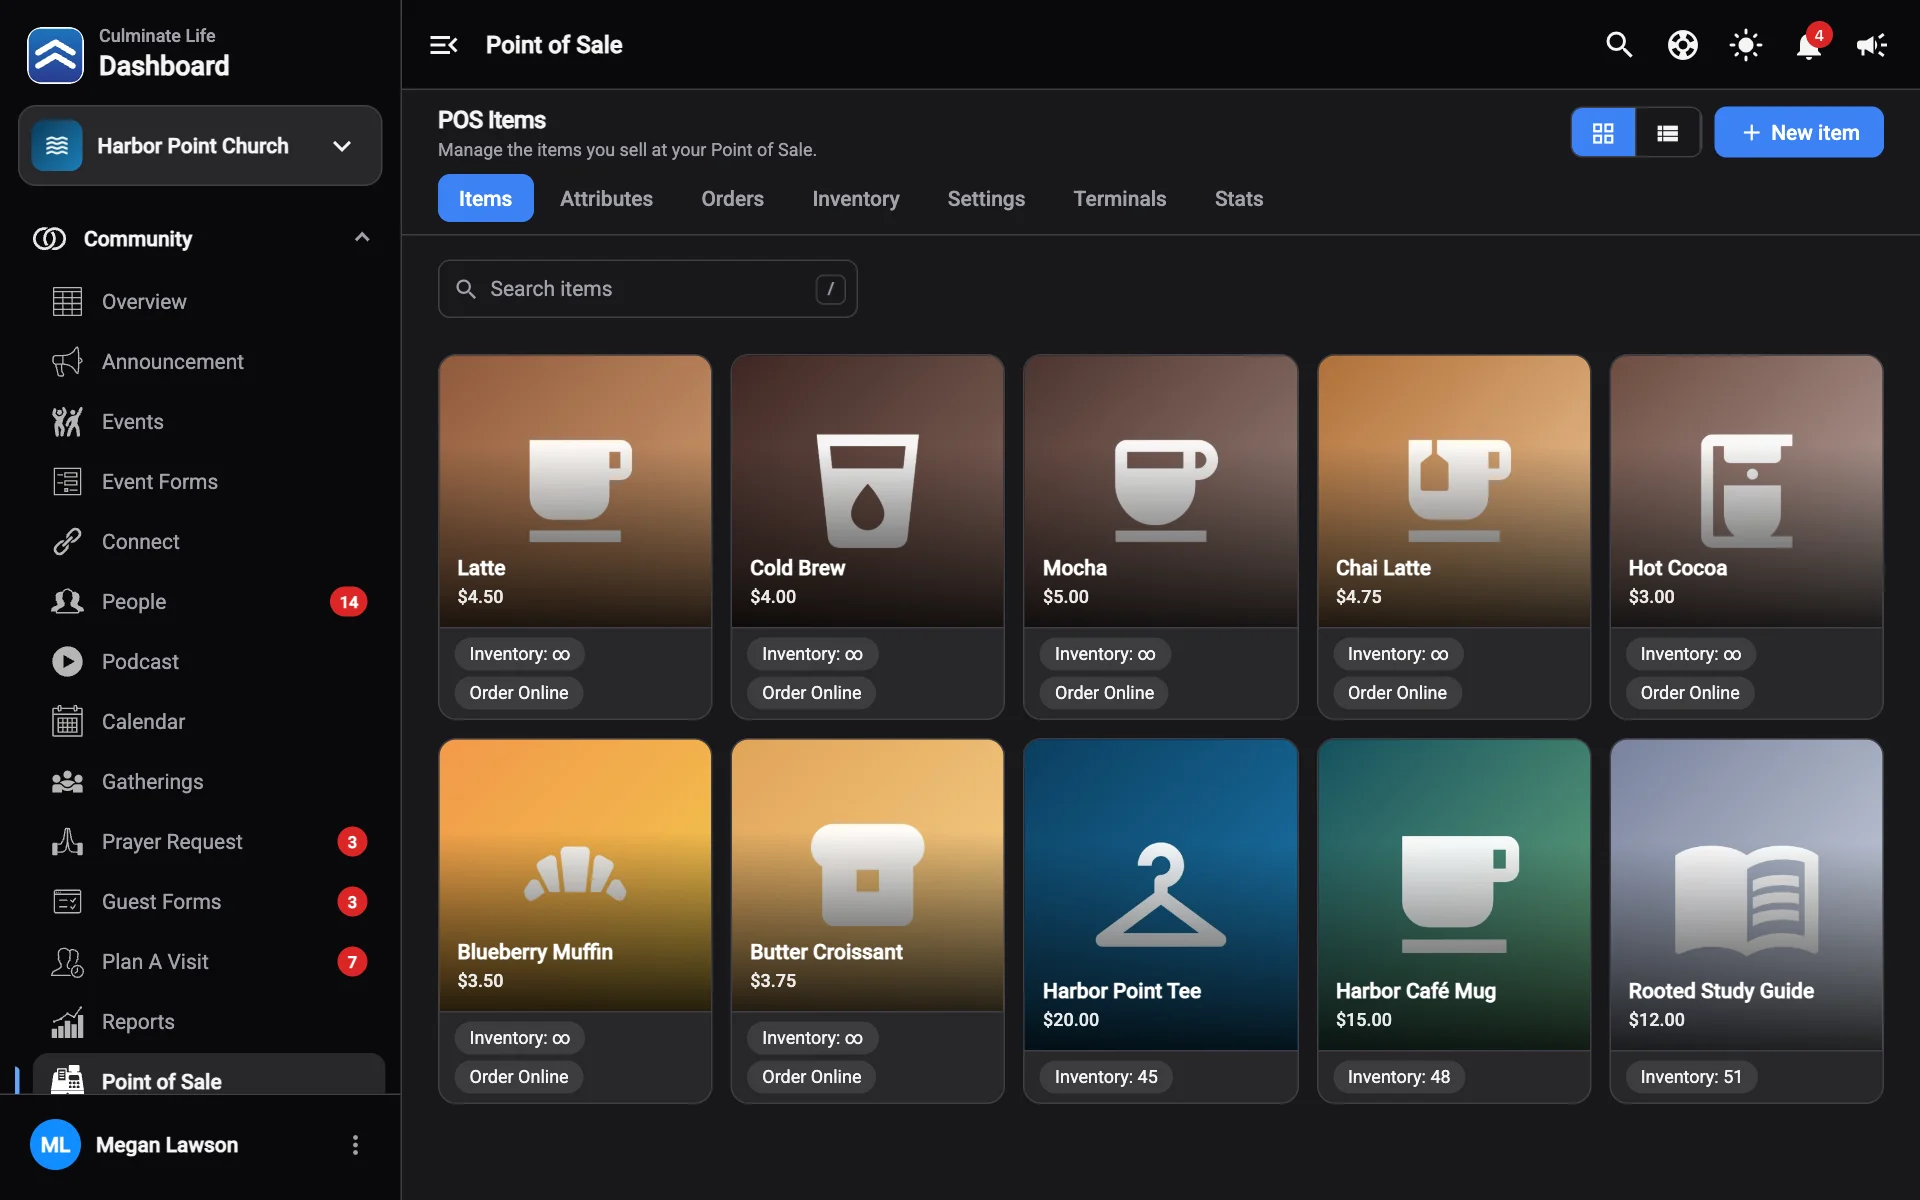
Switch between Grid view and List view. Each item shows its price, inventory, and labels like Sold Out, Unavailable, Order Online, or Tax Deductible. Search items by name, and use an item’s menu to Edit or Delete it.
Create an item
Select New item
Add the basics
- Image: select Add image.
- Title: the item’s name, like “Iced Vanilla Latte”.
- Short Label: a short name for the register, like “IVL”.
- Detail: a description.
- Category and Store.
- Base Amount: the lowest price. Sizes and attributes add to it.
Set inventory
Turn on Has Infinite Inventory for things that don’t run out, like drip coffee. Otherwise enter How much do you have in inventory.
Set availability and tax
- Mark as Sold Out.
- Item is Available: turn off to hide it without deleting it.
- Available for Order Online: lets people order it in the app.
- Is Taxable and Is Tax Deductible (for donations).
Add sizes (optional)
Select Add size for each size, like Small, Medium, and Large. Each size has an Amount increase added to the base amount, plus its own inventory and availability. Turn on Disable Sizes if the item only comes one way.
Add attributes (optional)
Select Add a group to attach an attribute group, like “Milk” or “Syrups”. Choose Multi Selection if people can pick more than one, and mark any option as Preselected.