
Notifications
There are two kinds of notifications in the dashboard: the ones you receive (in the bell), and the ones you send to your people (push notifications, text messages, and emails).
Your notifications
Select the bell in the top bar, or press ⌘Ctrl J, to open the notifications drawer. A number on the bell shows how many are unread.
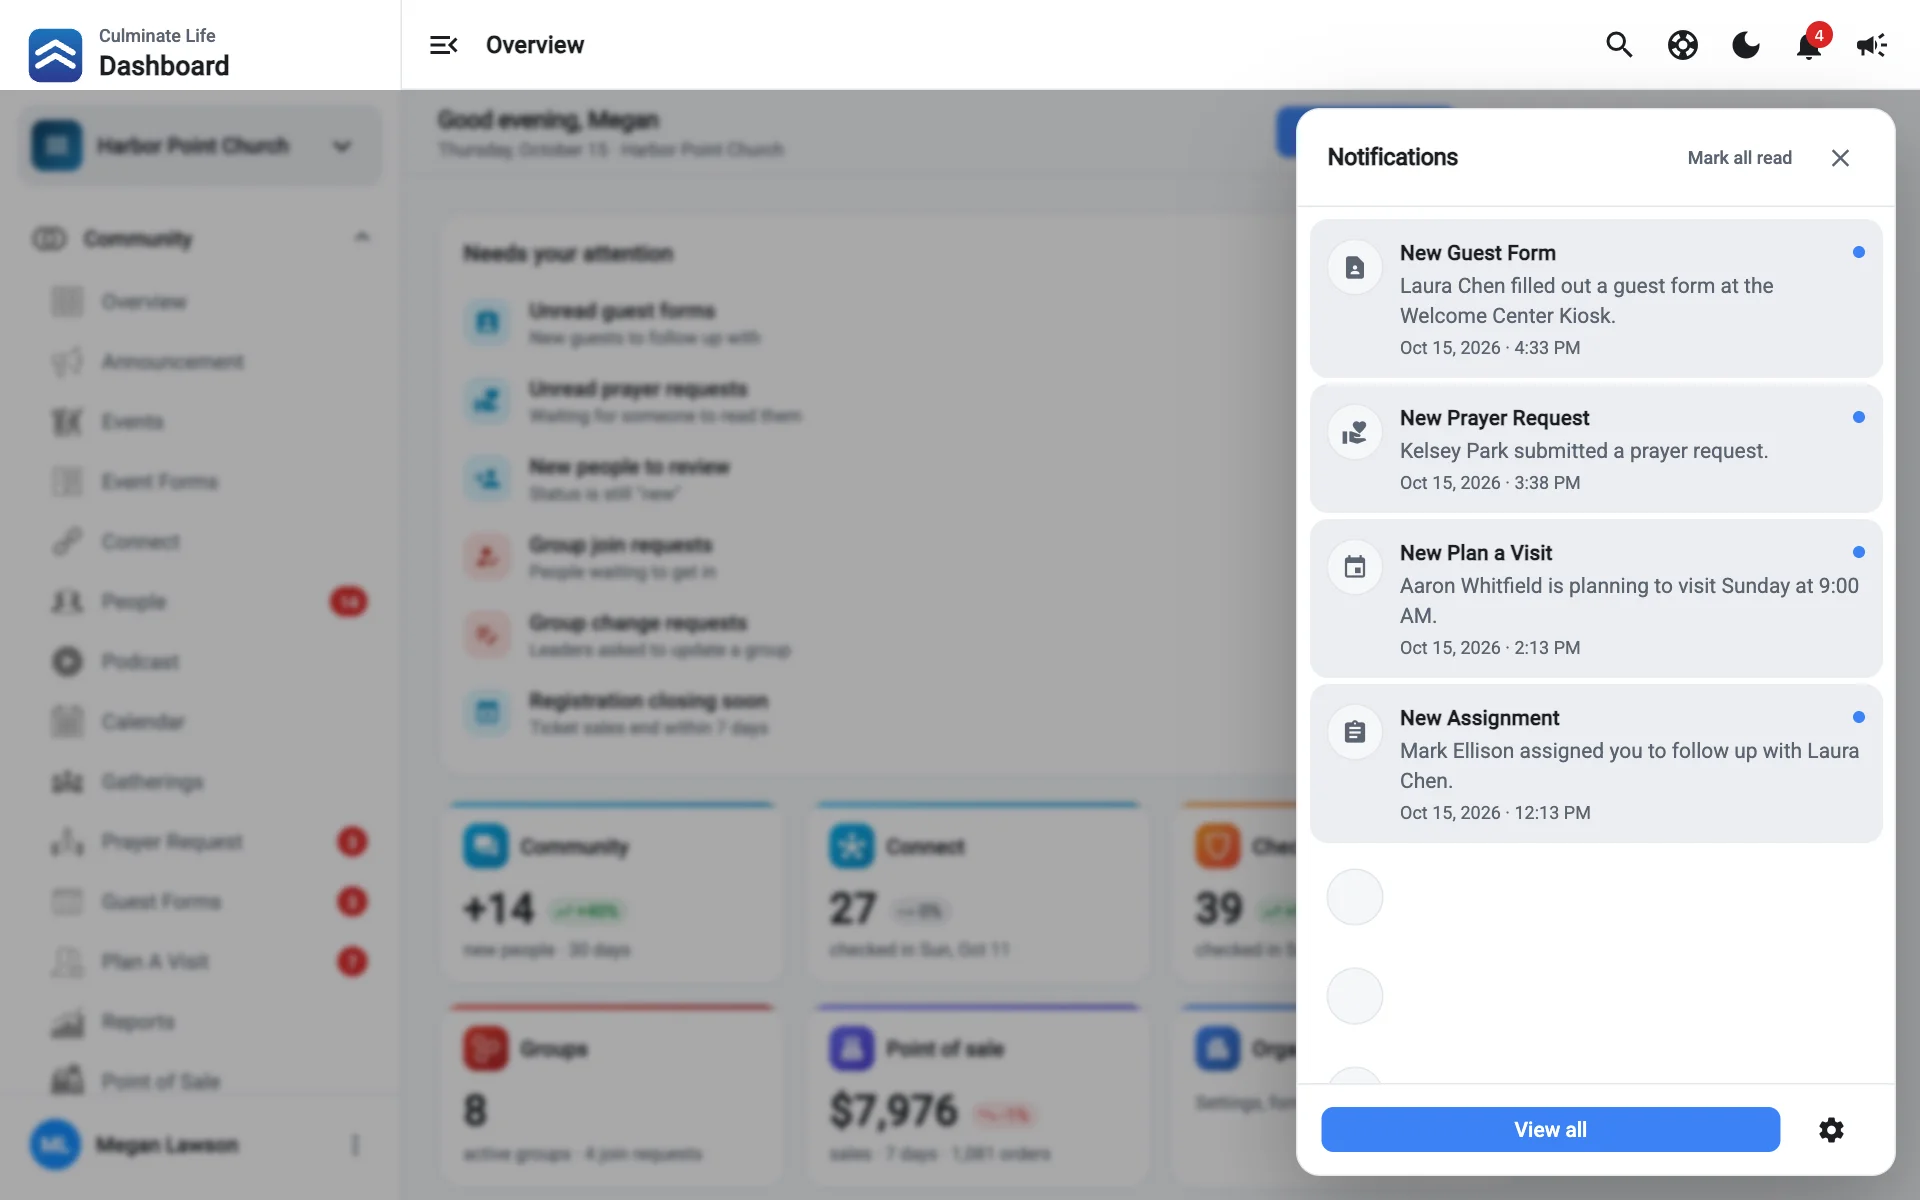
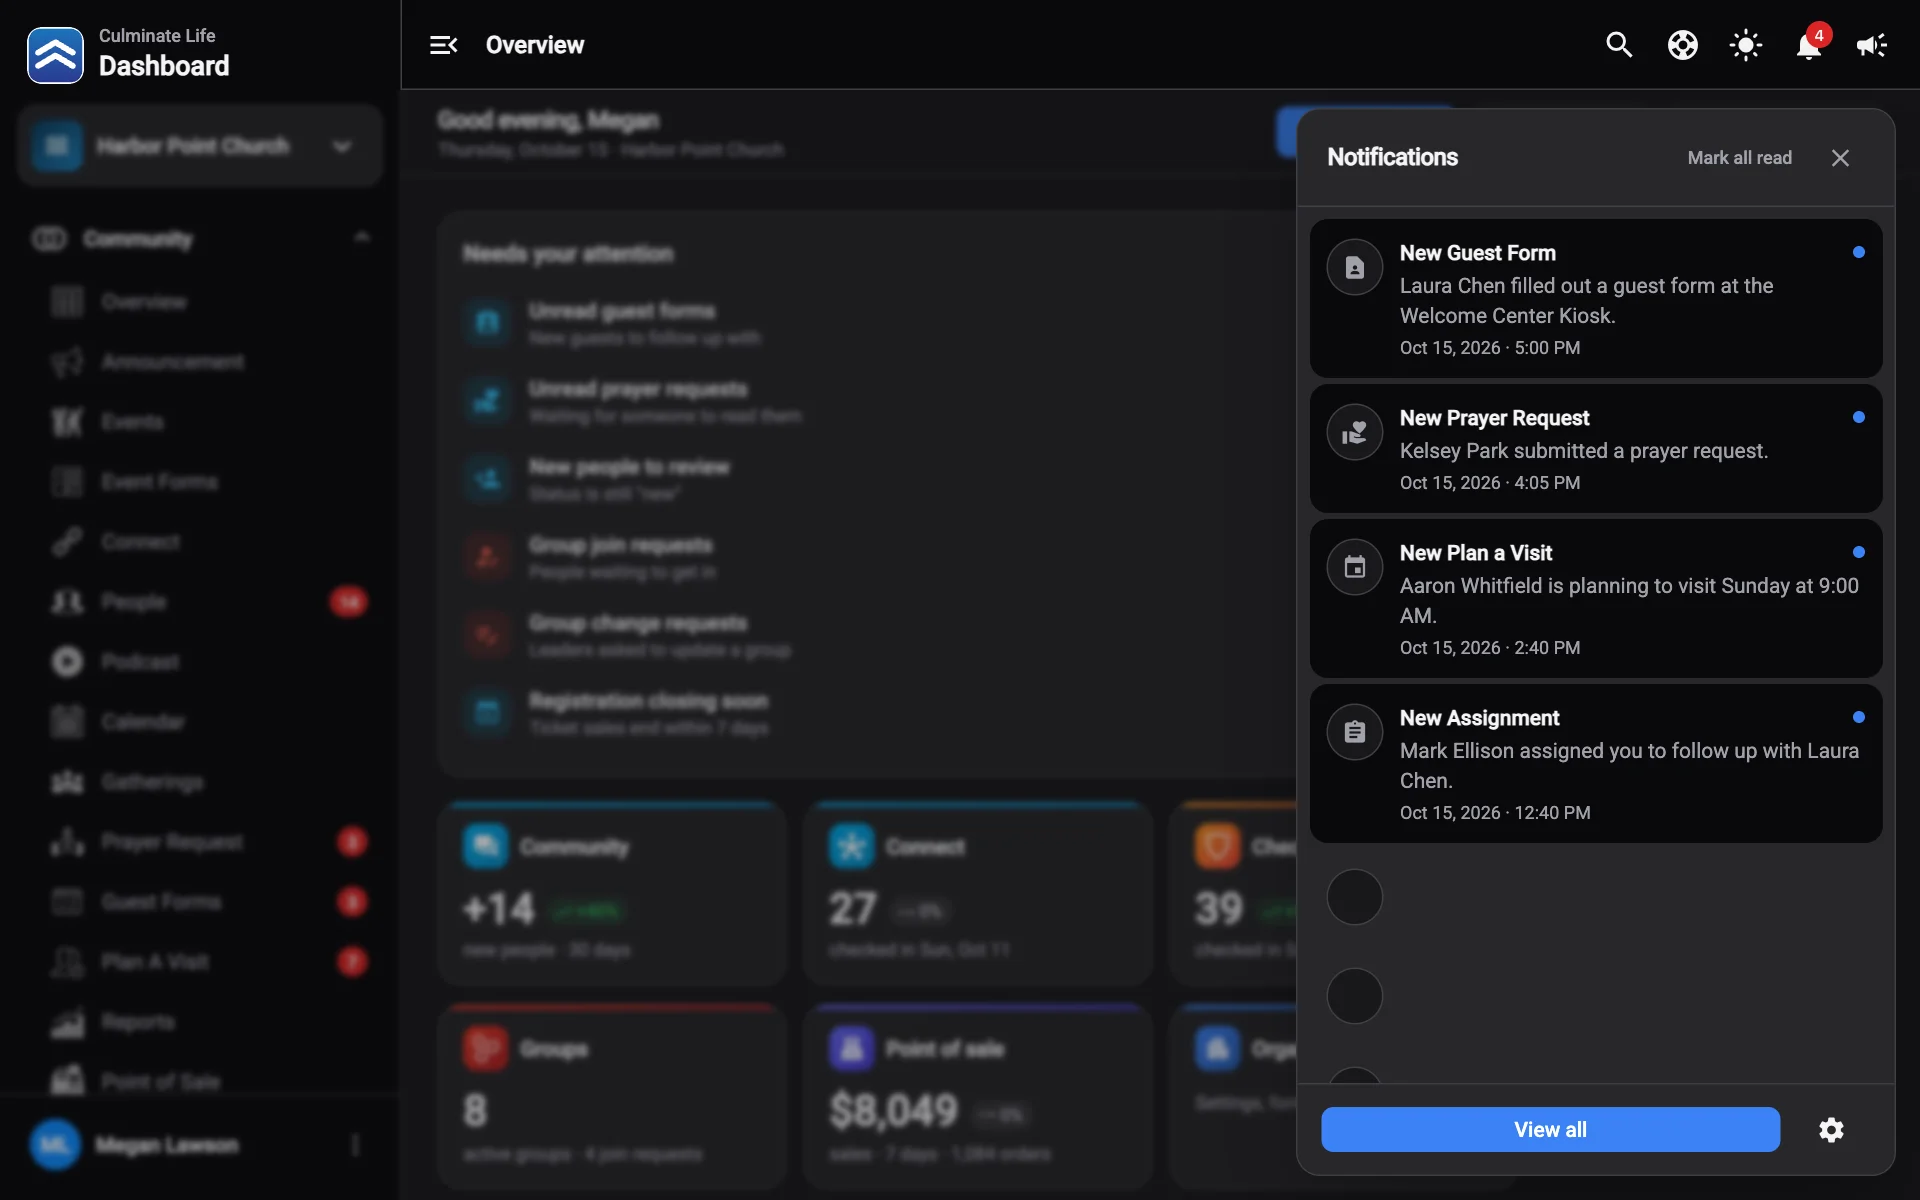
- Switch between Unread and Notifications (everything).
- Select a notification to go to what it’s about.
- Mark all read clears the count.
- View all opens the full notifications page.
Choose what you’re notified about
Select Notification settings in the drawer, or Notification settings from the menu under your name. Notifications are grouped into categories, like Workflows & docs and Facilities. For each type you can turn on push notifications and email.
Some notifications always show in the bell, like Workflows items assigned to you, @mentions, and room bookings you need to approve. You can still choose whether they also come by push or email.
Send a notification or warning
Select the megaphone in the top bar, or press ⌘Ctrl ⇧ Y. You need the Send push notifications permission to send notifications and Send warnings to post a warning.
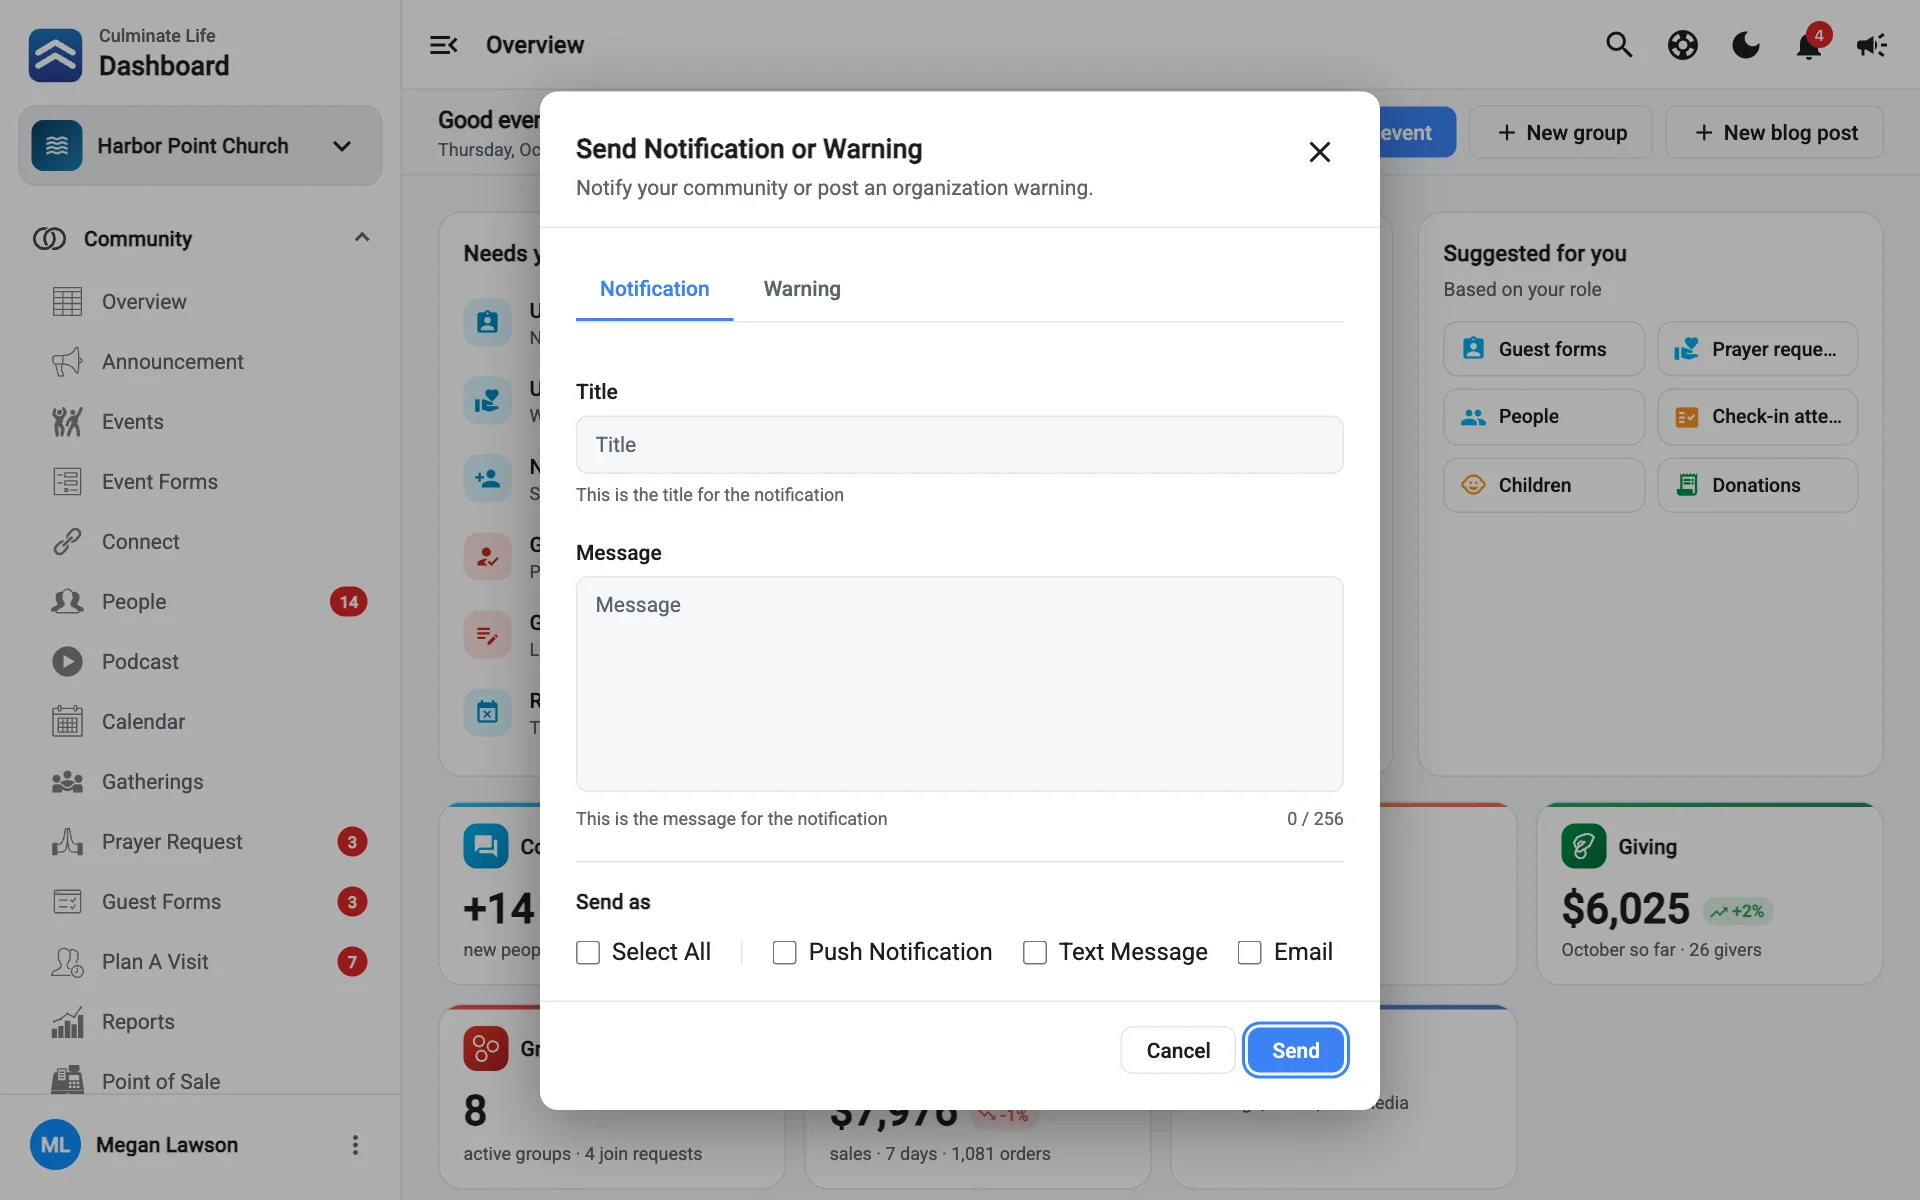
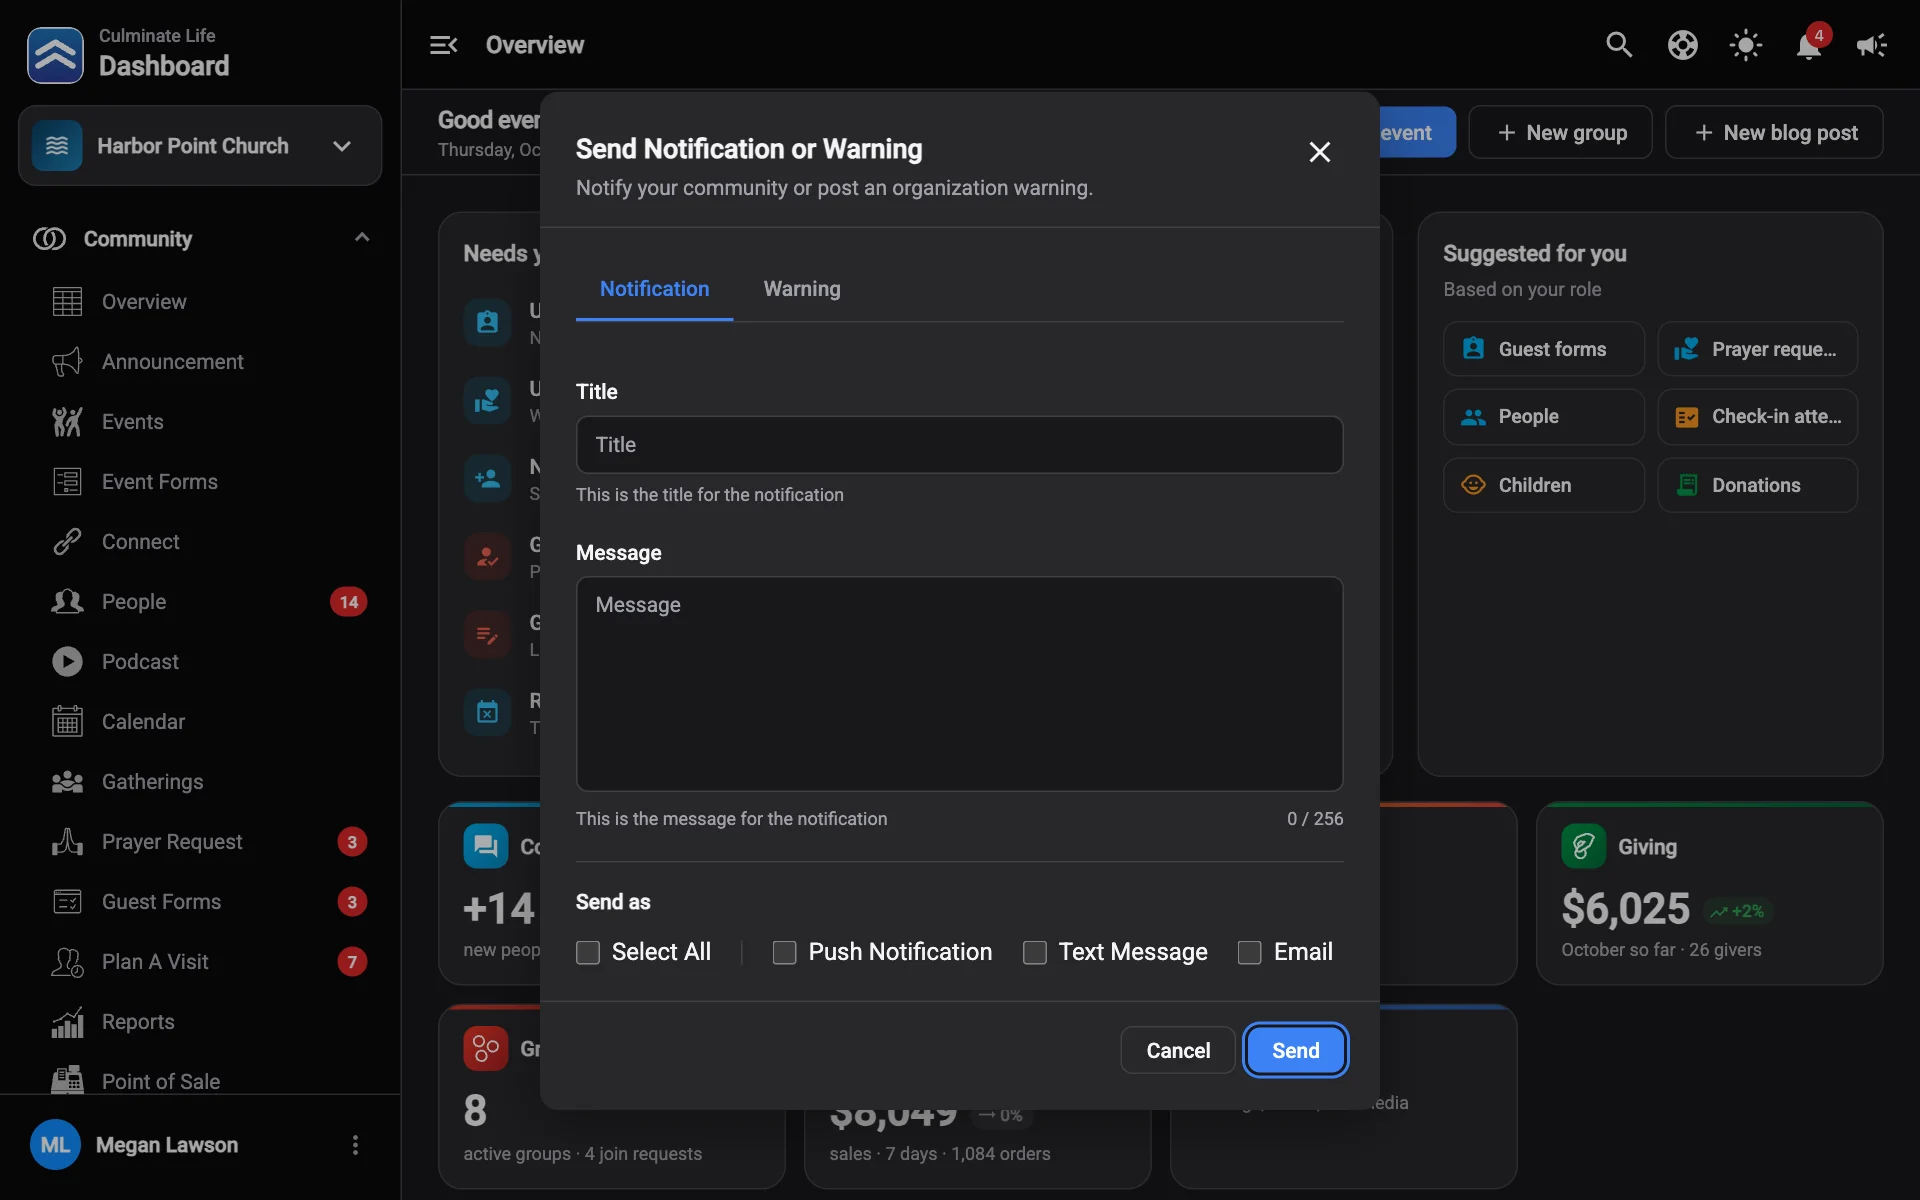
Send a notification to everyone
Stay on the Notification tab
Write a title and message
The message can be up to 256 characters. Keep it short: it shows on lock screens.
Choose how to send it
Under Send as, check Push Notification, Text Message, Email, or Select All.
If you choose Email, fill in Email (the address it’s sent from) and Email name (the name people see in their inbox).
Select Send
Post a warning in the app
A warning is a coloured banner at the top of your app, for things like weather closings or a change of location. It stays up until the date you choose.
Switch to the Warning tab
If a warning is already up, you’ll see it under Current warning. Use its ⋮ menu to Update or Remove it.
Fill in the warning
- Title and Message (up to 256 characters).
- Color: the banner’s background colour.
- Date: when the warning should come down.
- Button title and Button link (optional): adds a button, like “Watch Live”. Links to your website’s live page, events, groups, ministries, or blog posts open those screens in the app. Other links open in a browser.
Choose how to send it
Under Send as, you can also send the warning as a push notification, text, or email.
Select Send
Sending from a list
When you send from a page like Events or Connect, the dialog has a few more options:
- Notification type: what the notification is about, so it opens the right screen in the app.
- Link to a file: attach one of your files.
- Send as a leader: send it under a leader’s name and photo from Leadership, or choose No, send as organization.
- Email template: pick one of your email templates for the email version.
See what was sent
Organization → Settings → Notifications shows recent sends with how many were delivered and opened. See Notification settings.