Create an Event
Learn how to craft a captivating event for your organization, utilizing all the features we have to offer.
Prerequisites
Before diving in, ensure you have the following in place if needed:
- Ticket Purchase: If attendees need to purchase a ticket for your event, you must Create a Payment for the Event beforehand.
- Registration: If attendees need to fill out a registration form, ensure you Create a Form first.
Step-by-step Guide
- Navigate to the Event Section: Head to the dashboard and find the event section under the Community group tab on the left side menu.
- Editing Existing Events: If you already have some events, click on any of them to edit. To further understand event modifications, read more, Update an Event.
- Initiate Event Creation:
- Click on the Add (
+) button located at the top right corner. - This action prompts the New Event View.
- From here you can start creating your event or start from a previously saved draft or copy a previous event.
- Click on the Add (
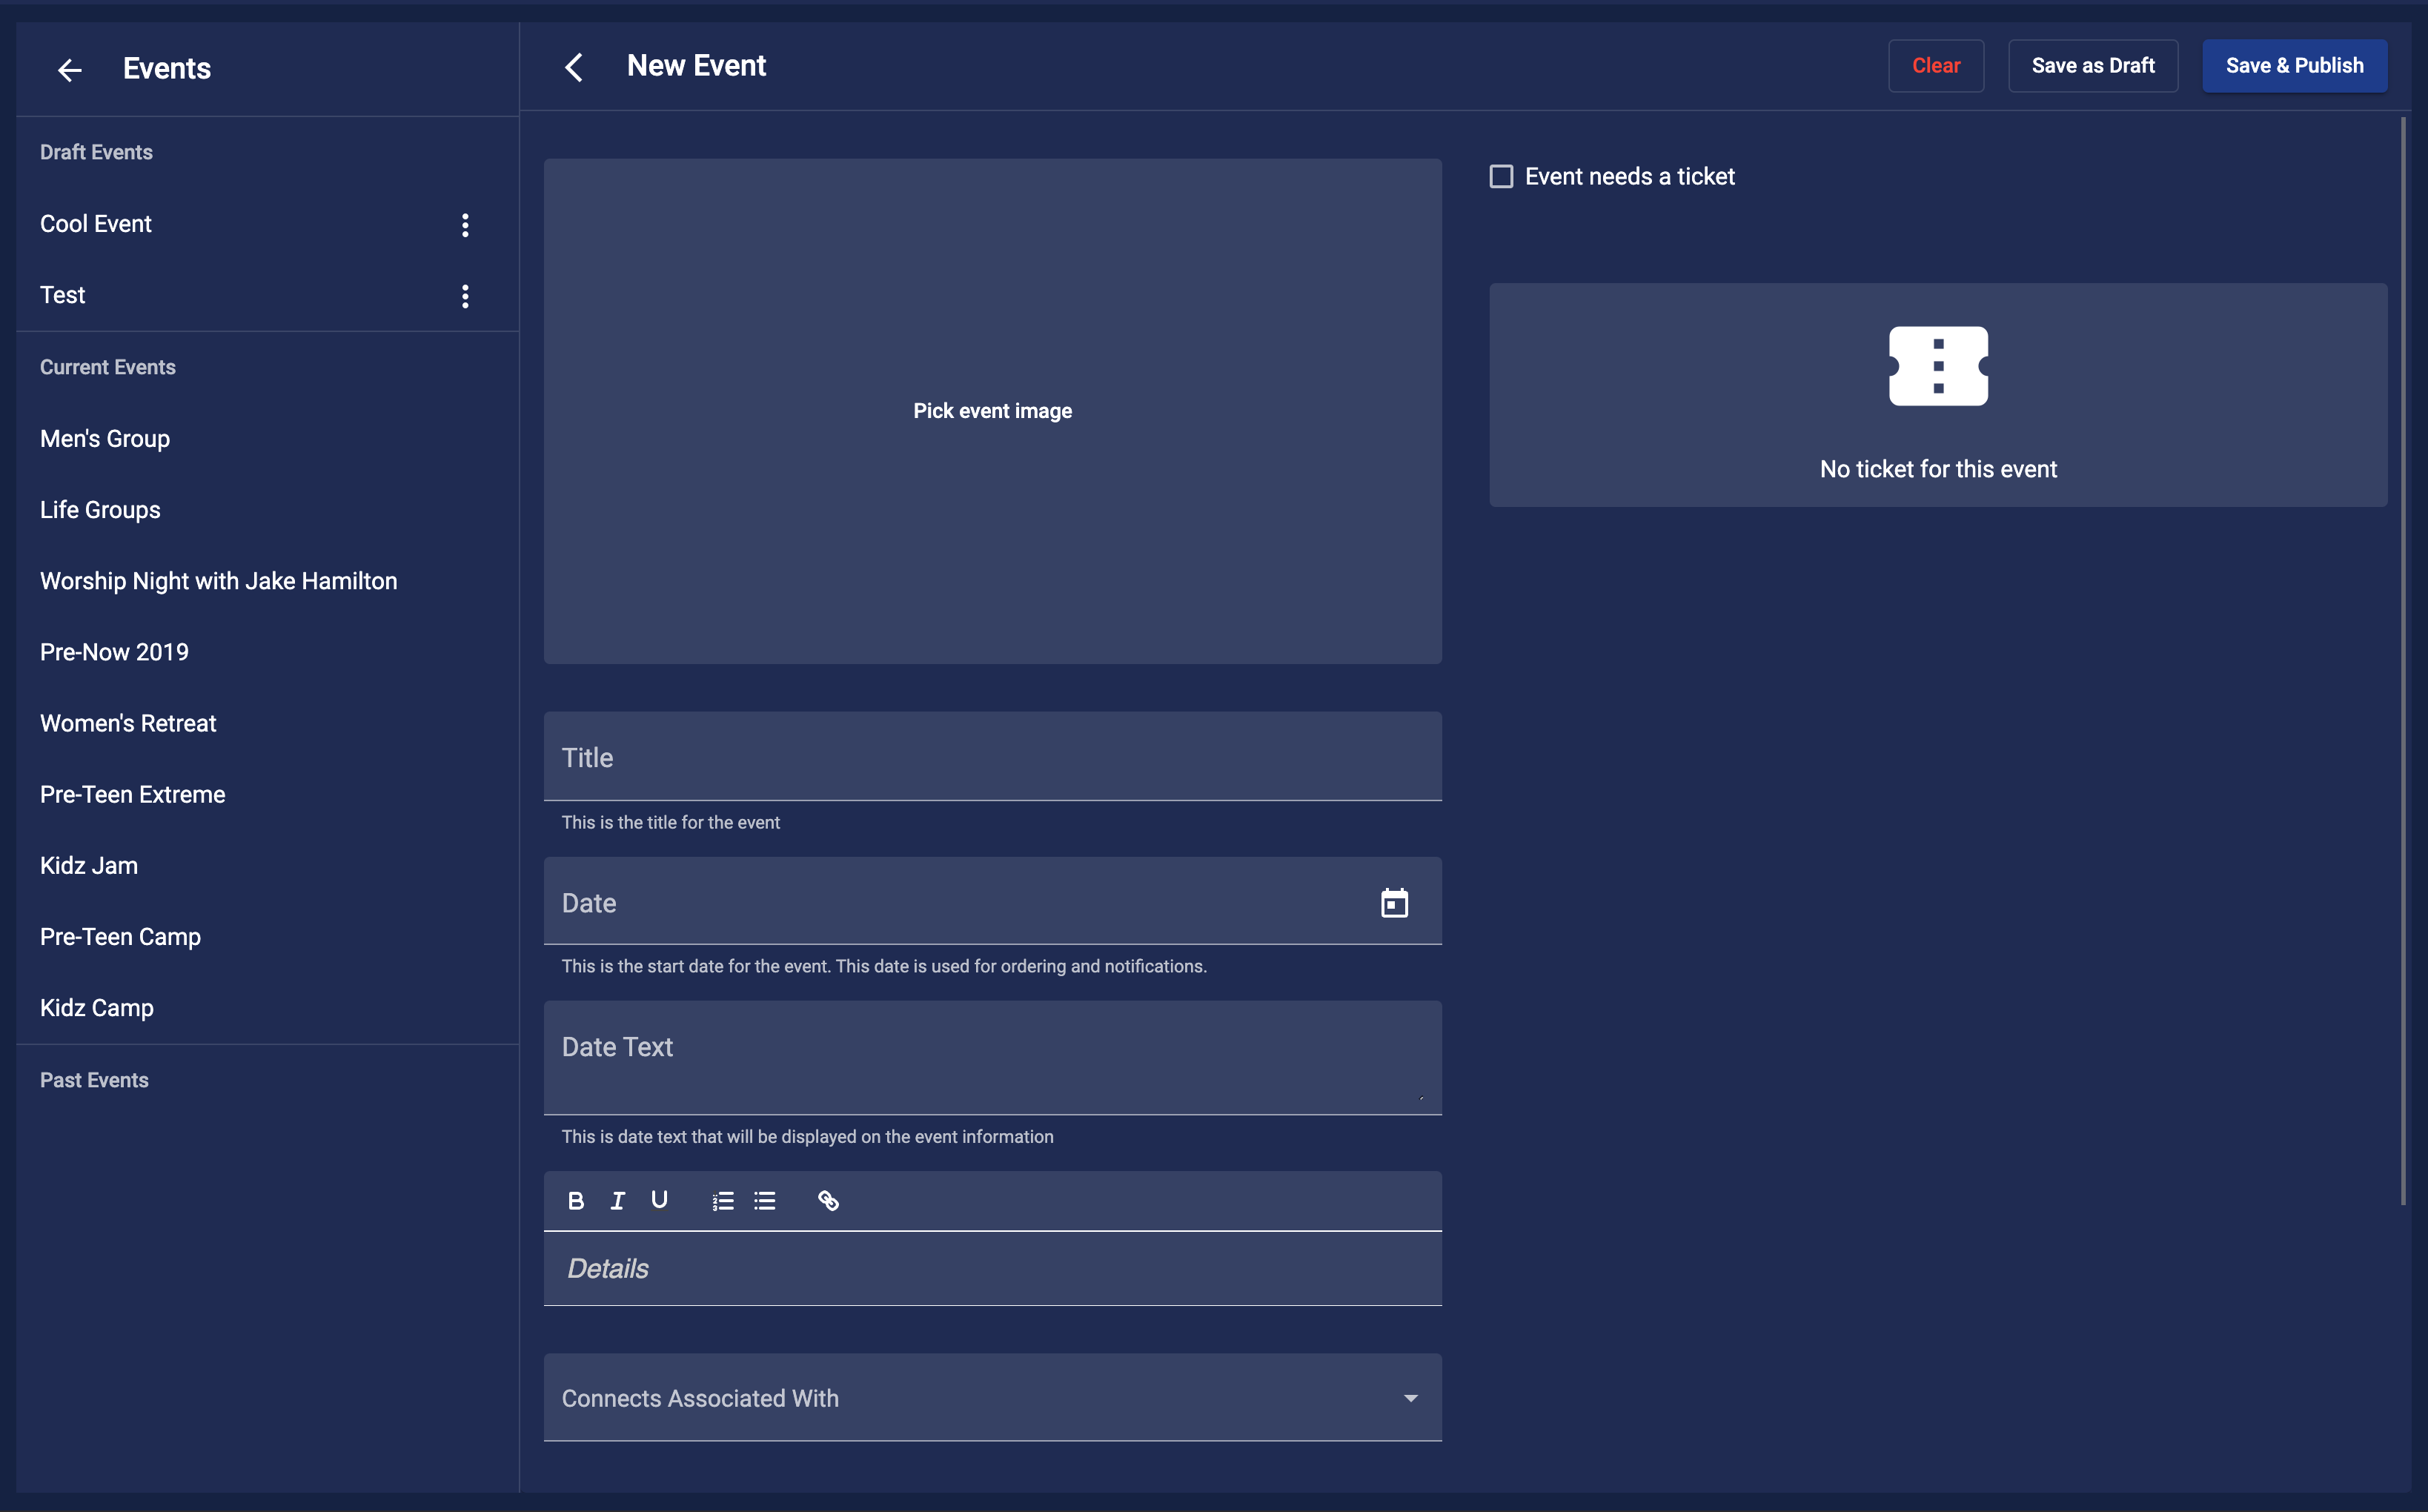
Event Details
- Image: Upload an event image (
16:9aspect ratio) that's no larger than3MB. - Title & Date: Provide the event's name and starting date. If it's a multi-day event, ensure the date signifies the commencement.
- Date Text: This field displays the date to attendees.
- Event Description: Use the detail field to describe the event. Styling, hyperlinks, and even mail or phone links can be included.
Tip: Link formats
When adding links to your event description, ensure you use the correct format. The table below lists the supported link types.
Link Formats
| Type | Example |
|---|---|
| Website | https://website.com |
| mailto:[email protected] | |
| Phone | tel:5555555555 |
Additional Event Information
- Sub-pops Association: Choose relevant connect sub-pops for your event.
- Files: Attach any essential documents attendees might need.
- Calendar Entries: Click on the Add (
+) button beside Calendar to insert calendar details for the event.
Ticket
If your event needs a ticket for entry, you can set up the ticket details here. Check the "Event needs a ticket" to start entering your ticket details. You can learn more about setting up tickets here, Set up Ticket.
Finalize
- Once satisfied with your input
- Click
Save & Publishthe event. Or, click "Save as Draft" for future edits. Later, you can return to the draft by clicking the Add (+) button and selecting the event from the left column. - If you do not like what you have entered just click the "
Clear" button to start over.
Notifications
After you have saved the event Culminate Life will send out notifications to all people who have interacted with your organization. This will only happen if you have turned on notification for events in the organization notification section. You can learn more about notification, Set up Automated Notifications.