
Sell tickets
Event Tickets lets you sell tickets in person, at a welcome desk or at the door. It works like Get a ticket for someone in the dashboard: you choose the person, fill in the tickets, and take the payment in one go. The tickets are created as soon as the payment goes through.
Staff or guests
Each device can be set up for your team or for people to use themselves. An admin chooses in Settings, under Event Tickets → Used By:
| Mode | Who uses it | What’s different |
|---|---|---|
| Admin | Your team | Staff get tickets for people. Discounts are chosen from a list (or typed in). Staff can sell past the event’s capacity. |
| Guest-Facing | People getting their own tickets | Discounts are applied with a code. When people search for themselves, emails and phone numbers are partly hidden. Nobody can go past the event’s capacity. |
It’s set for this device only, and each organization on the device has its own setting. New devices start in Admin.
Choose the event
Select Event Tickets on the home screen, then pick the event from Today, Upcoming, or Past. You can search by name. It’s the same list as Event Check-in.
Get Tickets
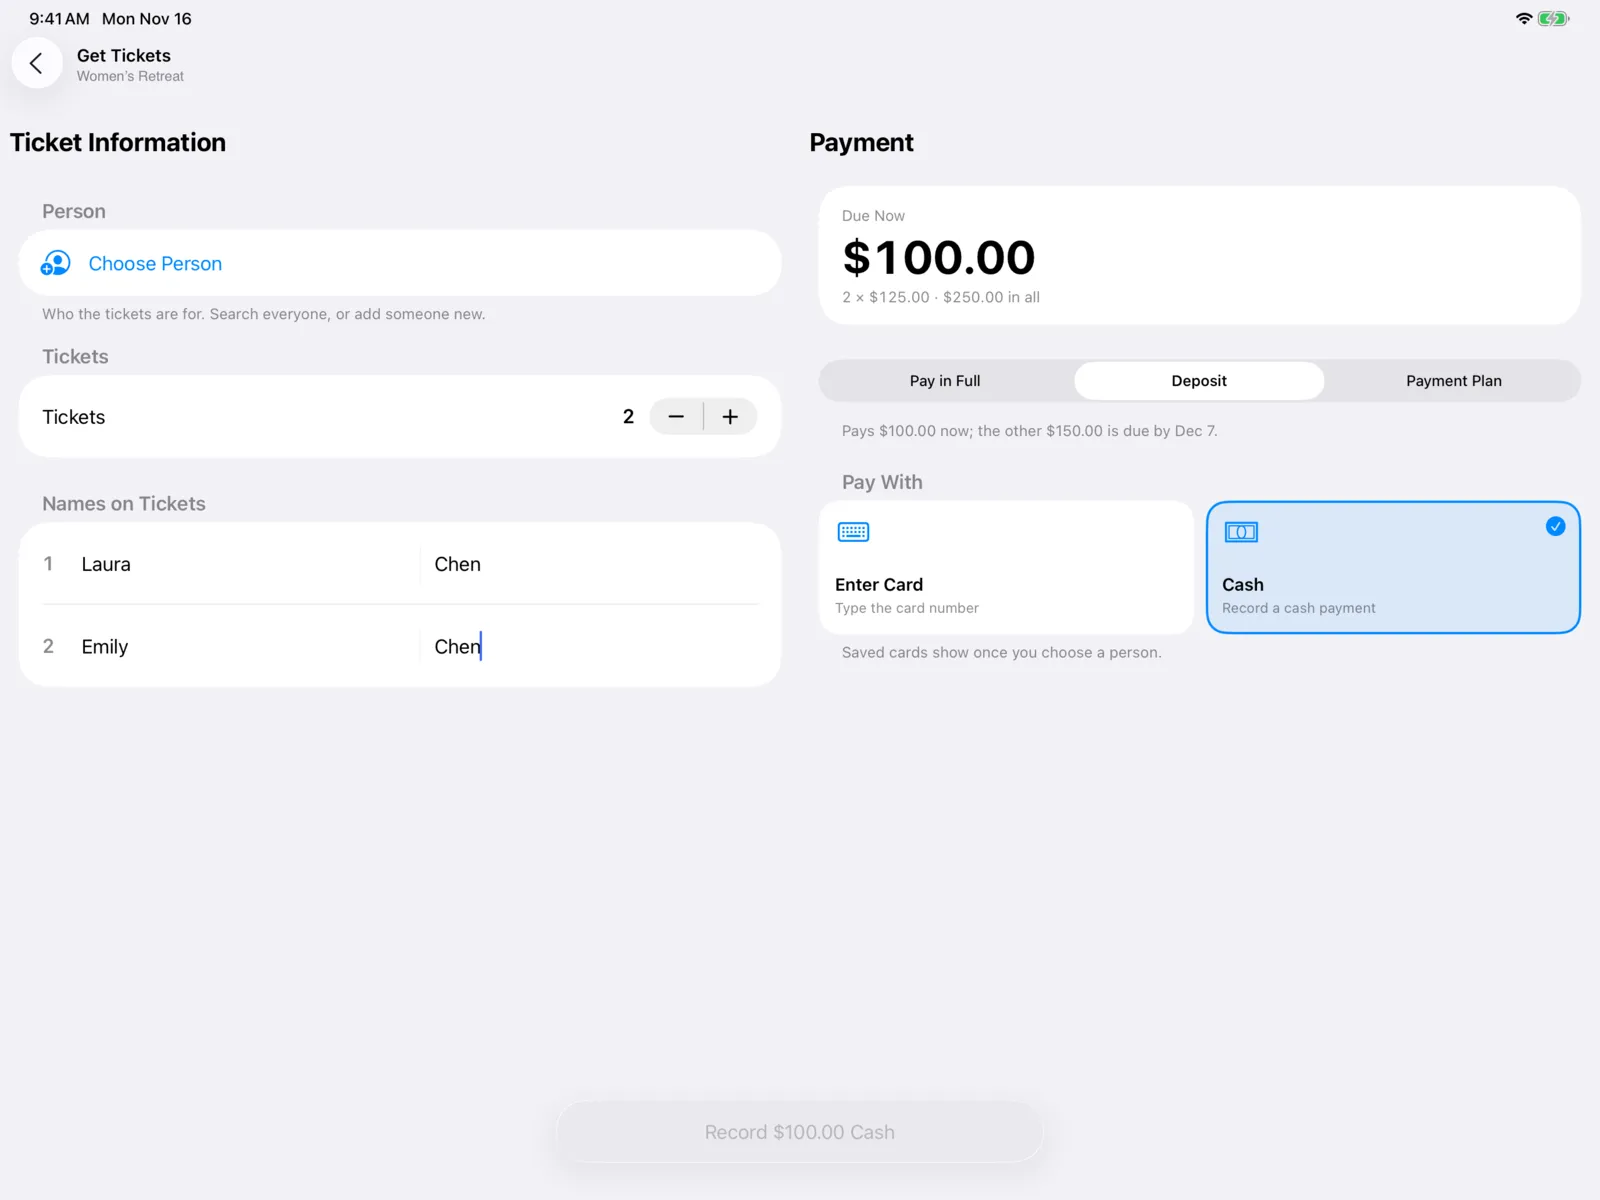
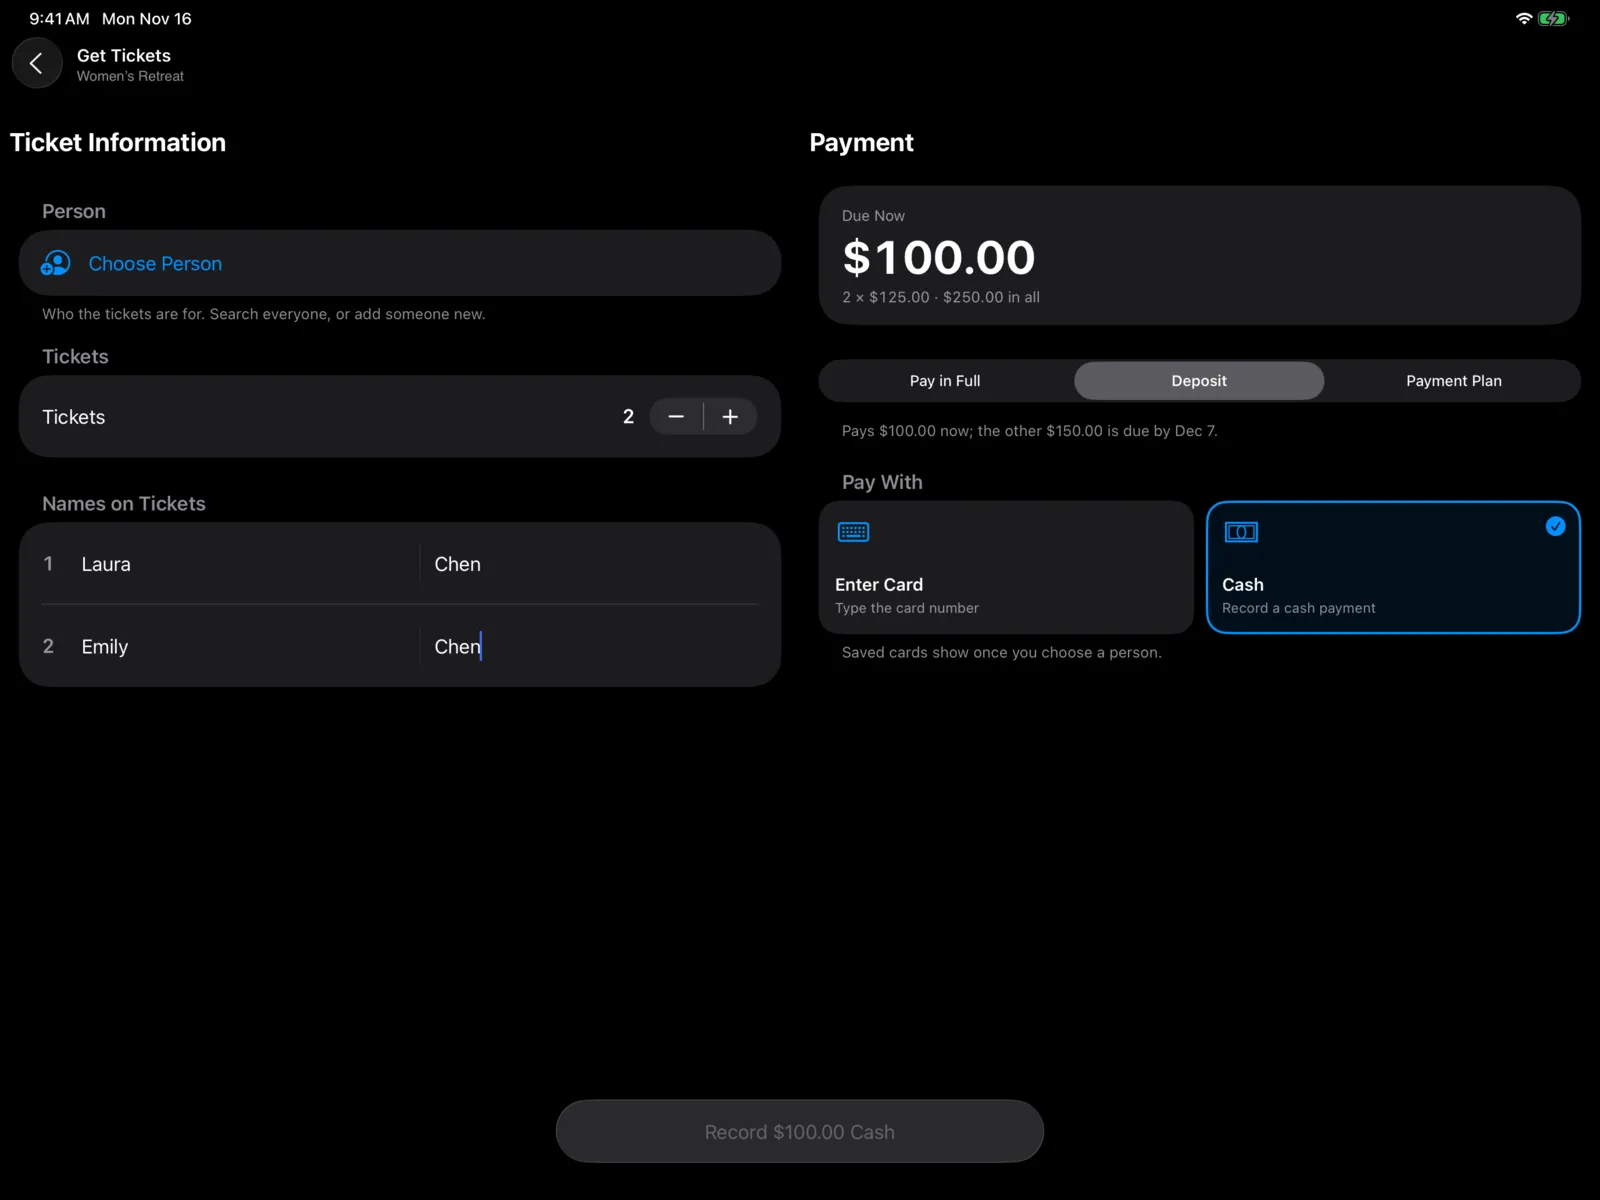
On iPad, Ticket Information and Payment sit side by side. On iPhone, switch between Tickets and Payment at the top, or select Continue to Payment at the bottom when the tickets are ready. Free events only have the ticket part.
Choose the person
Select Choose Person and search by name, email, or phone. If they’re new, select Add New Person and enter their first and last name, email, and phone. Tickets and receipts are sent to that email.
If the ticket has criteria, the app checks them. If the person doesn’t qualify, you’ll see why and can’t get them a ticket here. An admin can still get them one in the dashboard.
Fill in the tickets
What you fill in depends on the ticket type:
- Basic ticket: set how many under Tickets.
- Name ticket: set how many, then enter a first and last name for each under Names on Tickets. The first one starts with the person’s name.
- Form ticket: select Add Attendee Form and fill out the form, then select Add. Add one form for each ticket, with Add Another Attendee. Select a form to change it, or swipe left on it to Remove it.
The price updates as you go.
Choose how they’ll pay
See Payment below.
Pay
Select the button at the bottom. It shows the amount, like Pay $125.00, or Record $125.00 Cash for cash. For free tickets, it says Get Ticket or Get 3 Tickets.
When it’s done, you’ll see a message with the number of tickets and the person’s name, and the screen clears for the next person.
If the button is dimmed, something is still missing, like the person, a name on each ticket, or how they’re paying.
Payment
The price
The total at the top shows what they pay now, with how it adds up, like 1 × $125.00. If a payment option like an early-bird price is active, it’s used automatically. Nobody picks an option: the date decides.
Free tickets show No Payment Needed.
Pay in full, deposit, or payment plan
If the event’s payment offers a deposit or installments, choose Pay in Full, Deposit, or Payment Plan. The total changes to Due Now, and the line underneath says what happens next, like:
- “Pays $50.00 now; the other $75.00 is due by Dec 1.”
- “Pays $45.00 now, then $80.00 over 2 more payments (next $40.00 on Jan 1).”
They can pay the rest later at check-in (see Collect a balance) or in the app.
Discount codes
If the event has discount codes, you’ll see a discount row:
- Admin: select Discount and pick one of the event’s active discounts, like “Family — 20% off”. Or select Enter a Code… to type one. Select No Discount to take it off. If there are no active discounts to pick from, you’ll see Enter Discount Code instead.
- Guest-Facing: select Enter Discount Code, type the code, and select Apply. To take it off, select the discount and then Remove Discount.
The discount shows in the total. If a code doesn’t work, you’ll see Code Not Applied with the reason.
When the event is nearly full
If they want more tickets than are left, you’ll see Only 3 tickets are left. (or This event is sold out.) under the count.
- Admin: turn on Sell Anyway to go past the event’s capacity.
- Guest-Facing: lower the number of tickets to continue.
Pay With
Under Pay With, select a tile. The one you pick gets a blue ring and a check mark.
| Tile | How it works |
|---|---|
| Tap to Pay on iPhone | iPhone only. They tap their card, phone, or watch on the top of your iPhone. |
| Card Reader | Shows when this device has a card reader, and names it. They tap, insert, or swipe on the reader. |
| A saved card, like Visa •••• 4242 | The person’s saved cards, with when each expires. They show once you choose the person. |
| Enter Card | Type the card number, name on card, and ZIP code. The card is charged once and isn’t saved. |
| Cash | Take the cash, then select Record Payment. |
| No Charge | Shows instead of Cash when nothing is due, like with a 100% discount. |
If Tap to Pay on iPhone is connected, or this device has a card reader, it’s picked for you. Otherwise choose a tile before you pay.
Tap to Pay on iPhone
Tap to Pay needs to be set up on the iPhone, and approved for it in the dashboard under Devices. Until then the tile is dimmed and says Set up in Settings or Needs approval. Selecting it tells you what to do. If an admin has just approved it, select Check Again and you can carry on. See Card readers.
When you pay, your iPhone says Hold the card, phone or watch near the top of this iPhone. and Apple’s payment screen appears.
Card readers
When you pay, a sheet shows the amount and what to do, like Tap, insert or swipe the card on Front Desk. Select Cancel to stop.
With a smart reader (like a WisePOS E or S700), the payment is sent to the reader over the internet. First the sheet says Sending to Front Desk…, then it waits for the card. Any device can use any of your smart readers. Choose this device’s reader in Settings → Card Reader.
If the card reader has a problem
If a smart reader can’t take the card (it’s busy, offline, or the card was declined), the sheet says why and offers:
- Try Again: send the payment to the same reader again.
- Use Another Reader: pick one of your other readers for this payment only. Each one shows if it’s Busy or Offline, and offline readers can’t be picked.
If the app can’t reach the server to check the payment, it says so. Check the connection, then select Try Again before you take another payment, in case the card was already read.
If you select Cancel just as the card is read, the payment still counts. You’ll see the tickets created as usual.
If a payment doesn’t go through
You’ll see Payment Didn’t Go Through with the reason, like a declined card. No tickets are created and nothing is charged. The price is checked again, so try again or choose another way to pay.
If a typed card needs extra verification from the bank, you’ll see “This card needs to be verified by its bank, which can’t be done here.” Use Tap to Pay on iPhone, a Card Reader, or another card.
Where it shows up
The tickets appear on Event tickets and the payment on Event payments, the same as tickets from the dashboard or the app. They’re ready to scan in Event Check-in straight away.