
Card readers
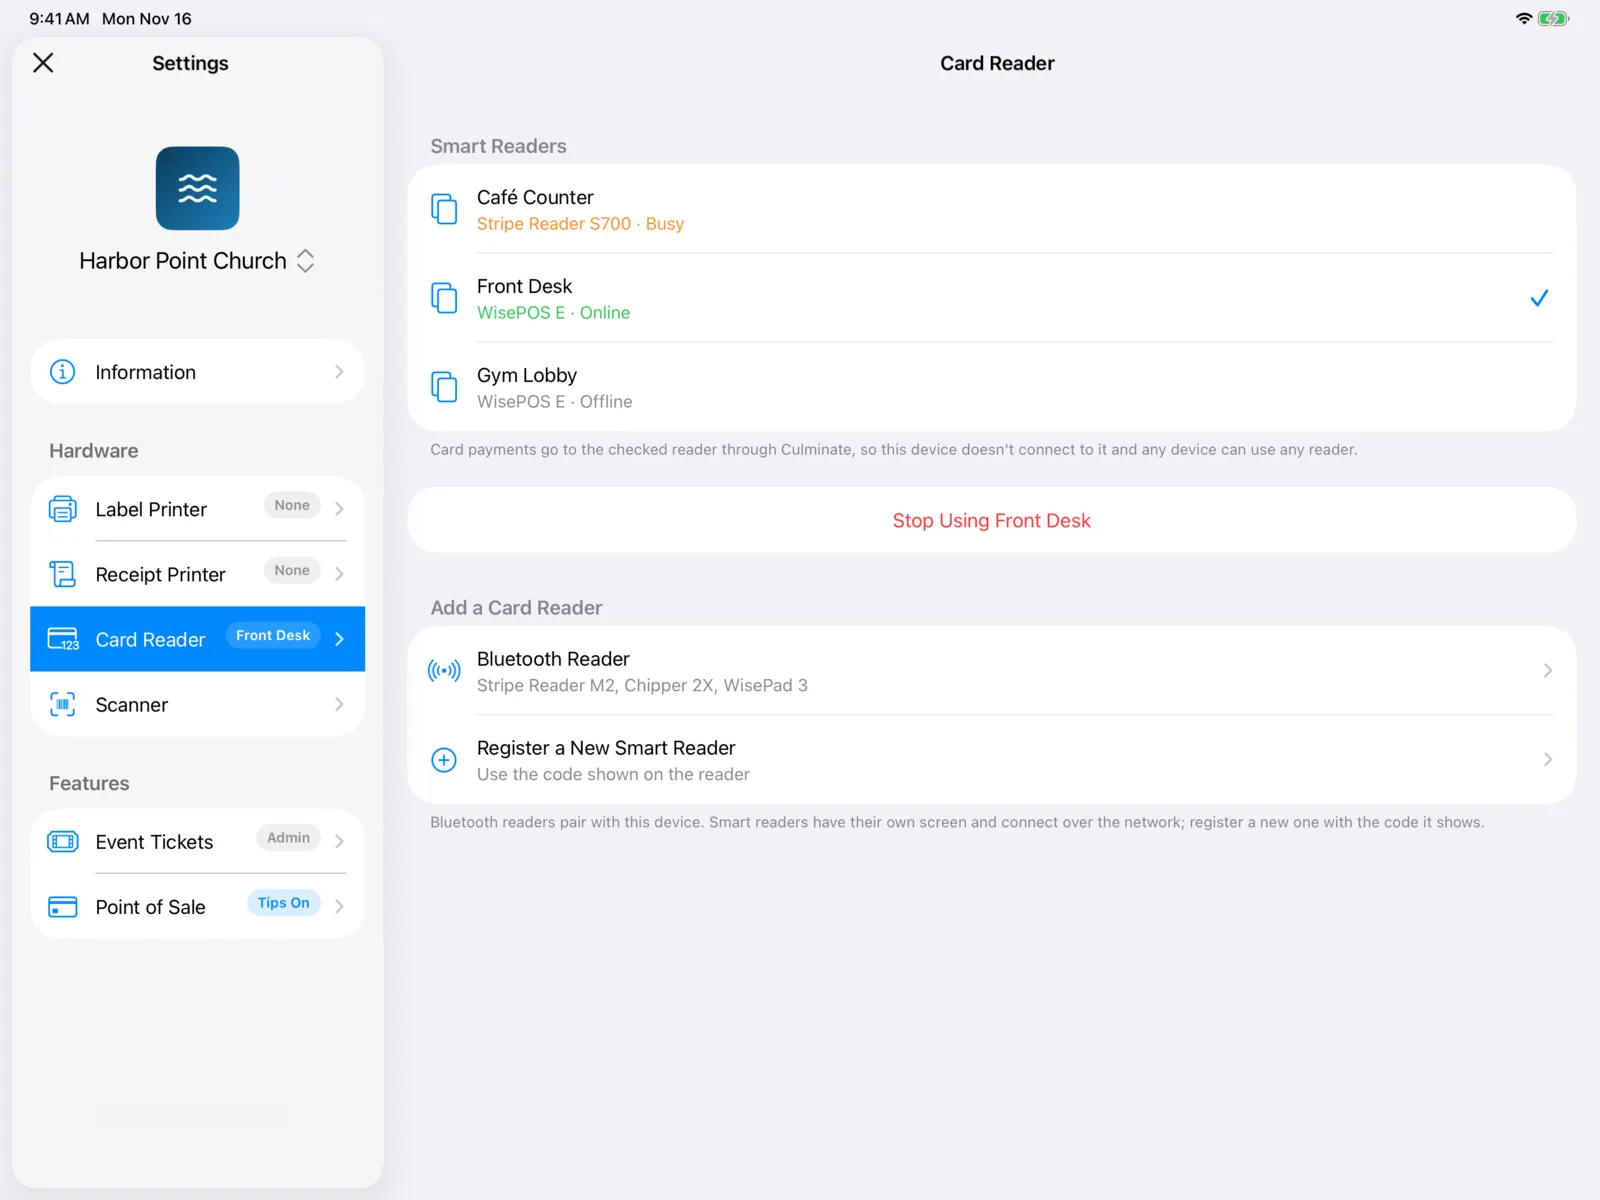
Card payments in Point of Sale, Sell tickets, and Collect a balance go to the card reader you choose for the device. Open Settings → Card Reader to set one up.
There are three ways to take cards:
| Reader | Models | How it works |
|---|---|---|
| Smart reader | WisePOS E, Stripe Reader S700 and S710 | Has its own screen and connects to the internet. Any device can use any smart reader, and the device doesn’t need to be near it. |
| Bluetooth reader | Stripe Reader M2, Chipper 2X, WisePad 3 | Pairs with one iPad or iPhone over Bluetooth and stays close to it. |
| Tap to Pay on iPhone | iPhone XS or later | The iPhone is the reader. Guests tap a contactless card, phone, or watch on the back of it. |
A device uses one reader at a time. Choosing a new one stops using the old one.
Smart readers
Smart readers are shared by your whole organization. Register each one once, then pick it on any device that should use it.
Choose a reader for this device
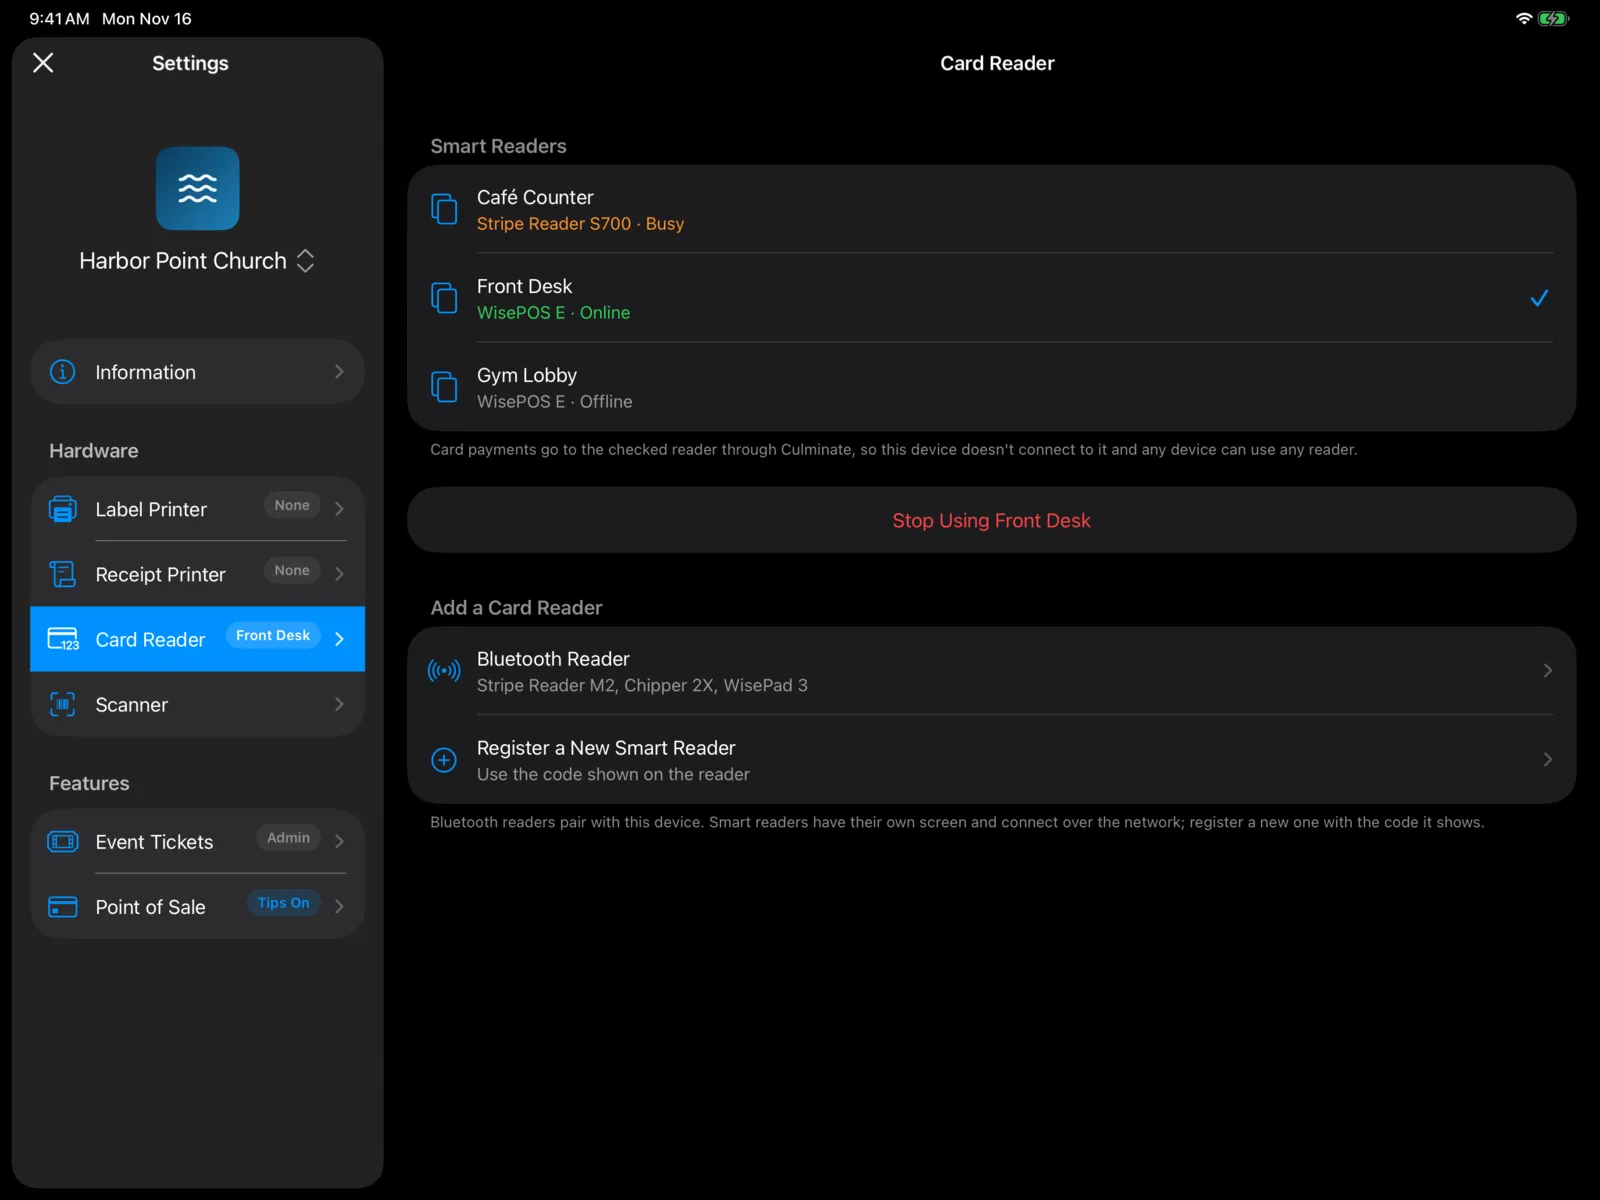
Under Smart Readers, you’ll see each of your organization’s readers, with its name, model, and status:
| Status | What it means |
|---|---|
| Online (green) | Ready to take a payment. |
| Busy (orange) | In the middle of another payment right now. |
| Offline (gray) | Off, or not connected to the internet. |
Select a reader to use it. It gets a check mark, and its name shows on the Card Reader row in Settings and on the payment screens. If a Bluetooth reader was connected, the app asks first, then disconnects it.
To stop, select Stop Using and the reader’s name. The device then has no reader until you pick another.
Register a new smart reader
Get the code from the reader
On the reader, open its settings and choose Generate pairing code.
Enter it in the app
In Settings → Card Reader, select Register a New Smart Reader. Enter a Reader Name (like “Front Desk”) and the Registration Code.
Pick its location
Under Location, choose where the reader takes payments. If you don’t have one yet, select Add Location (see Locations).
Register it
Select Register. You’ll see Reader Registered, and this device starts using it. Other devices can pick it from their Smart Readers list.
New readers also show in the dashboard under Point of Sale → Terminals.
Paying with a smart reader
When you charge a card, the app says it’s sending the payment to the reader, then asks the guest to tap, insert, or swipe their card on it. If the reader can’t take it, you’ll see why, with Try Again and Use Another Reader. Another reader is for that one payment only; the device keeps its own reader for the next one.
Bluetooth readers
Turn the reader on
Charge it, turn it on, and keep it close to the device.
Find it in the app
In Settings → Card Reader, select Bluetooth Reader. Readers nearby show under Nearby Readers with their model and serial number. Select yours.
Pick a location
If your organization has more than one location, choose where the reader takes payments. If it has none, the app asks you to Add Location first (see Locations).
Once it’s connected, Connected Reader shows the model, whether it’s Connected, its Serial Number, Battery, and Software Version. The device reconnects to it on its own the next time the app opens.
To stop using it, select Disconnect Reader.
Reader updates
Bluetooth readers sometimes need a software update. When one is available as the reader connects, you’ll see Update Available with the version and how long it takes. Select Install Update, or Later if you’re in the middle of a busy line.
Some updates are required and start on their own (Updating Reader). Keep the reader on and near the device, and don’t turn it off until you see Reader Updated. If you see Update Didn’t Finish, charge the reader, keep it close, and connect to it again to retry.
Tap to Pay on iPhone
Tap to Pay lets an iPhone take contactless cards, Apple Pay, and other wallets, with no reader. It’s on iPhone only (iPhone XS or later, on iOS 16.7 or later).
Approve the iPhone in the dashboard
Each iPhone needs an admin’s approval before it can use Tap to Pay. Until then, Settings → Card Reader shows Tap to Pay on iPhone as Waiting for Approval, and the Card Reader row in Settings says Needs Approval (unless the iPhone uses another reader). The note under it names the device, so your admin knows which one to approve.
Approve it
An admin opens Organization → Device in the dashboard, finds the iPhone by its name, and turns on Tap to Pay for it. See Devices.
Check again on the iPhone
Select Check Again. The iPhone also checks on its own every couple of minutes, and each time you open the Card Reader page. If it isn’t approved yet, you’ll see Not Approved Yet.
If an admin turns approval off later, Tap to Pay turns off on that iPhone.
Set it up
Turn it on
Once it’s approved, select Set Up Tap to Pay on iPhone.
Pick a location
If your organization has more than one location, choose Where will this iPhone take payments? If it has none, select Add Location (see Locations).
Accept Apple’s terms
The first time for your organization, an admin accepts Apple’s Tap to Pay terms.
Learn how to tap
The app shows How to Tap the first time. You can open it again any time from the same page.
When it’s ready, Tap to Pay on iPhone says Ready. To stop, select Turn Off Tap to Pay.
On the payment screens, the Tap to Pay choice shows Needs approval or Set up in Settings until it’s ready. Selecting it explains what’s missing, with Check Again for approval.
If you see Needs a newer iOS or Not available on this iPhone, update iOS or use a newer iPhone.
Locations
Card readers and Tap to Pay belong to a location: your organization’s business address. When the app asks you to add one, enter a Location Name (like “Main Campus”), Street Address, City, State, and ZIP Code, then select Add. It needs to be a United States address.
Which reader is in use
- The Card Reader row in Settings shows the reader’s name (like Front Desk or M2), Needs Approval, or None.
- The Point of Sale register shows the reader at the top, like Reader: Front Desk, Tap to Pay, or No Card Reader.