
Guest form
Guest Form has two sides. Your team reads guest form submissions and follows up. On an iPad, you can also turn the device into a kiosk in your lobby, where guests fill out your guest form themselves.
Select Guest Form on the home screen. Its tile shows a red count of guest forms nobody has opened yet.
The questions and the welcome message come from the dashboard. See Build your guest form.
Read submissions
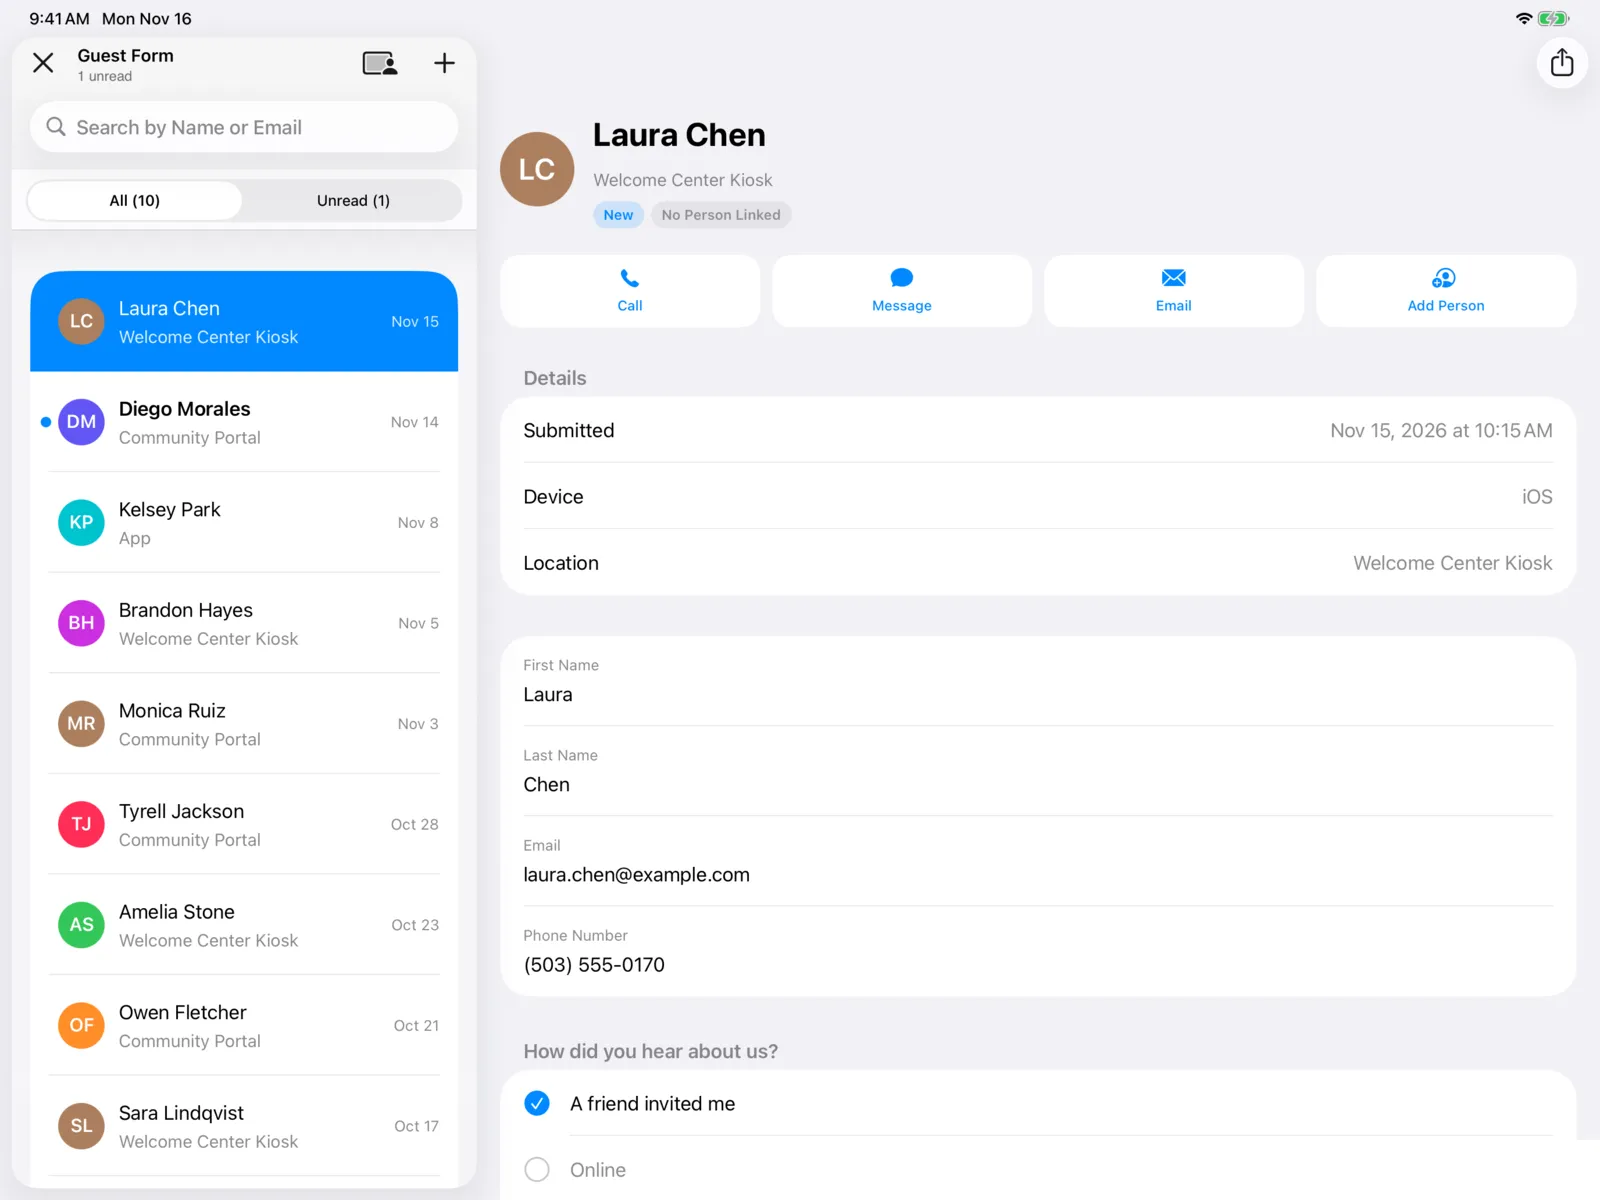
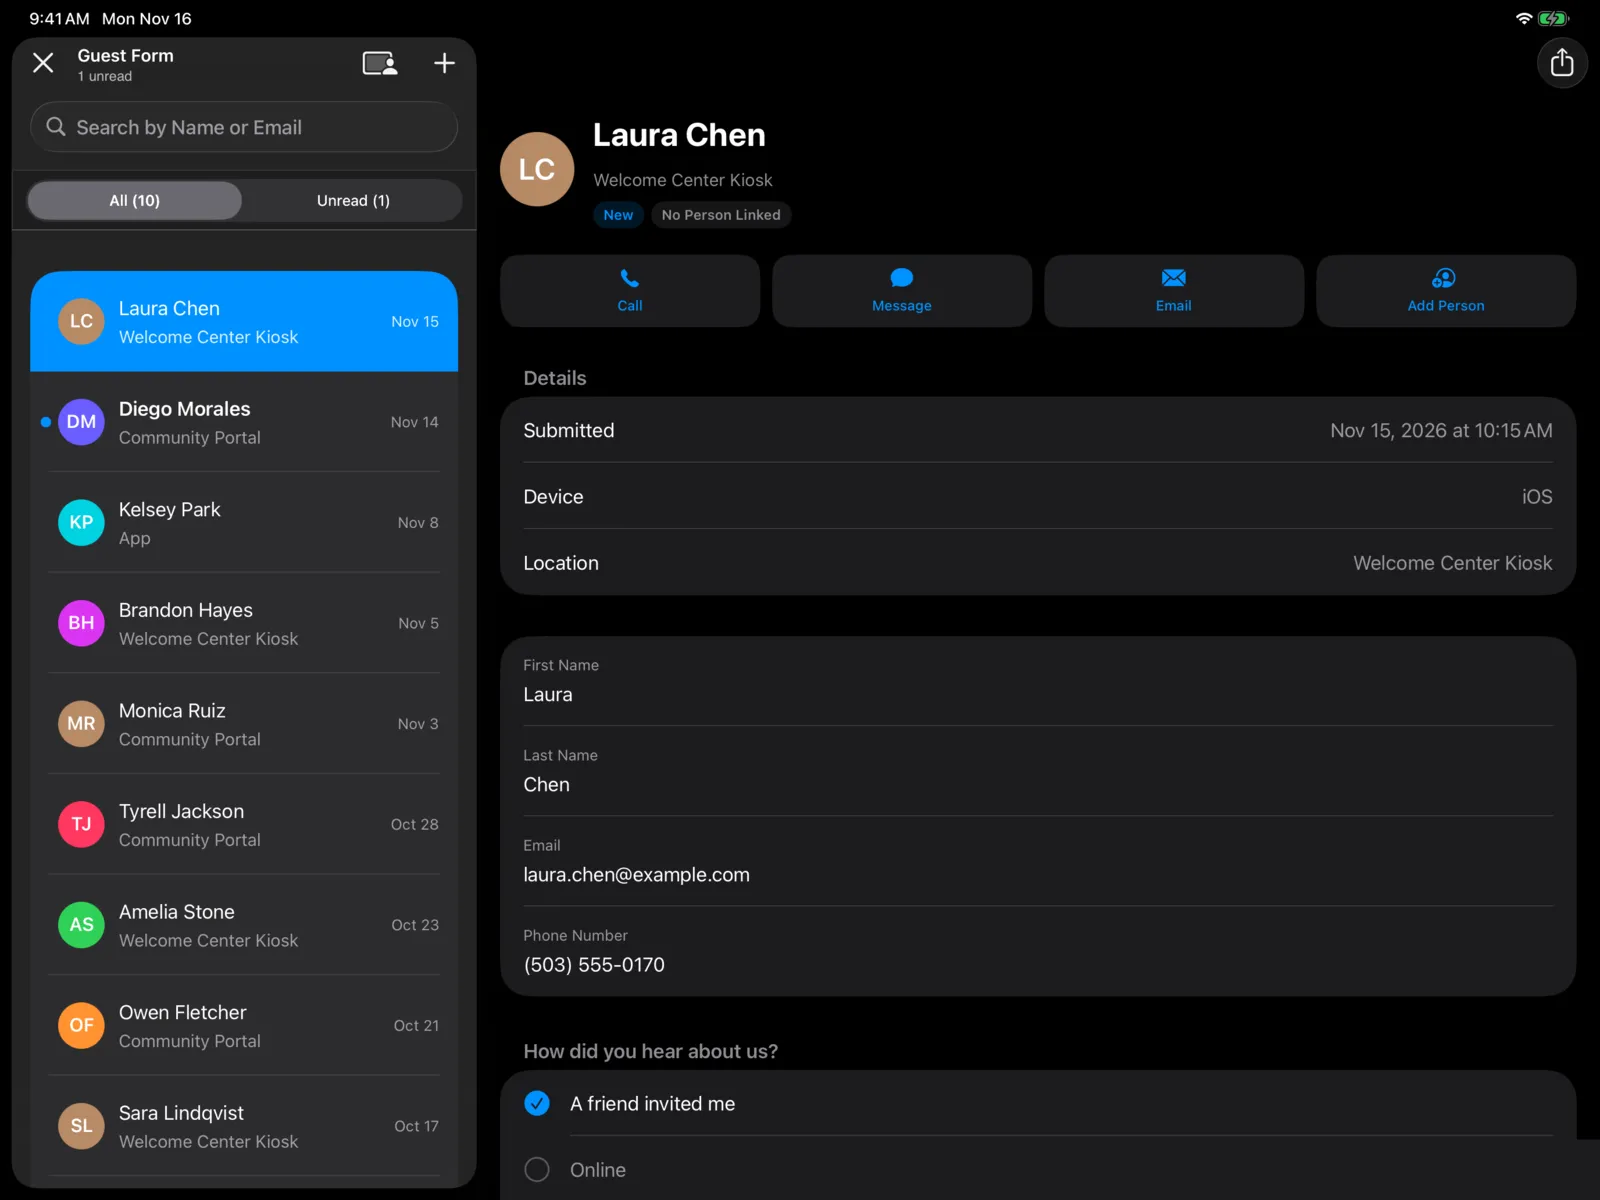
On an iPad, the list is on the left and the submission you select opens beside it. On an iPhone (or an iPad in Split View), a submission opens on its own page.
The list
Every submission, from your website, the apps, and the Community Portal, newest first. Switch between:
- All: every submission, like All (128).
- Unread: submissions nobody has opened yet, like Unread (2).
Under the title, you’ll see how many are unread, or All caught up.
Each row shows the guest’s name and where they filled it out, like Community Portal, Culminate Life App, or one of your locations, plus the date. Unread submissions have a blue dot and a bold name. Opening one marks it as read for everyone.
Use Search by Name or Email to find a guest. Pull down to refresh.
A submission’s page
The top shows the guest’s name, where it came from, and pills:
- New, if nobody had opened it before you.
- Linked to and the person’s name, or No Person Linked.
Then quick buttons: Call, Message (a text), and Email use what the guest entered. Add Person shows until the submission is linked to someone. A button is dimmed when the guest didn’t give that detail.
Below that:
- Person: who the submission is linked to, once it is.
- Details: when it was Submitted, the Device (like iOS or Website), and the Location.
- The answers, grouped like the form. Unanswered questions say No answer. Choices show as filled circles (picked) and empty circles (not picked). Select a file to open it.
To keep a copy, select the share button at the top and pick Print or Export as CSV.
Link the guest to a person
Linking a submission to someone in your people keeps the guest’s answers with the right person.
Select Add Person
Choose Person opens with the guest’s name already searched.
Pick the right person
Results show people in your organization first, then Other Culminate People (their contact details are hidden). You can also search by email or phone number.
Or add them
If they’re not there, select Add New Person, enter their First Name, Last Name, Email, and Phone (a 10-digit number), then select Add.
The pill changes to Linked to and their name, and Add Person goes away. To change or remove a link, or create a family, use Guest form submissions in the dashboard.
Fill it out for a guest at the desk
Talking with a guest who’d rather not fill it out themselves? Select + at the top of the list. New Guest Form opens full screen.
- Ask the questions and fill in their answers. On a form with more than one page, select Next to move on.
- Select Submit.
The submission opens right away, already marked as read. To stop without saving, select Cancel, then Discard Answers.
Run the guest kiosk
The kiosk is for iPads. It fills the screen so guests see only your welcome, and resets itself for the next guest.
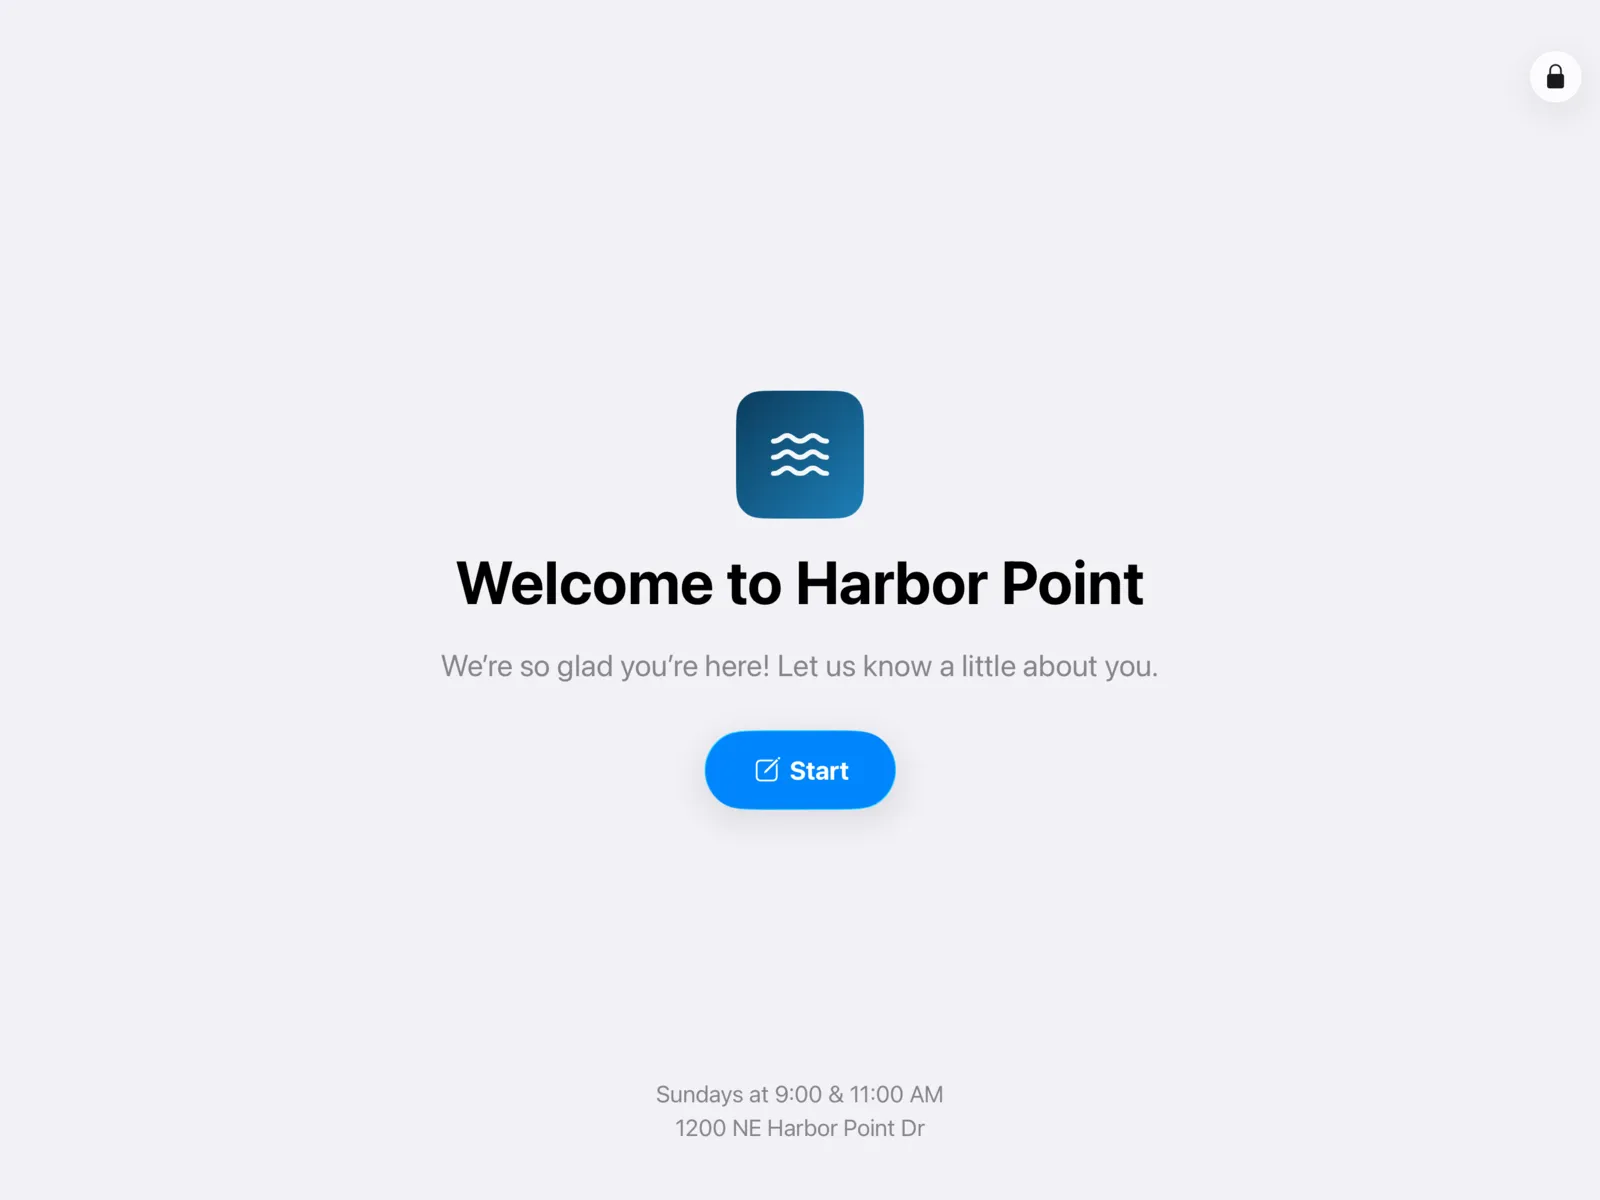
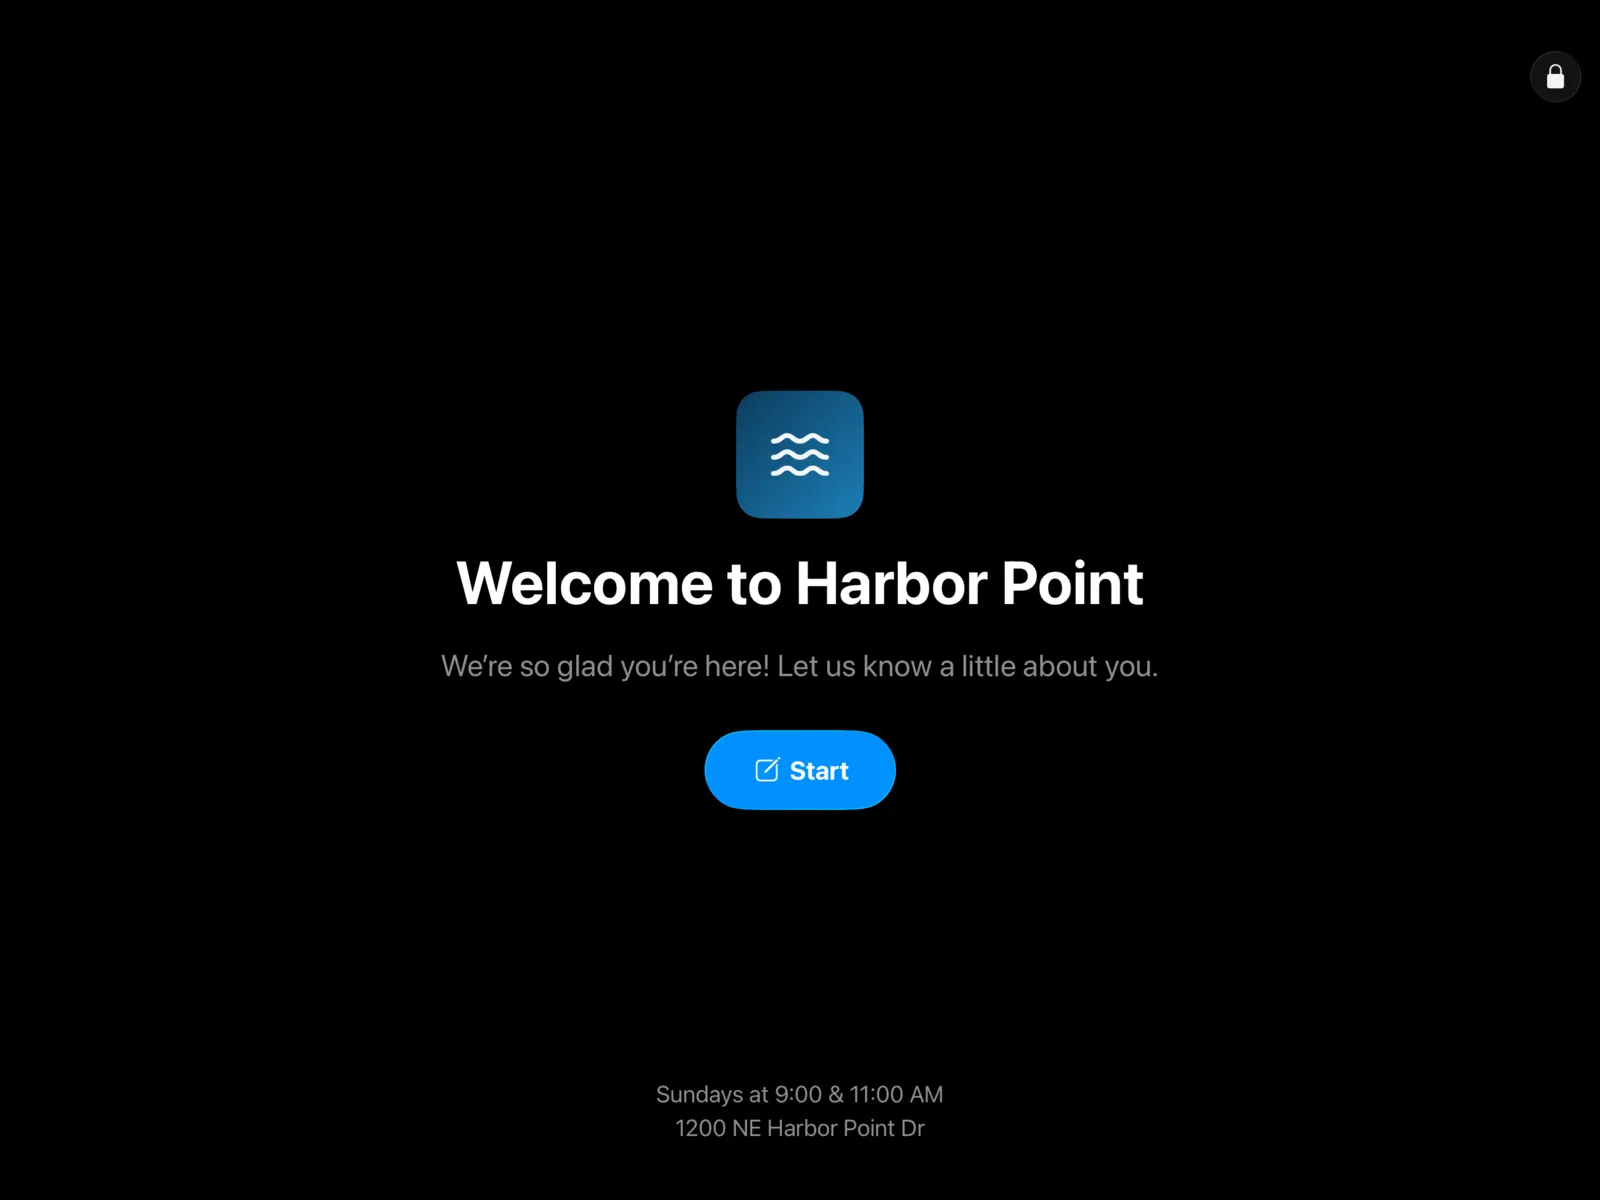
To start it, open Guest Form and select Kiosk at the top.
What guests see
The welcome screen shows your logo, Welcome to and your organization’s name, your guest form’s welcome message, and a big Start button. Your service times and address run along the bottom.
They select Start
Your guest form opens full screen.
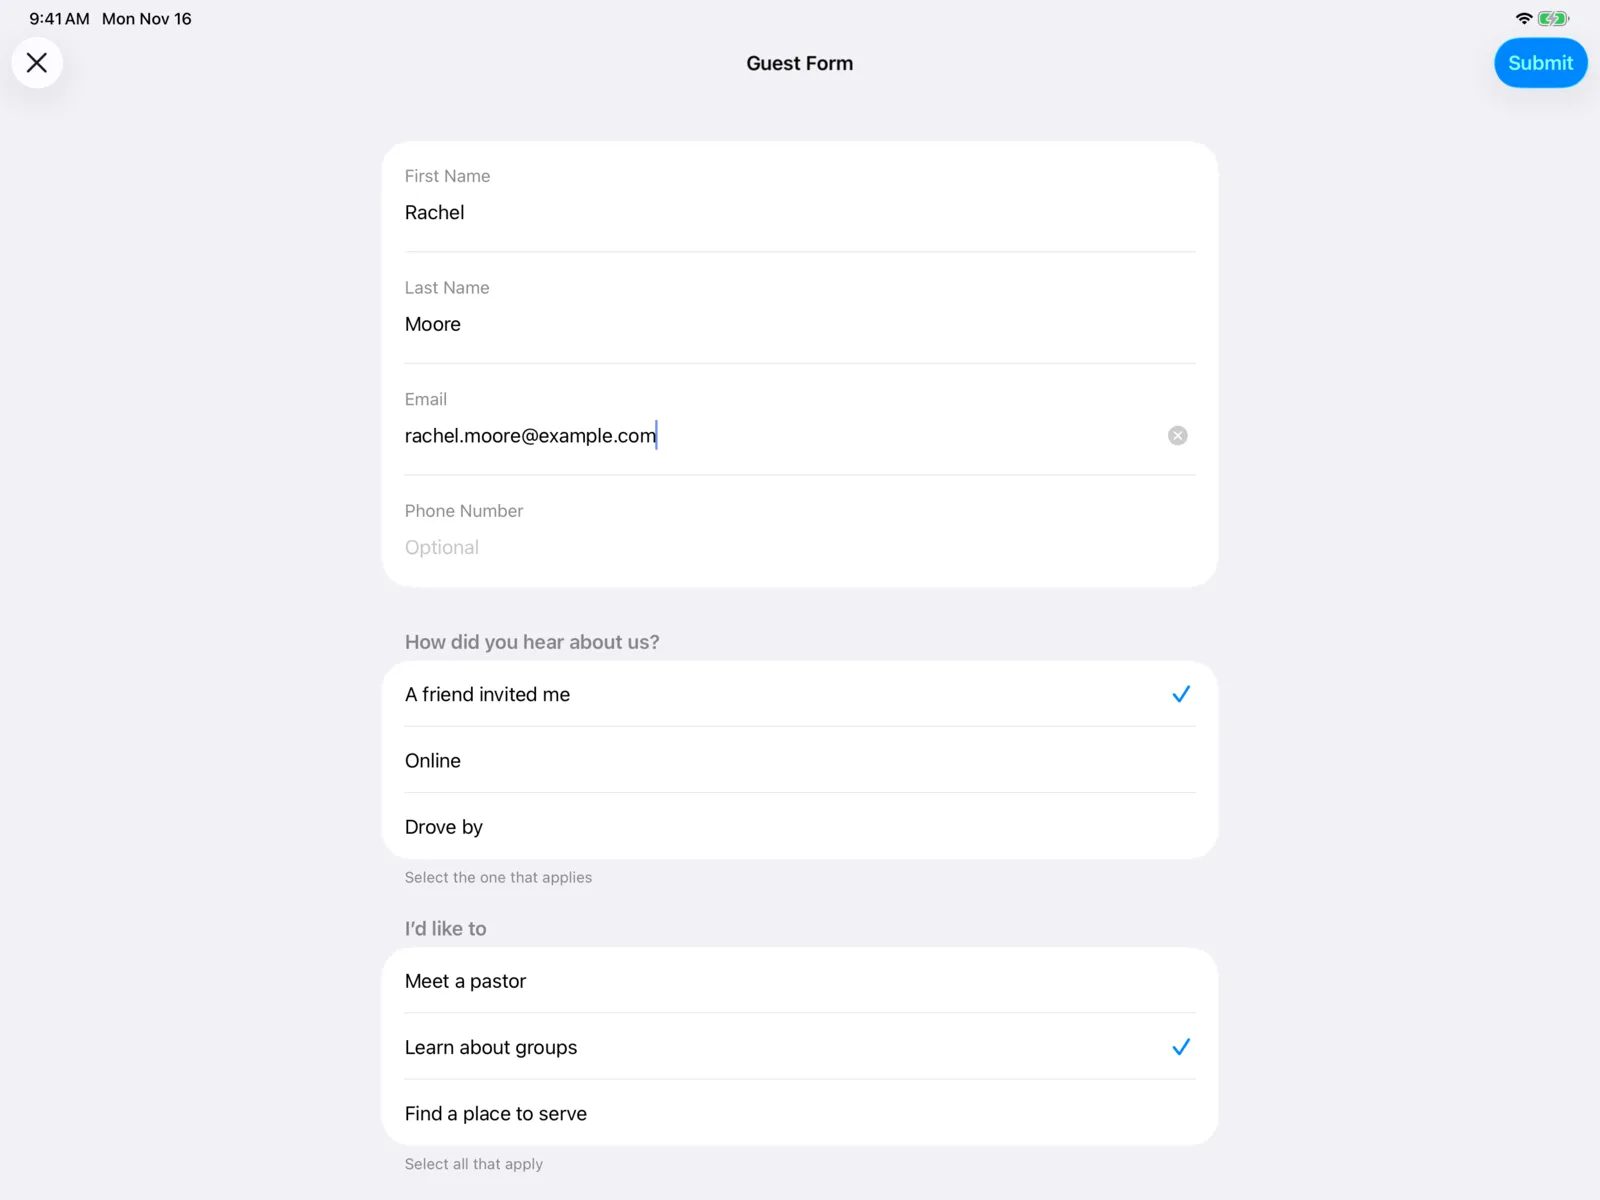
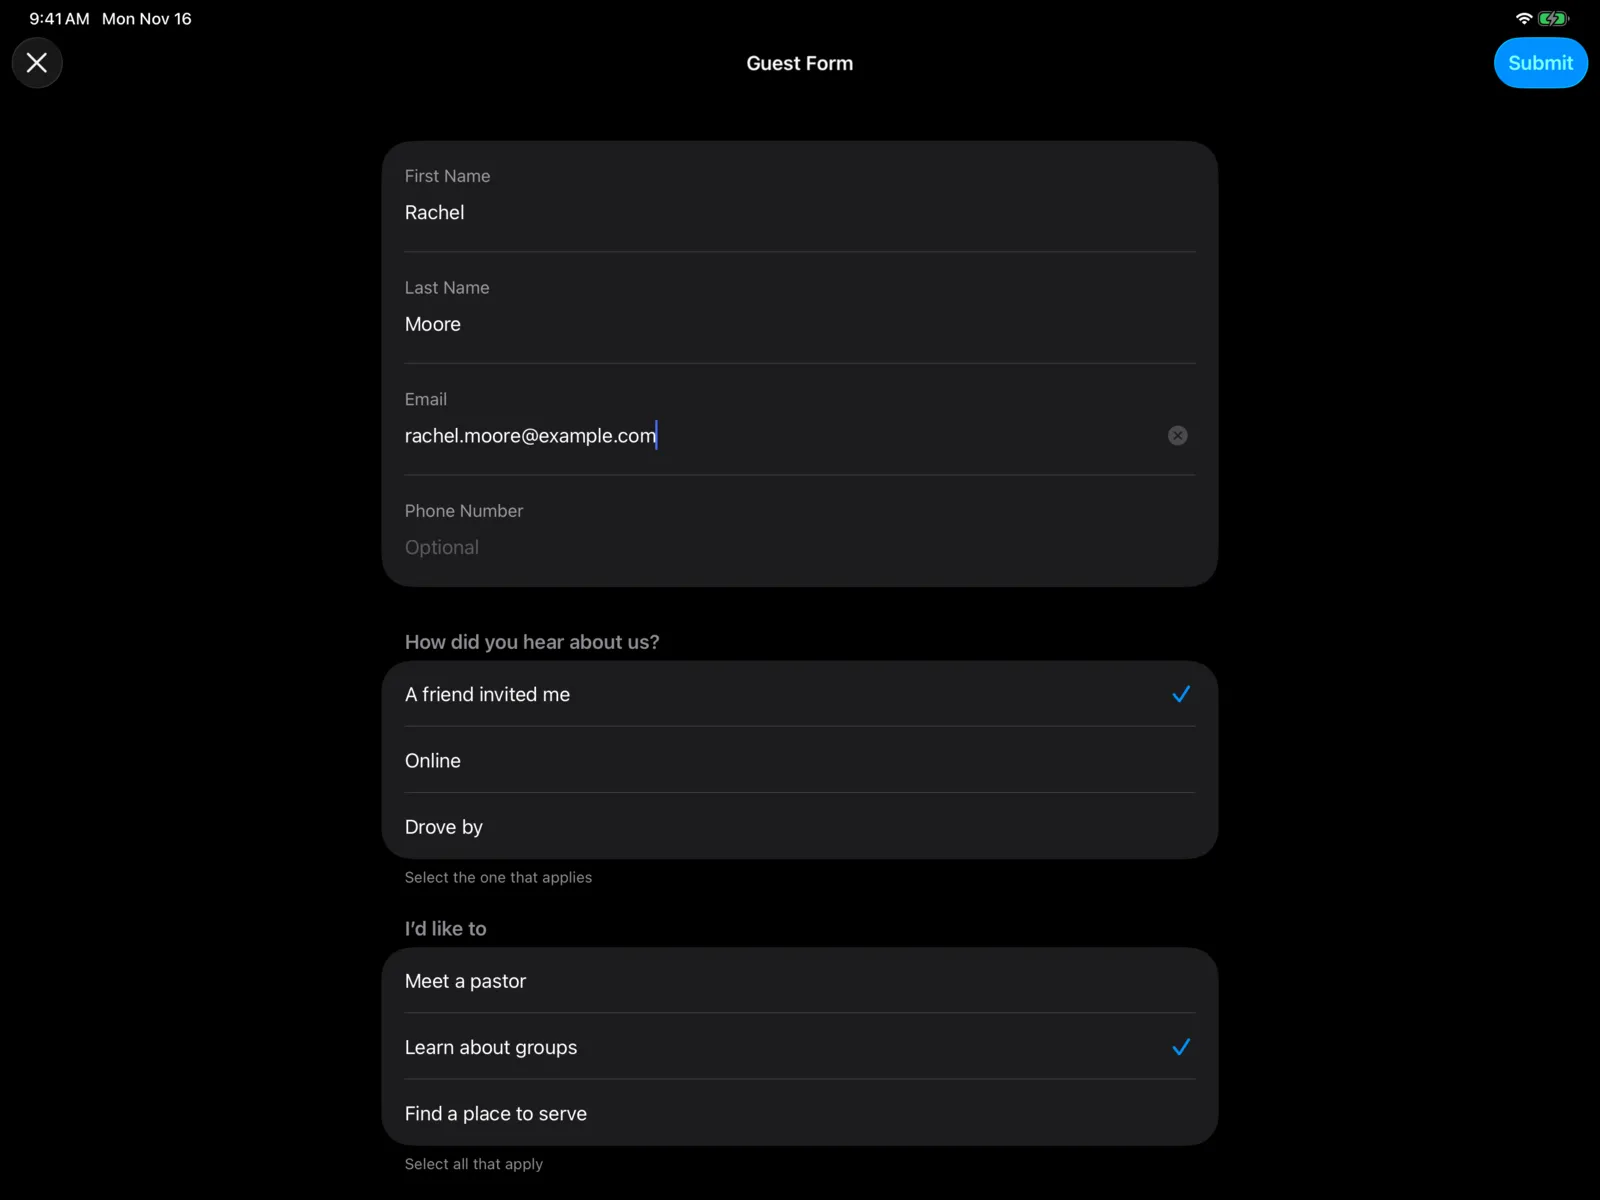
They fill it out and select Submit
On a longer form, Next takes them to the next page. If they miss a required question, they’re asked to answer it first.
They get a thank-you
Thank You! We’re so glad you’re here. After a few seconds, the welcome screen comes back for the next guest.
If a guest selects Cancel (then Discard Answers), the kiosk goes back to the welcome screen. If someone walks away partway through, the form clears itself after two minutes without a touch, so the next guest never sees their answers.
Get their kids ready for check-in
If your guest form offers kids check-in and the guest says they have kids, the kiosk asks them to Get your kids ready for check-in before the thank-you.
Add each child
There’s a card for each child they named on the form. For each one, they enter a First name, Last name, Birthday, Grade, and any Allergies or medical notes. Select Add a child for another, or Remove this child.
Children already on their family’s check-in show under Already registered, with a switch to include them. The kiosk only asks for a birthday or grade if one is missing.
Set permissions
Under Permissions, two switches:
- They may take part in activities and get any medical care leaders think they need (on to start).
- Their photo may be used in our posts and website (off to start).
The parent is the emergency contact. They can change details at the check-in desk.
Select Done
The kiosk shows You’re all set: Stop by the kids check-in desk. Your family is ready to check in. Then the thank-you shows.
The family now waits in the Walk-in Inbox on the Check-in Portal, where a volunteer finishes their check-in and prints name tags.
Guests who’d rather not can select Skip. Nothing is sent to check-in, and they go straight to the thank-you.
Leave the kiosk
The kiosk is locked so guests can’t wander into the rest of the app. To leave it, you need an iPhone signed in to the Community Portal for the same organization.
- On the iPhone, open Plan a Visit, Guest Form, or Forms, and select the shield button at the top. It shows a QR code, the Admin Access code. Close it with the X when you’re done, and the code stops working.
- On the iPad, select the lock at the top right. Scan Admin Access Code opens the front camera.
- Hold the iPhone’s code up to the iPad. The kiosk closes and you’re back in Guest Form.
If you have a barcode scanner connected to the iPad, you can scan the iPhone’s code with it instead, without selecting the lock. See Scanners.
If the iPad says Code Not Accepted, make sure the iPhone is signed in to the same organization, and try again.