
Walk-in families
There are two ways to check in a family who’s never been before. Both happen on an admin device.
Option 1: they fill it in on their phone
The fastest way on a busy morning. The family types their own details while you help the next person.
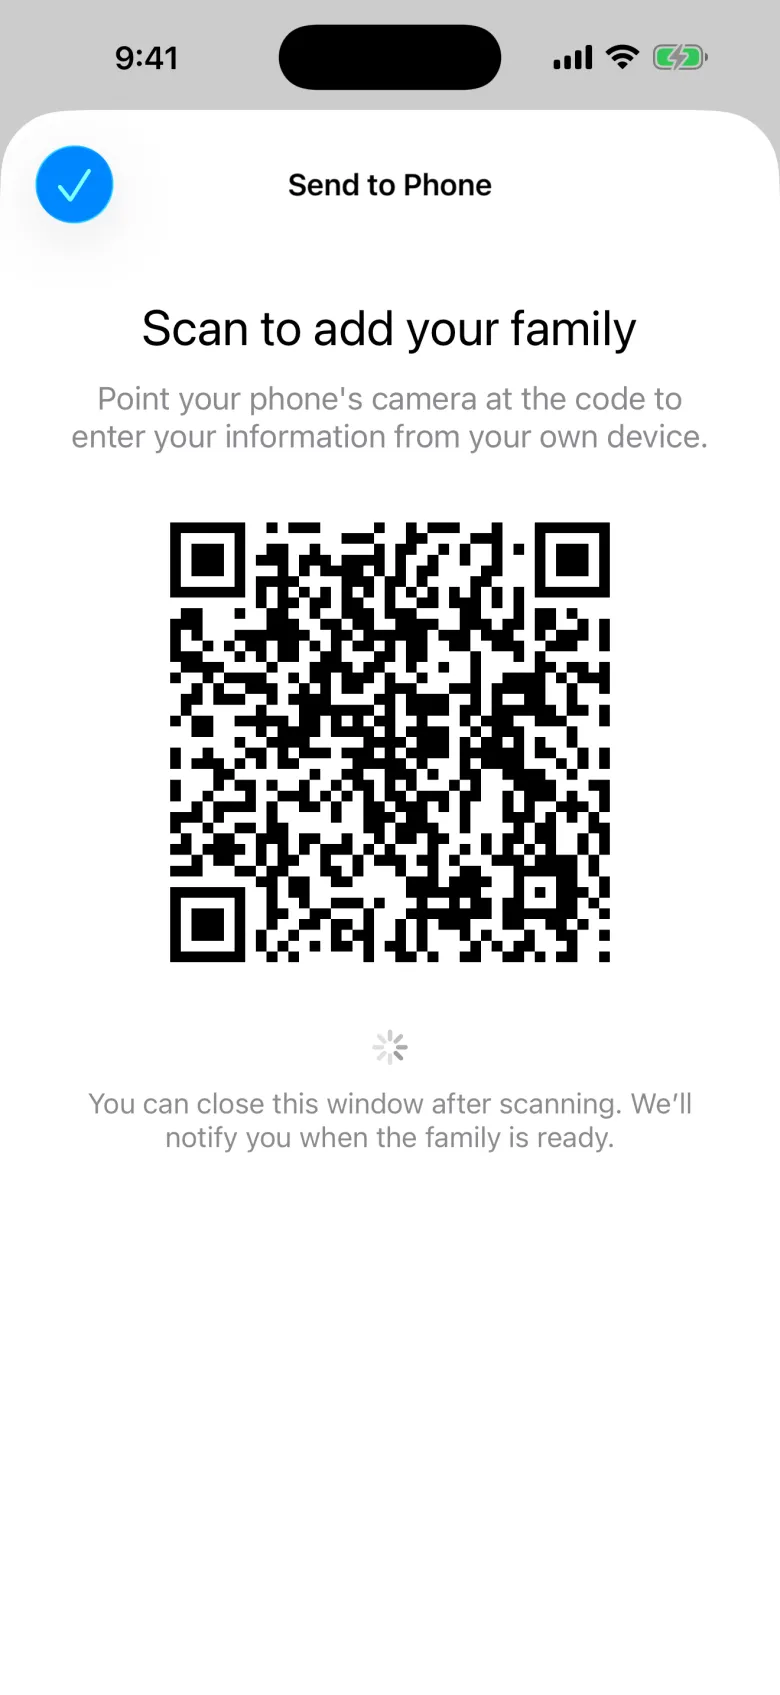
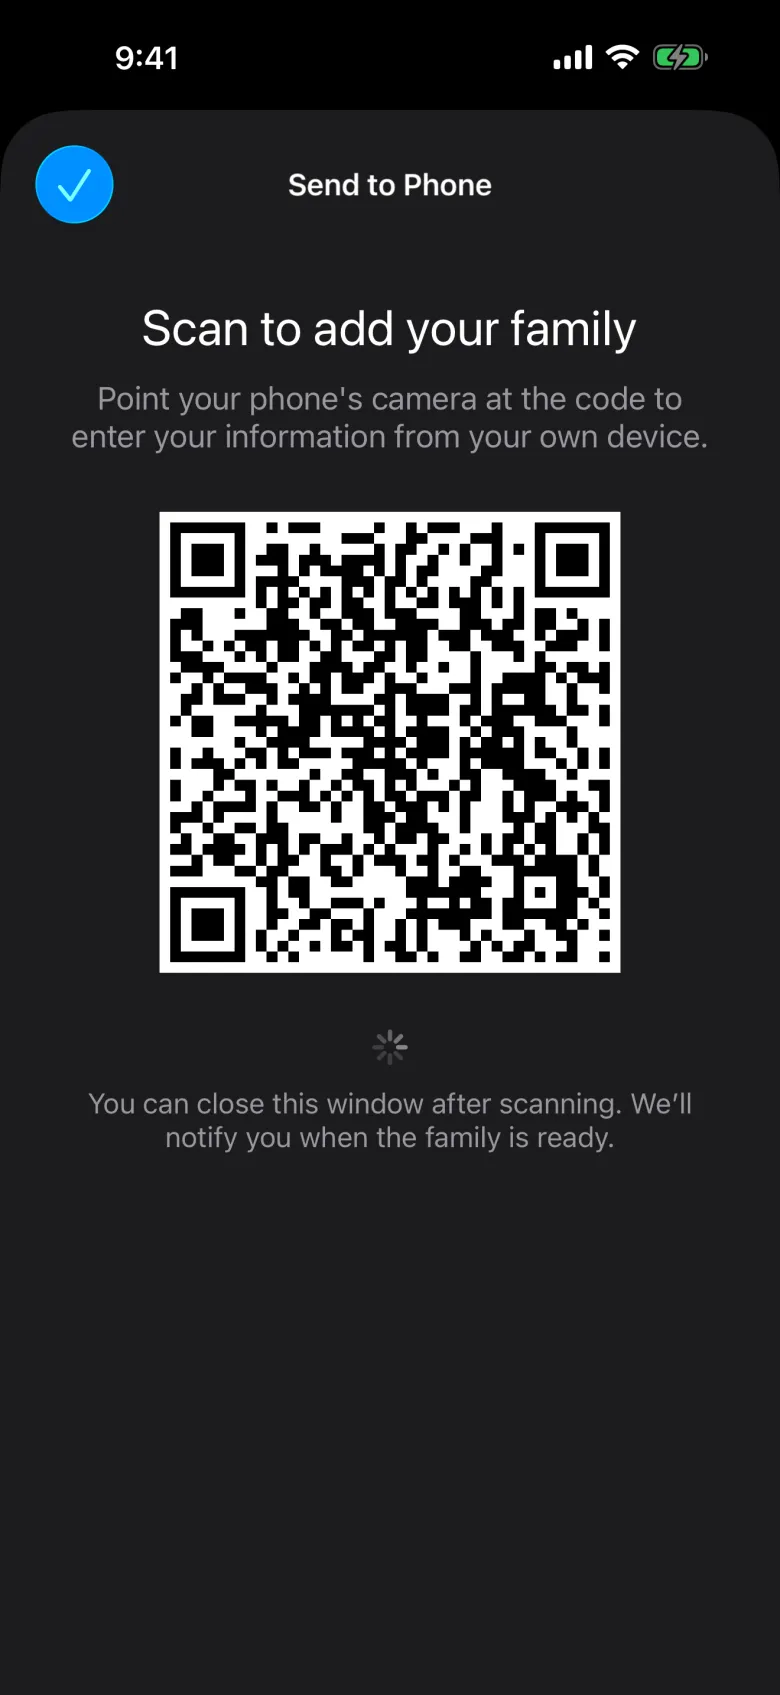
Select Send to Phone
A QR code appears: Scan to add your family.
The parent scans it
They point their phone’s camera at the code and fill in their details and their children’s on their own phone. You can close the window; you’ll be notified when the family is ready.
Finish check-in
When the family is ready, the inbox shows Finish check-in with how many are ready and waiting. Open it, select the family (marked Ready), check the details, and select Check In. Labels print.
The inbox also lists families who used Plan a visit on your website, so you can finish their check-in when they arrive. Each entry shows whether it’s Ready, In progress, Pending, Expired, Cancelled, or had an Error. Pull down to refresh.
Option 2: you enter it for them
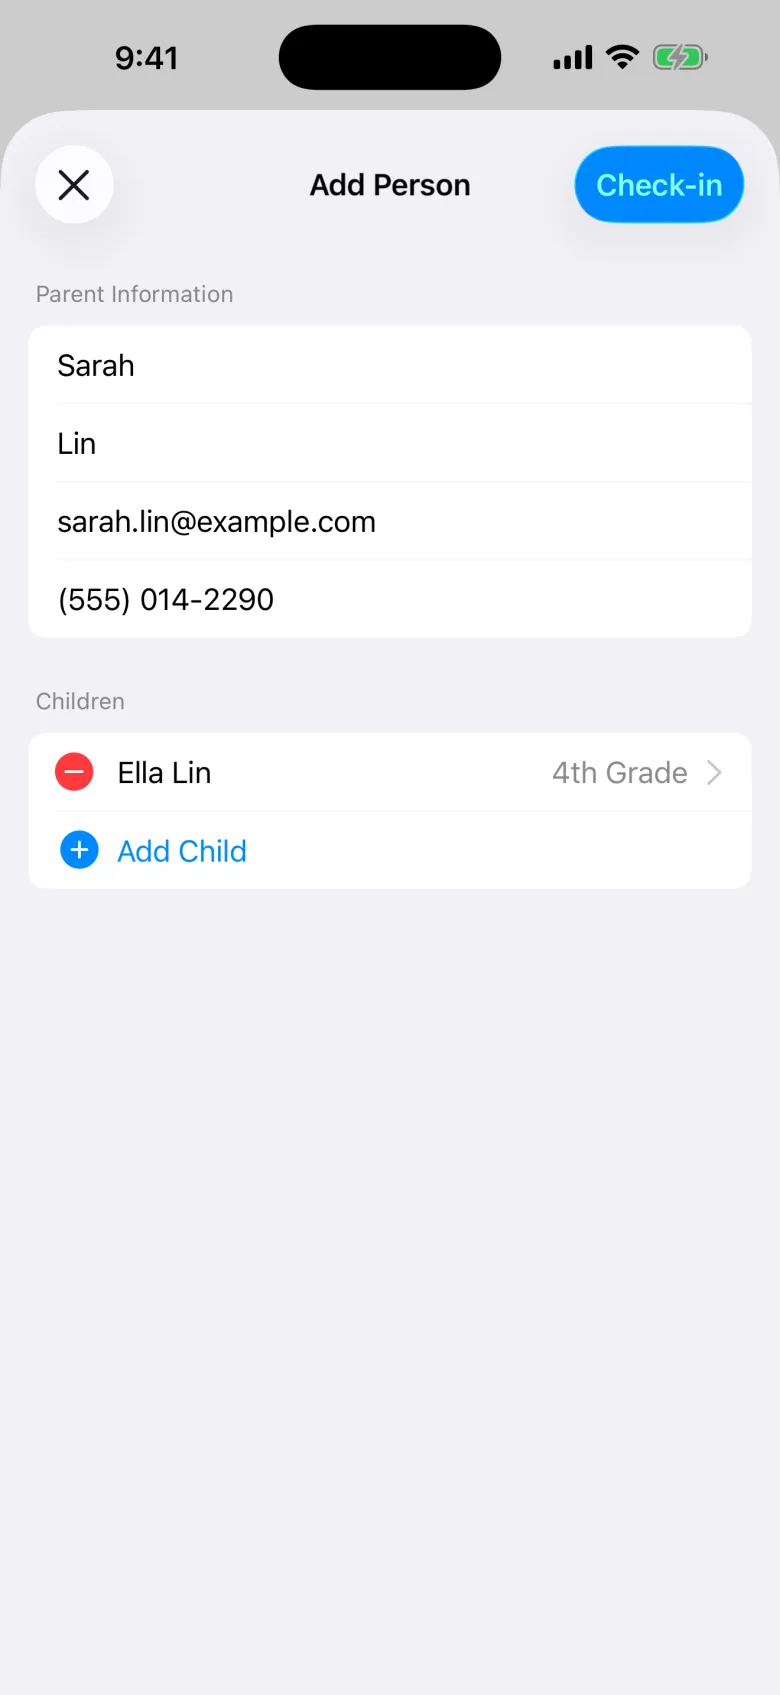

Select Add a Person
Fill in the parent
Under Parent Information, enter their first name, last name, email, and phone number.
If someone with that email or phone is already in your organization, a banner says so. Tap it to see their check-in, or to add their children who are already on file. You’ll still need to set each child’s grade and gender.
Add the children
Select Add Child for each child: first and last name, date of birth, gender, and grade, plus an emergency contact and phone, medical information, and medications. Email and phone are optional.
Create their passcode
The parent chooses a 4-digit passcode and enters it twice (Finish Setup). With their phone number, it lets them check in at a kiosk next time.
Labels print
The family is added, the children are checked in, and labels print.