
Settings
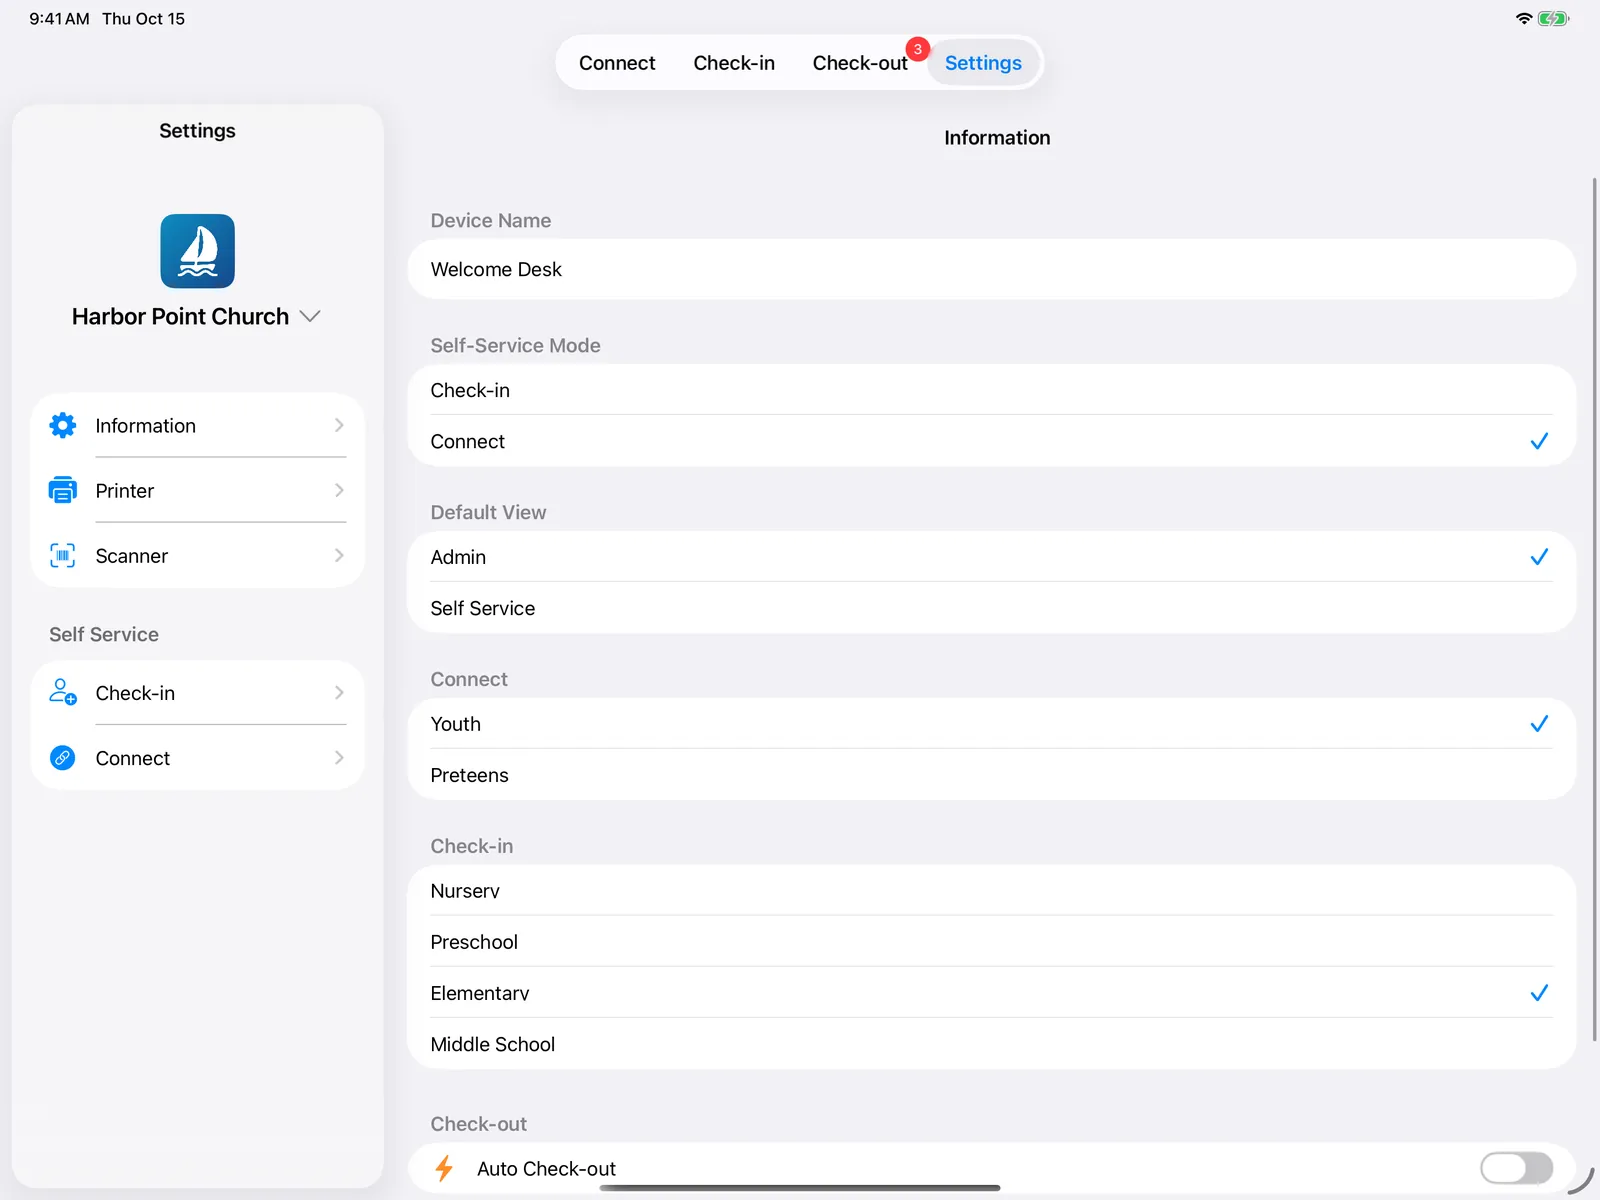
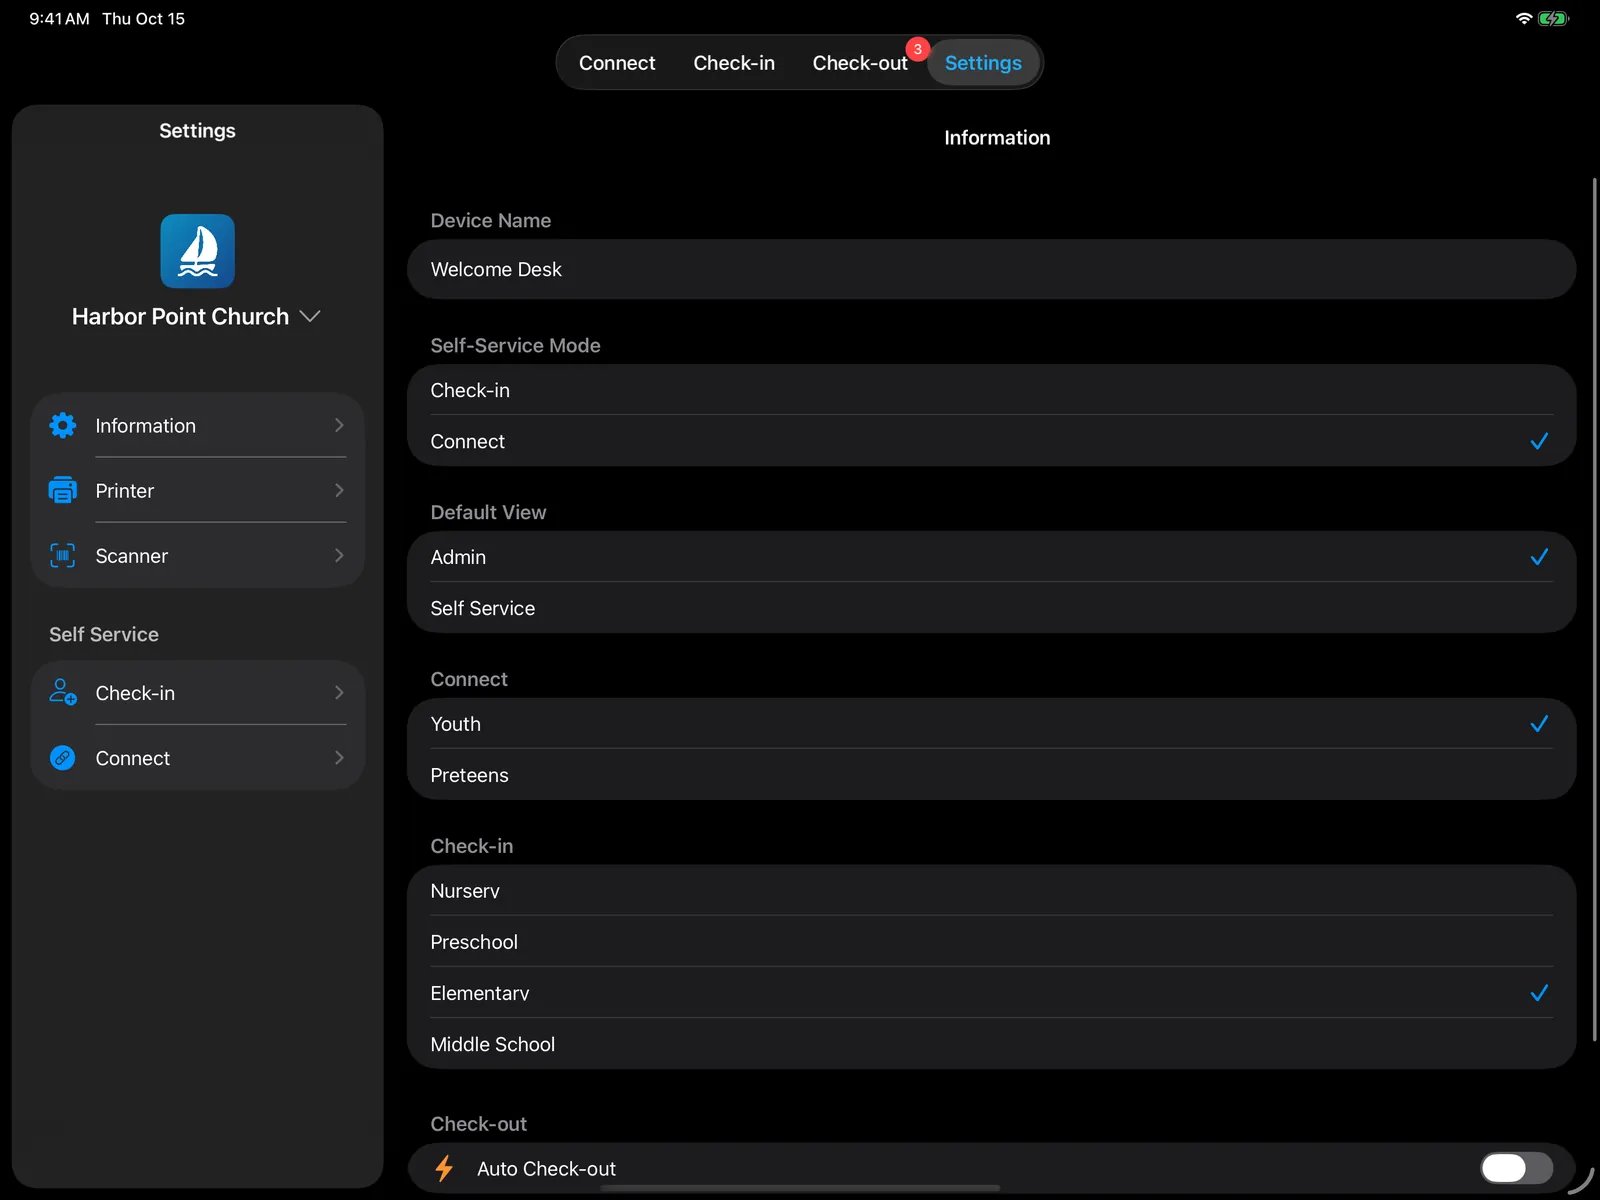
On an admin device, select the Settings tab at the top, or open it from a kiosk. The list on the left has Information, Printer, and Scanner, then the two kiosk screens under Self Service: Check-in and Connect. Your organization’s name at the top switches between organizations on this device.
Information
| Setting | What it does |
|---|---|
| Device Name | Shown in the dashboard, like “Welcome Desk”. |
| Self-Service Mode | Which kiosk this device shows in self-service: Check-in (kids check-in) or Connect (connect attendance). |
| Default View | Admin or Self Service: the mode the device opens in. |
| Connect | The connect this device takes attendance for. |
| Check-in | The check-in location (check-in group) this device serves, like Elementary. |
| Auto Check-out | Check families out as soon as their code is scanned, without the confirmation screen. This device only. |
At the bottom, Remove Device removes this organization from the device. You can add it again later with the device code.
Printer and scanner
See Printers and labels and Scanners.
Self-service appearance
Self Service → Check-in and Self Service → Connect each have their own look, so a kids kiosk and a connect kiosk can be different. The preview at the top shows what families will see.
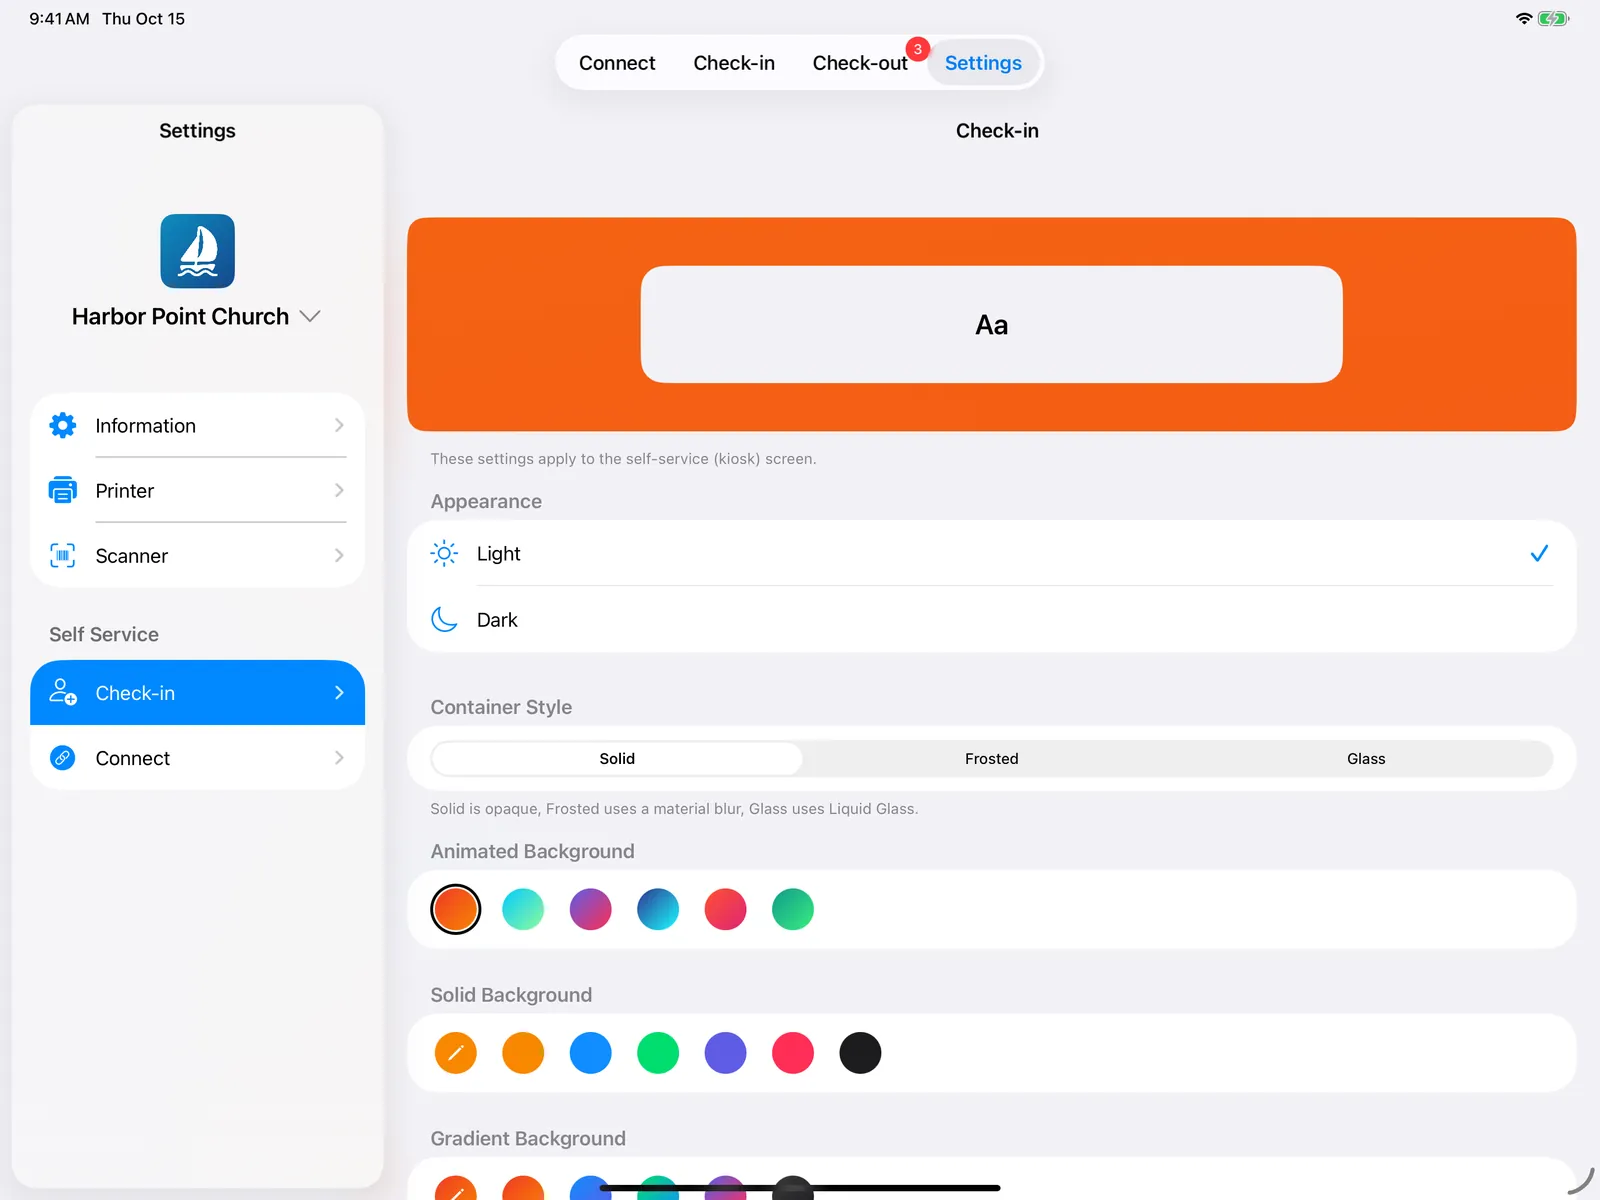
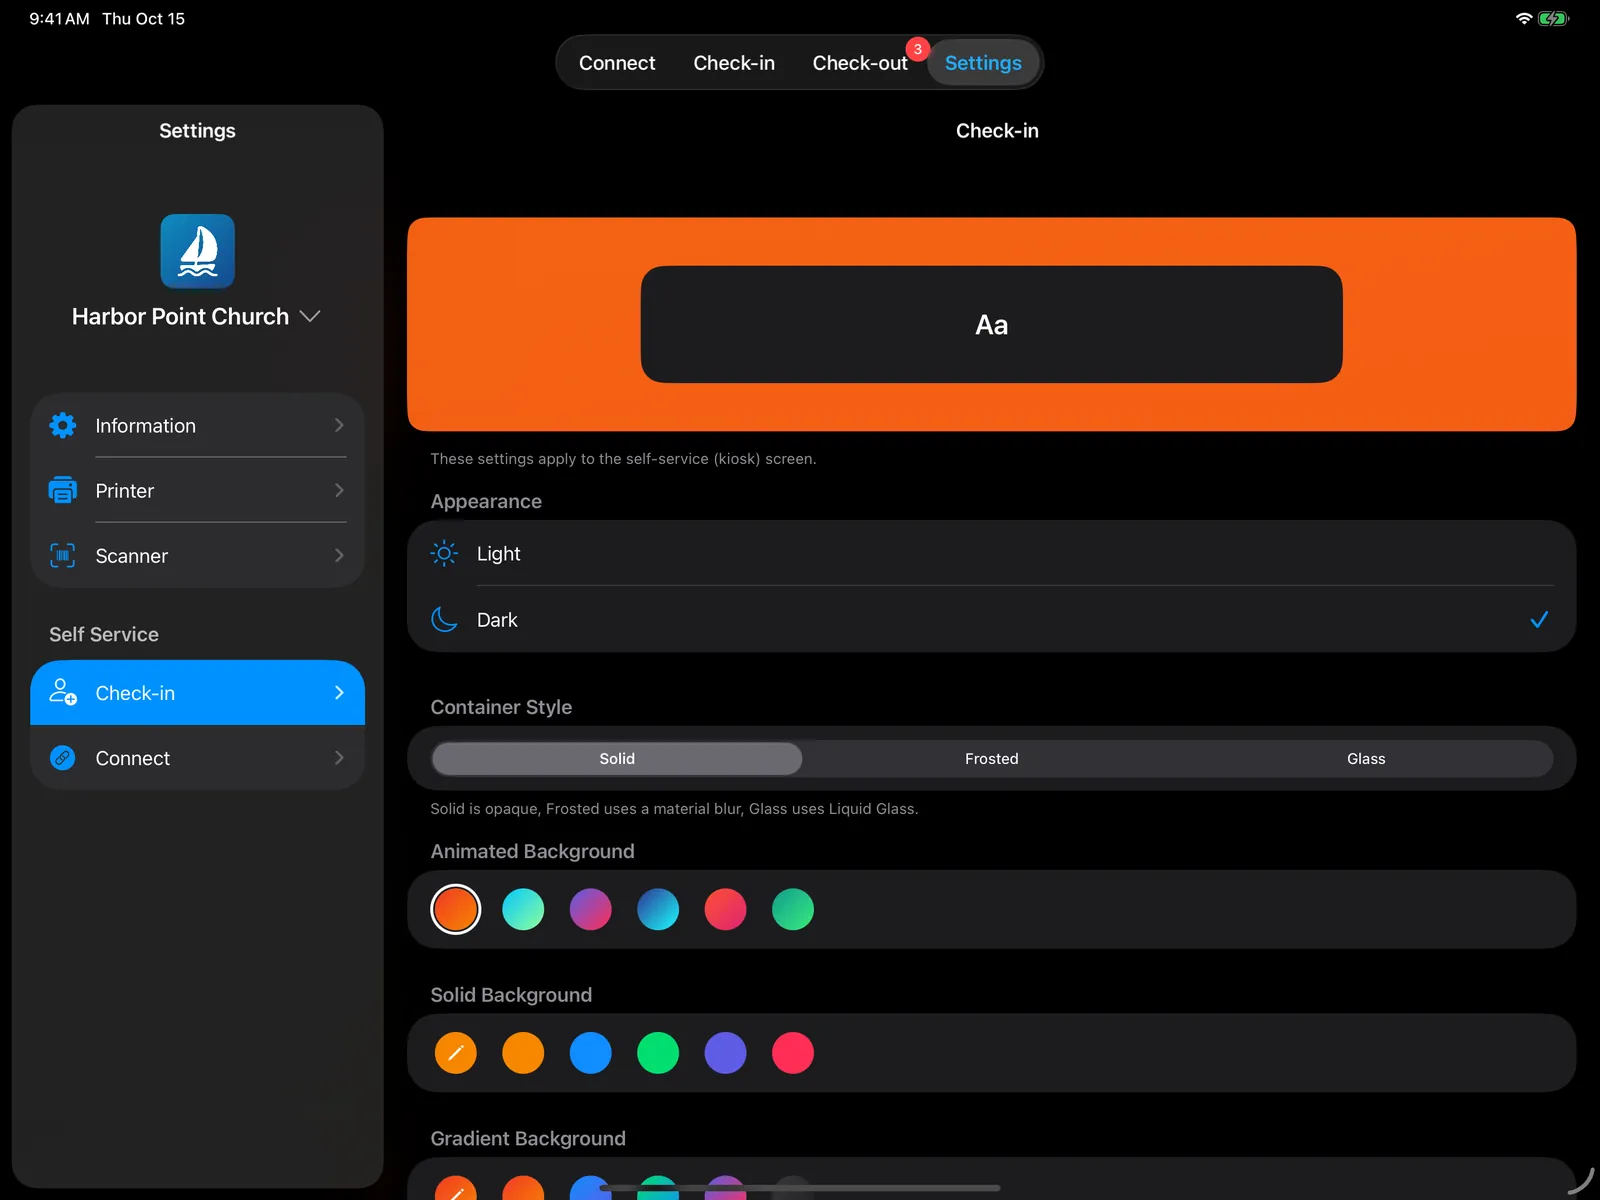
- Appearance: Light or Dark. This is the kiosk’s own setting; it doesn’t follow the iPad.
- Container Style: Solid (opaque), Frosted (blurred), or Glass.
- Animated Background, Solid Background, or Gradient Background. Gradients come in presets (Sunset, Aurora, Twilight, Deep Ocean, Ember, and Forest), or make your own with Custom Gradient.
- Visitors → Allow Add Yourself (Connect only): lets people who aren’t on the list add themselves and check in.
Switch to self-service
Select the button at the top left of the admin screens (on iPhone, it’s in the … menu), then Switch. The device opens the kiosk you chose in Self-Service Mode.
Get to admin settings from a kiosk
A self-service kiosk doesn’t show its settings, so families can’t change them. To open them:
On an admin device, show the Admin access code
Select the shield button in the toolbar. A one-time QR code appears.
Scan it at the kiosk
Hold it up to the kiosk’s camera, or scan it with the kiosk’s scanner. The kiosk opens Settings.
Make your changes
From Admin Dashboard, you can also switch the kiosk to admin mode.
Each code works once.