
Connect attendance
The Check-in Portal also takes attendance for your connects, like a Sunday class, youth night, or volunteer team. Attendance shows up in the dashboard under Connect attendance.
Choose the connect
In Settings → Information, pick the connect under Connect. The device takes attendance for that connect until you change it. See Settings.
At an admin device
Select the Connect tab at the top. You’ll see Connect Attendance with the connect’s name, and its members with their email, phone number, and date of birth. A green check means they’re checked in today.
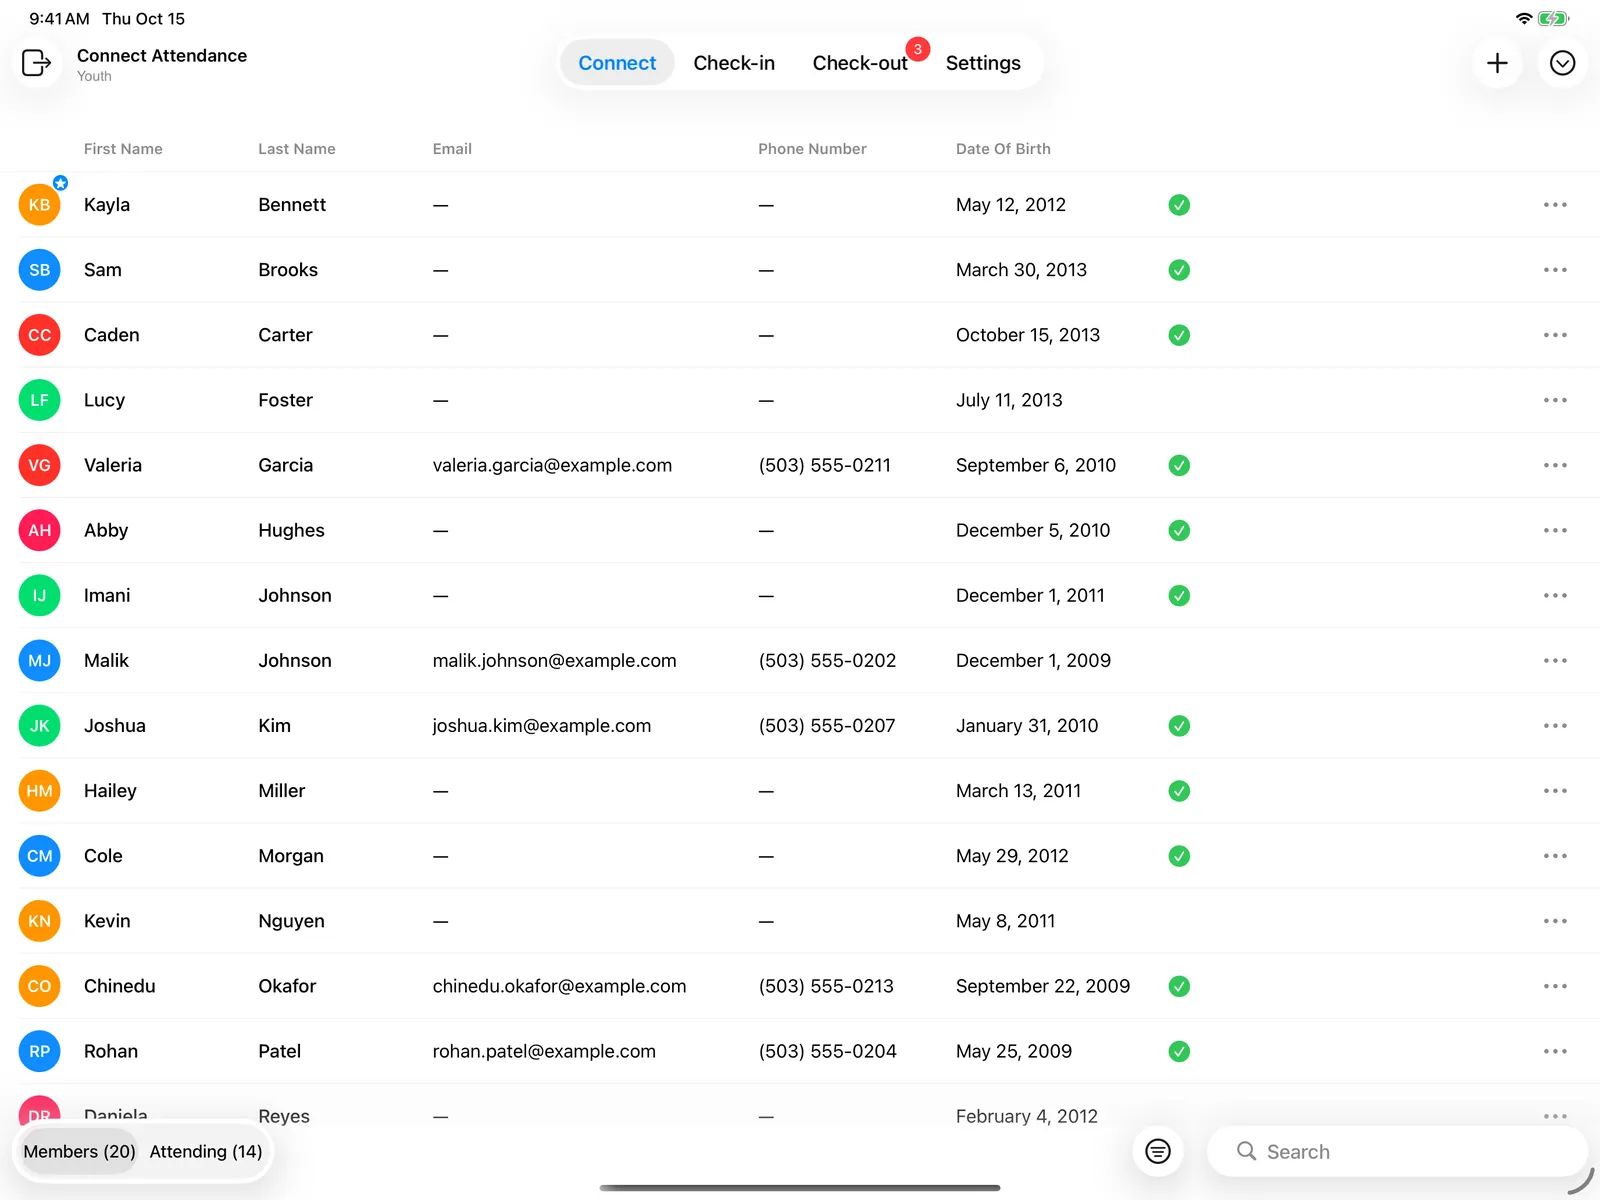
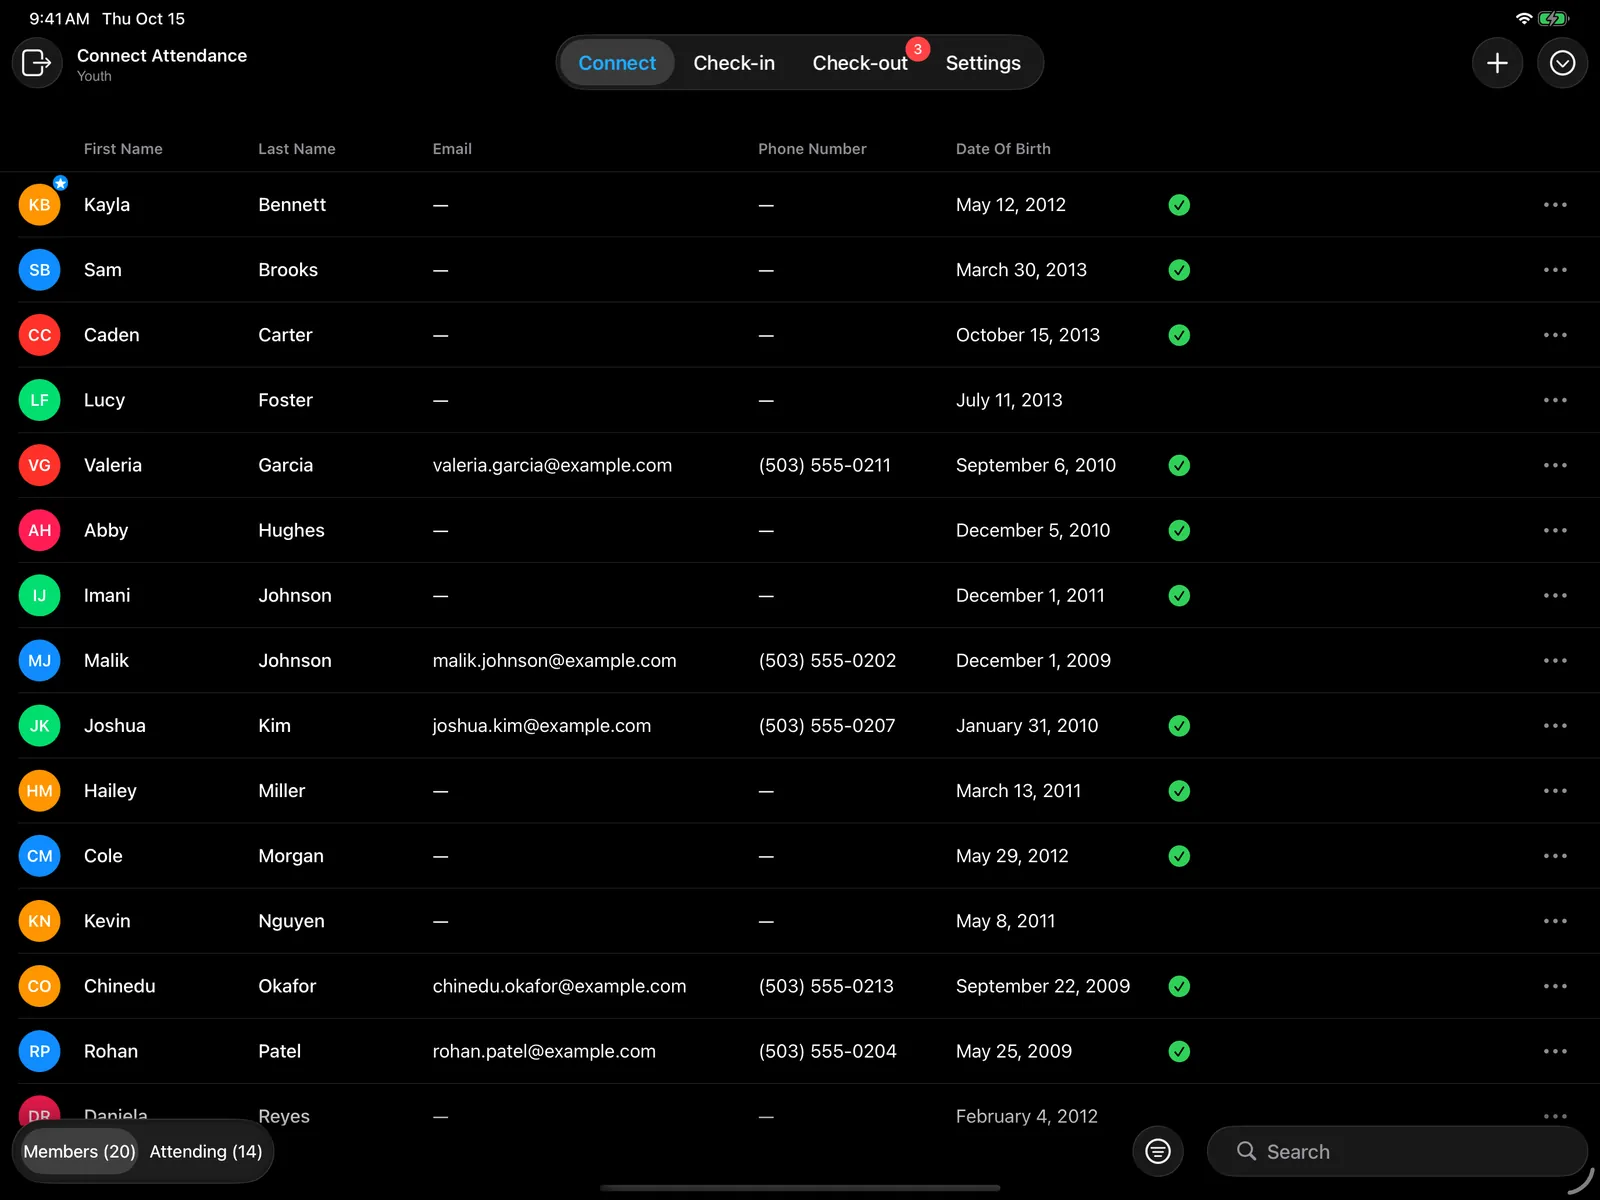
- Switch between Members and Attending (people checked in today) at the bottom. Each shows a count.
- Tap a member and select Check-in. Select Undo Check-in if you tapped the wrong person.
- Use Show to see only people Not Checked In, and sort by first or last name.
- Select + to add someone new. Add & Check-in adds them to the connect and checks them in at once.
- Use a member’s ⋯ menu to Remove Member.
- Search by name.
Select a person to see their contact details, family, and attendance: how many Visits, when they were Last Seen, how often they Usually come, and All Visits.
Self check-in
To let people check themselves in, set Self-Service Mode to Connect in Settings → Information, then switch the device to self-service. See Settings.
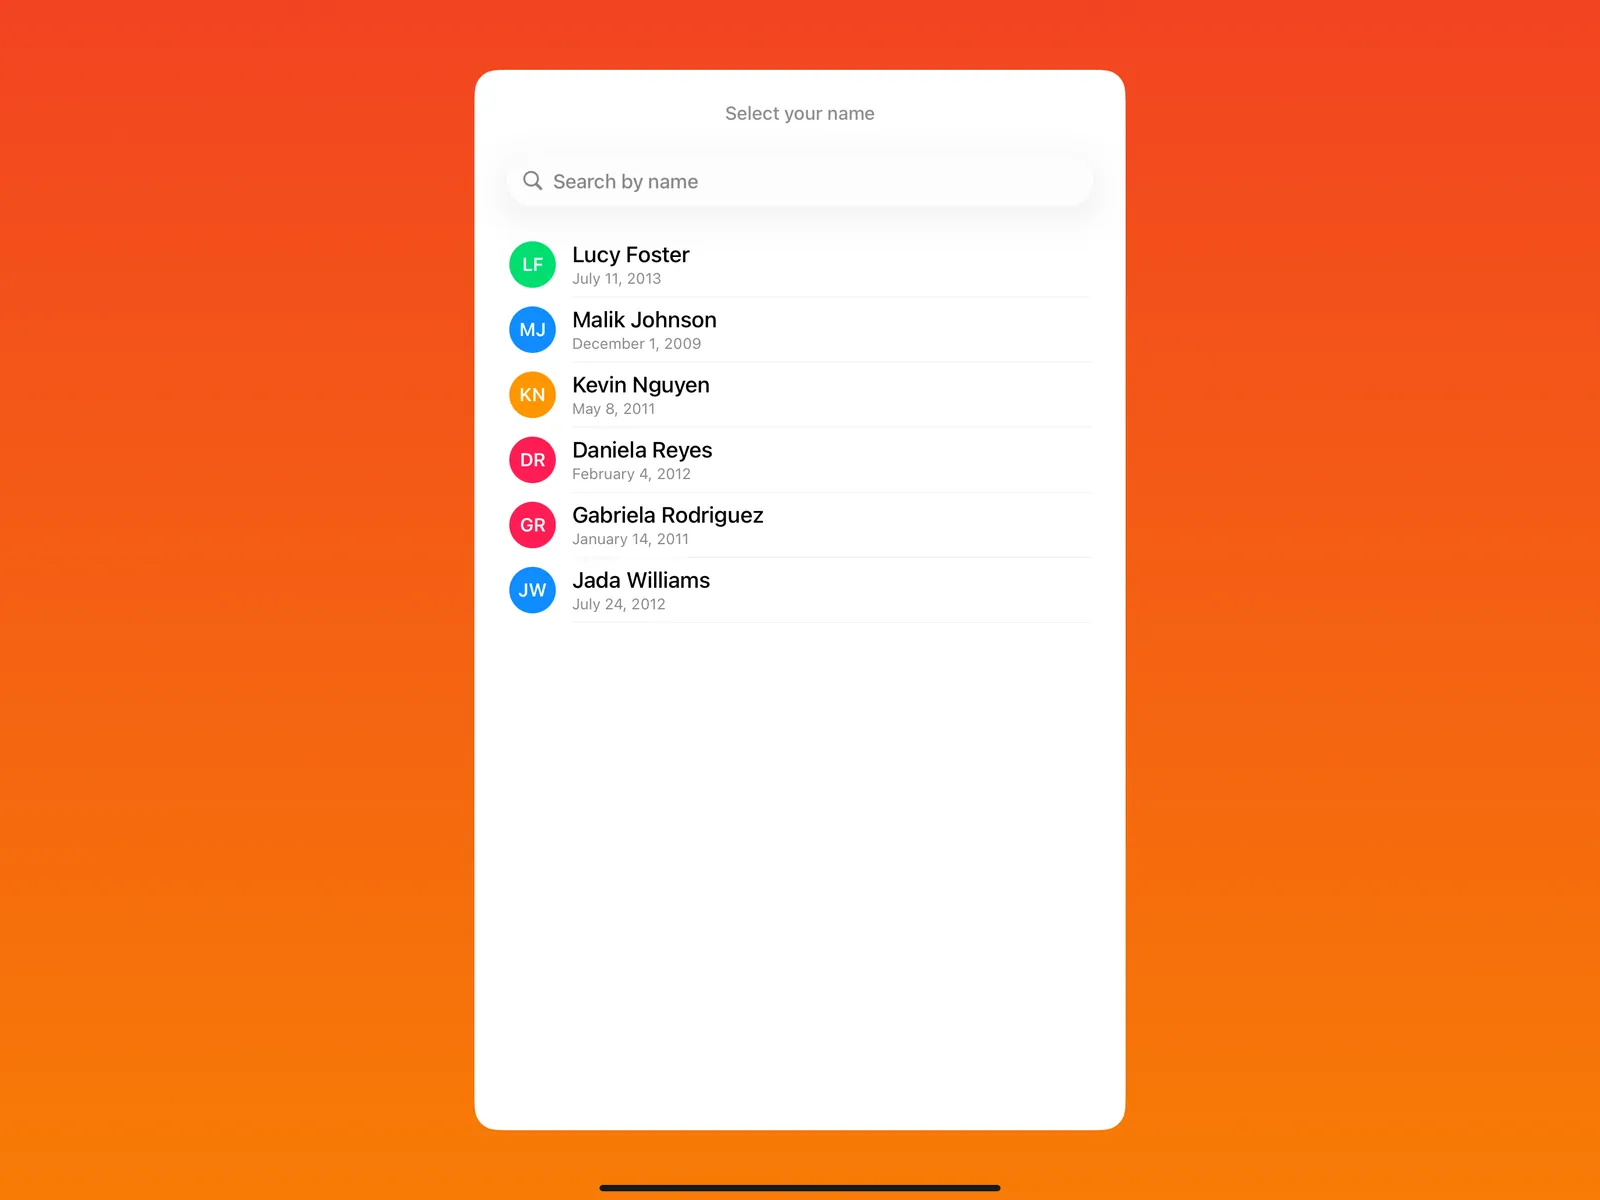
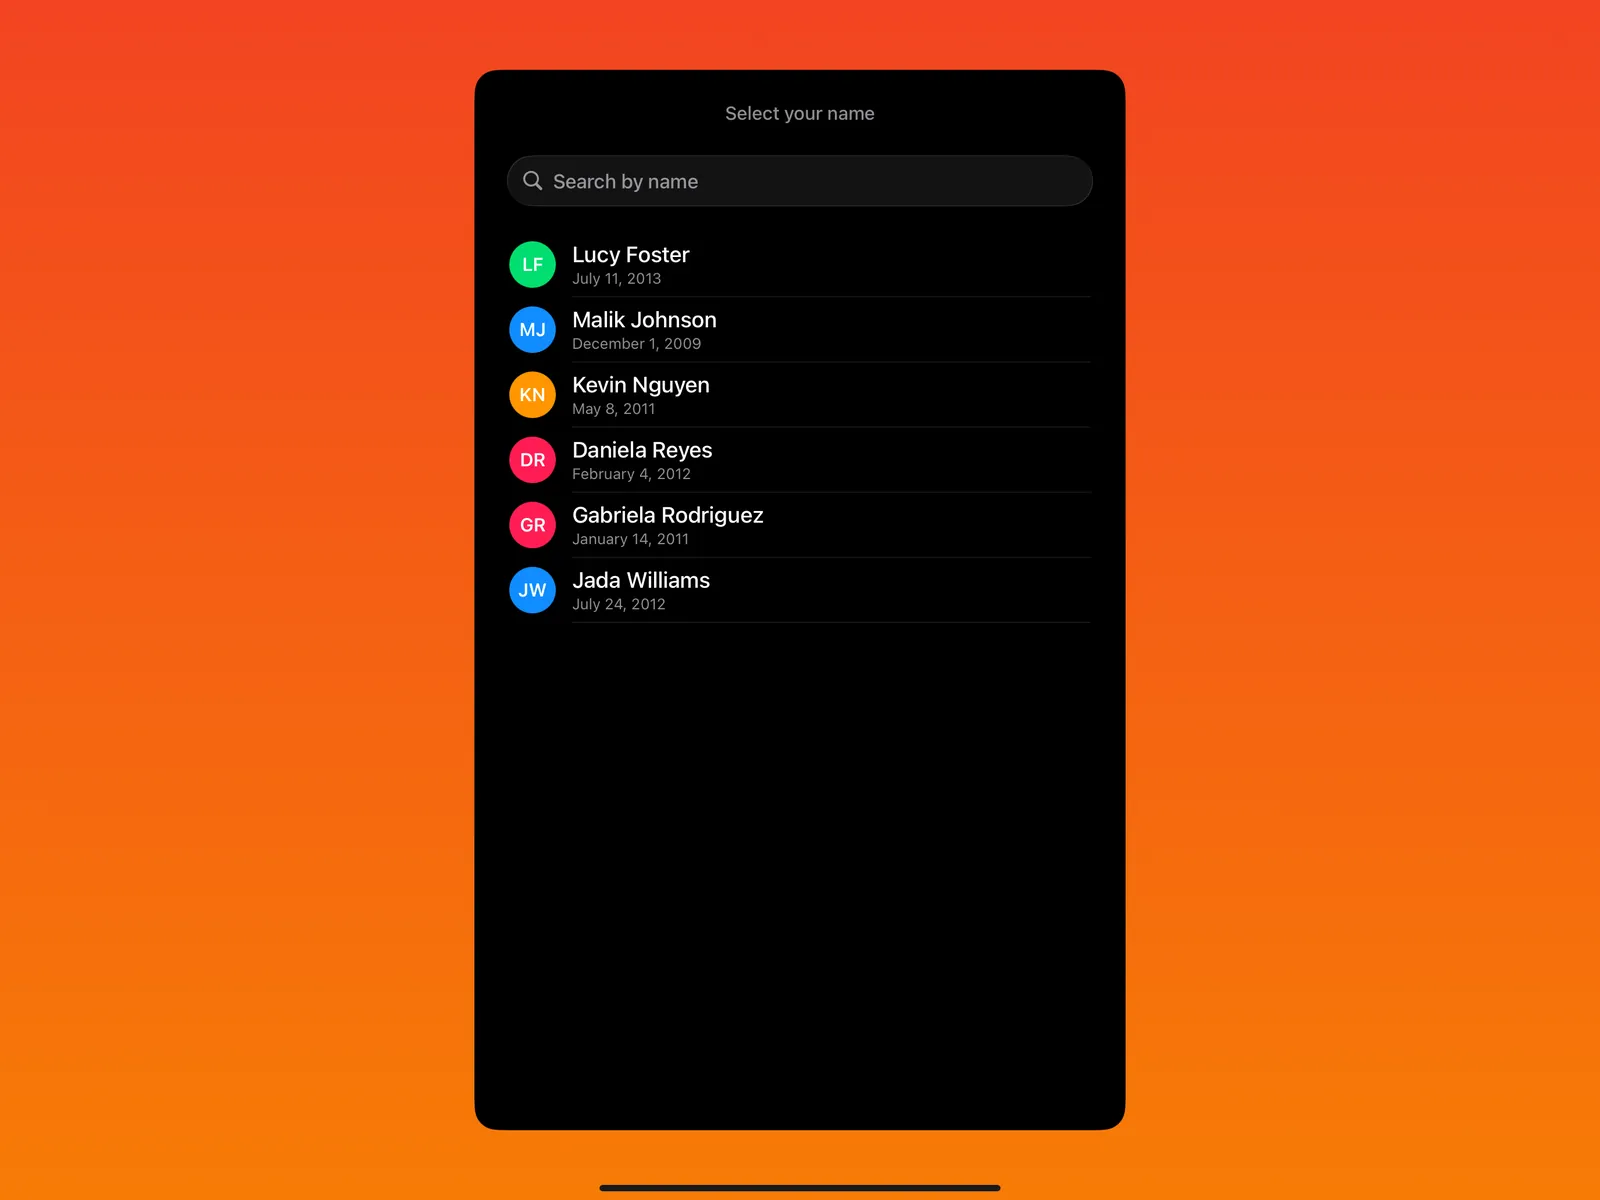
- Select your name, or search for it. The list shows members who haven’t checked in yet.
- Select Check-in.
If Allow Add Yourself is on (in Settings → Self Service → Connect), newcomers can select Add Yourself, enter their name (and optionally email, phone, and birthday), and select Add & Check-in. They’re welcomed by name and checked in.