
Check in at the welcome desk
An admin device is for your team. Use it at a welcome desk to help parents, add new families, and keep an eye on who’s checked in at your location.
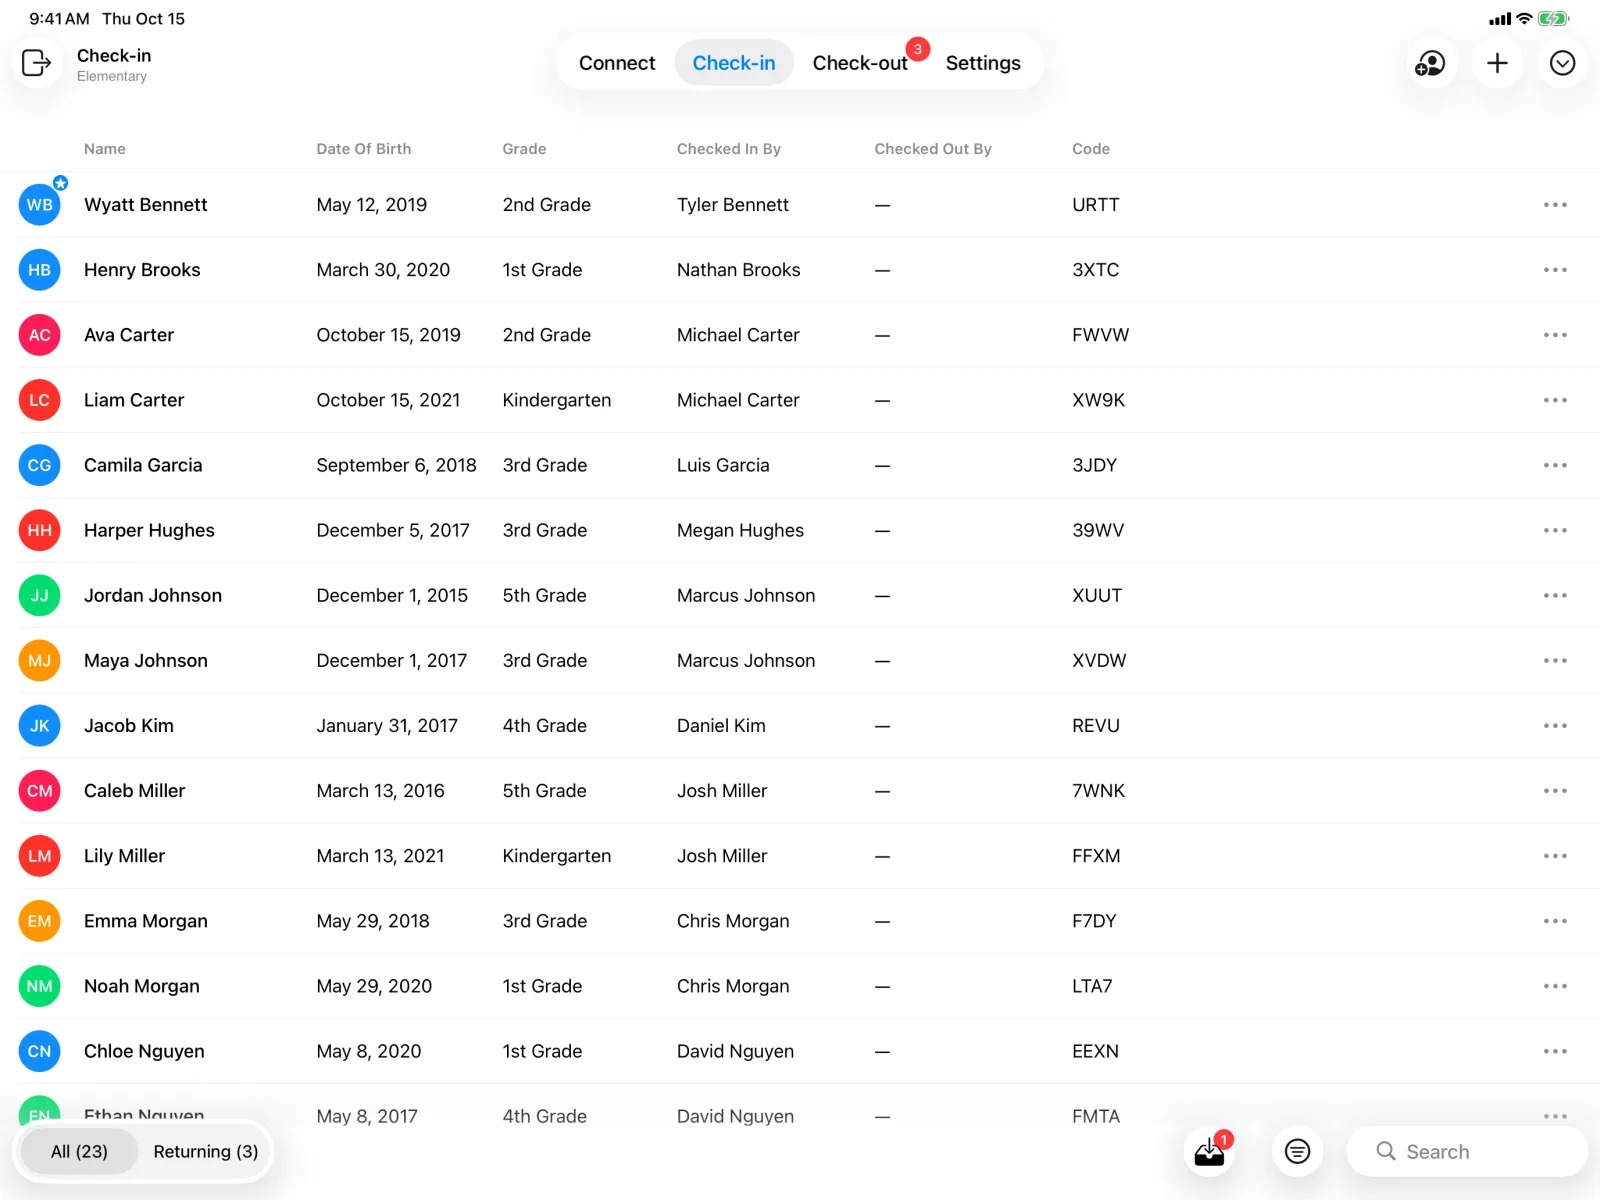
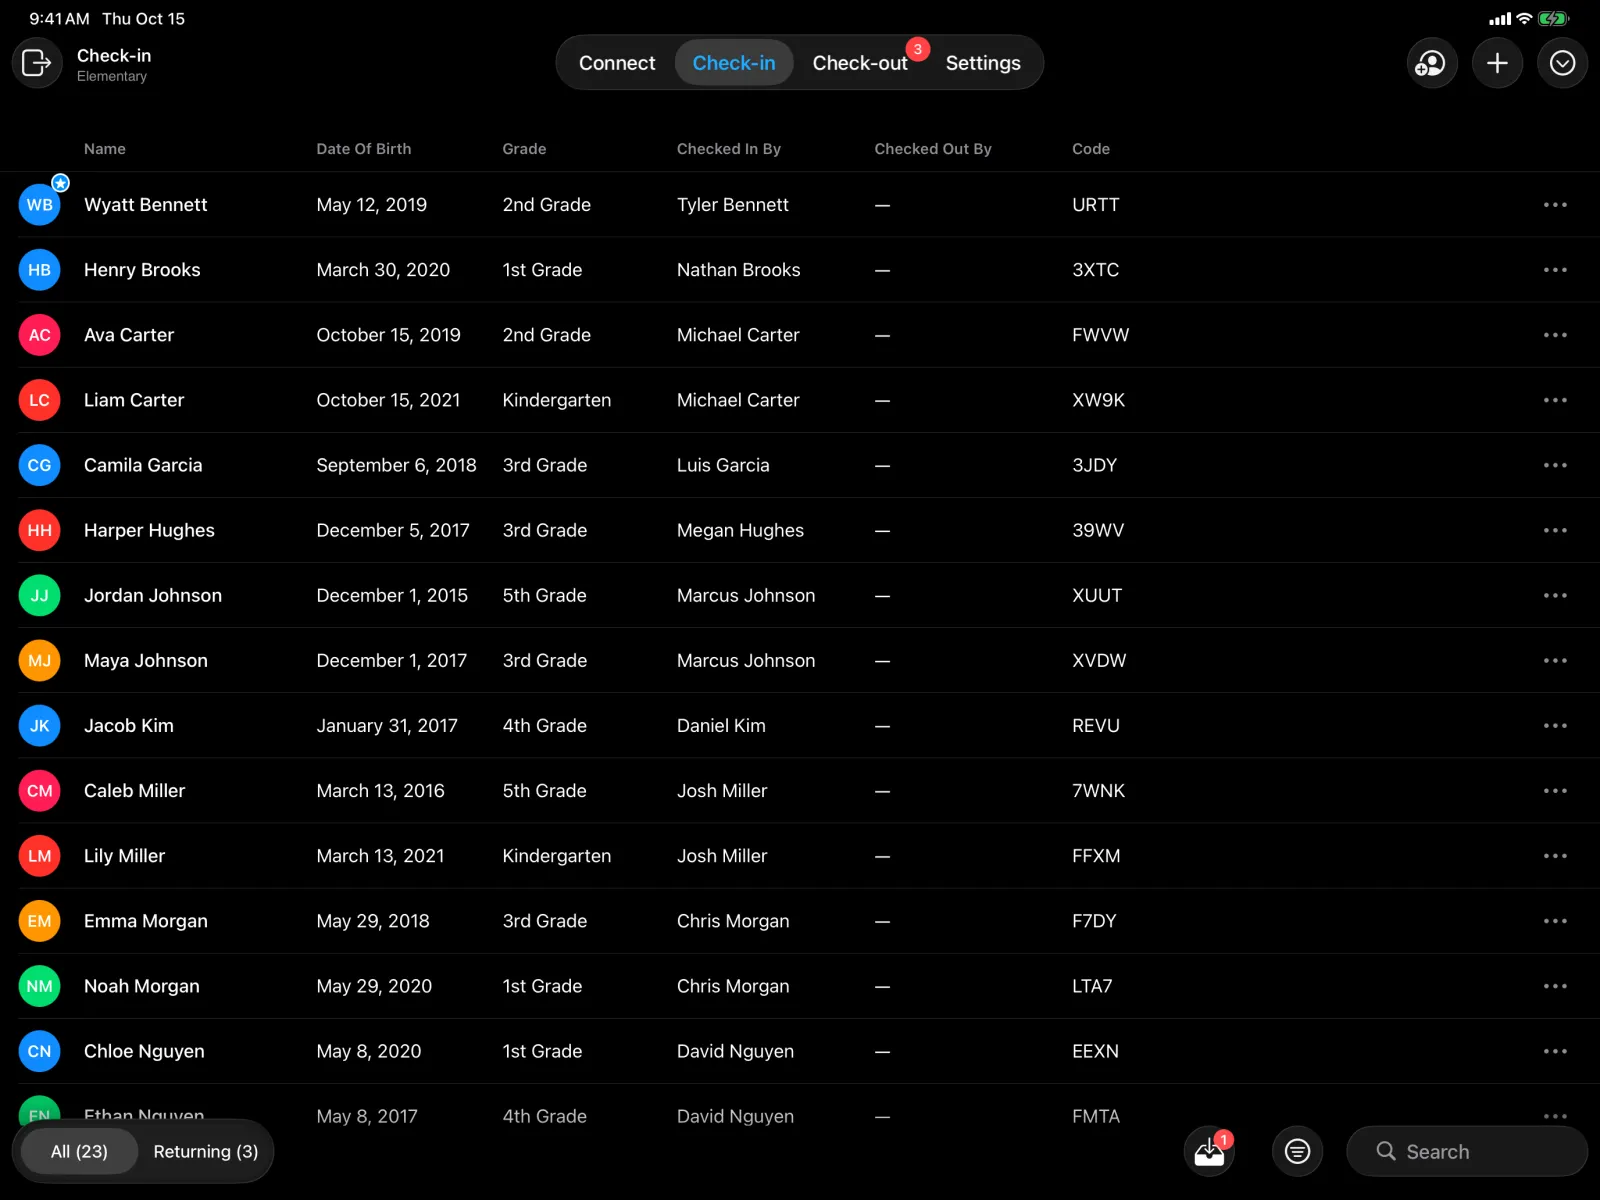
The Check-in tab
The list shows every child checked in to this device’s location today.
- Switch between All and Returning. Returning shows children coming back after missing the last session, so you can welcome them.
- Use Sort By (First Name or Last Name) and Order, and Show only children Not Checked Out.
- Search by name.
Select a child to see their date of birth, grade, who Checked In By, who Checked Out By, and their code.
To work at a different room, use Switch check-in location.
Check a child in
Select Check-in a Child, then either:
- Pick from the list: search for the child and select Check In.
- Scan their code: scan the QR code on the child’s own record with Scan Individual Child’s QR Code.
Labels print as usual.
If a child’s grade isn’t in this location’s group, you’ll be warned. You can choose Check In Anyway, and the child appears under the location their grade belongs to. If they don’t have a grade, or no location includes it, you’ll see Can’t Check In This Child: set their grade first.
Add a family
For first-time families, select Add a Person, or let them fill in their own details with Send to Phone. See Walk-in families.
Reprint, copy, or remove
Use a child’s menu to:
- Print their labels again.
- Copy their code (Code Copied).
- Remove Check-in, if they were checked in by mistake. This can’t be undone.
Edit a child
Open a child to edit their name, date of birth, gender, grade, emergency contact, medical information, and medications, then select Save Child.
Switch the device to self-service
Select Switch to Self-Service in the toolbar (on iPhone, it’s in the … menu). To get back, see Get to admin settings from a kiosk.