
Settings
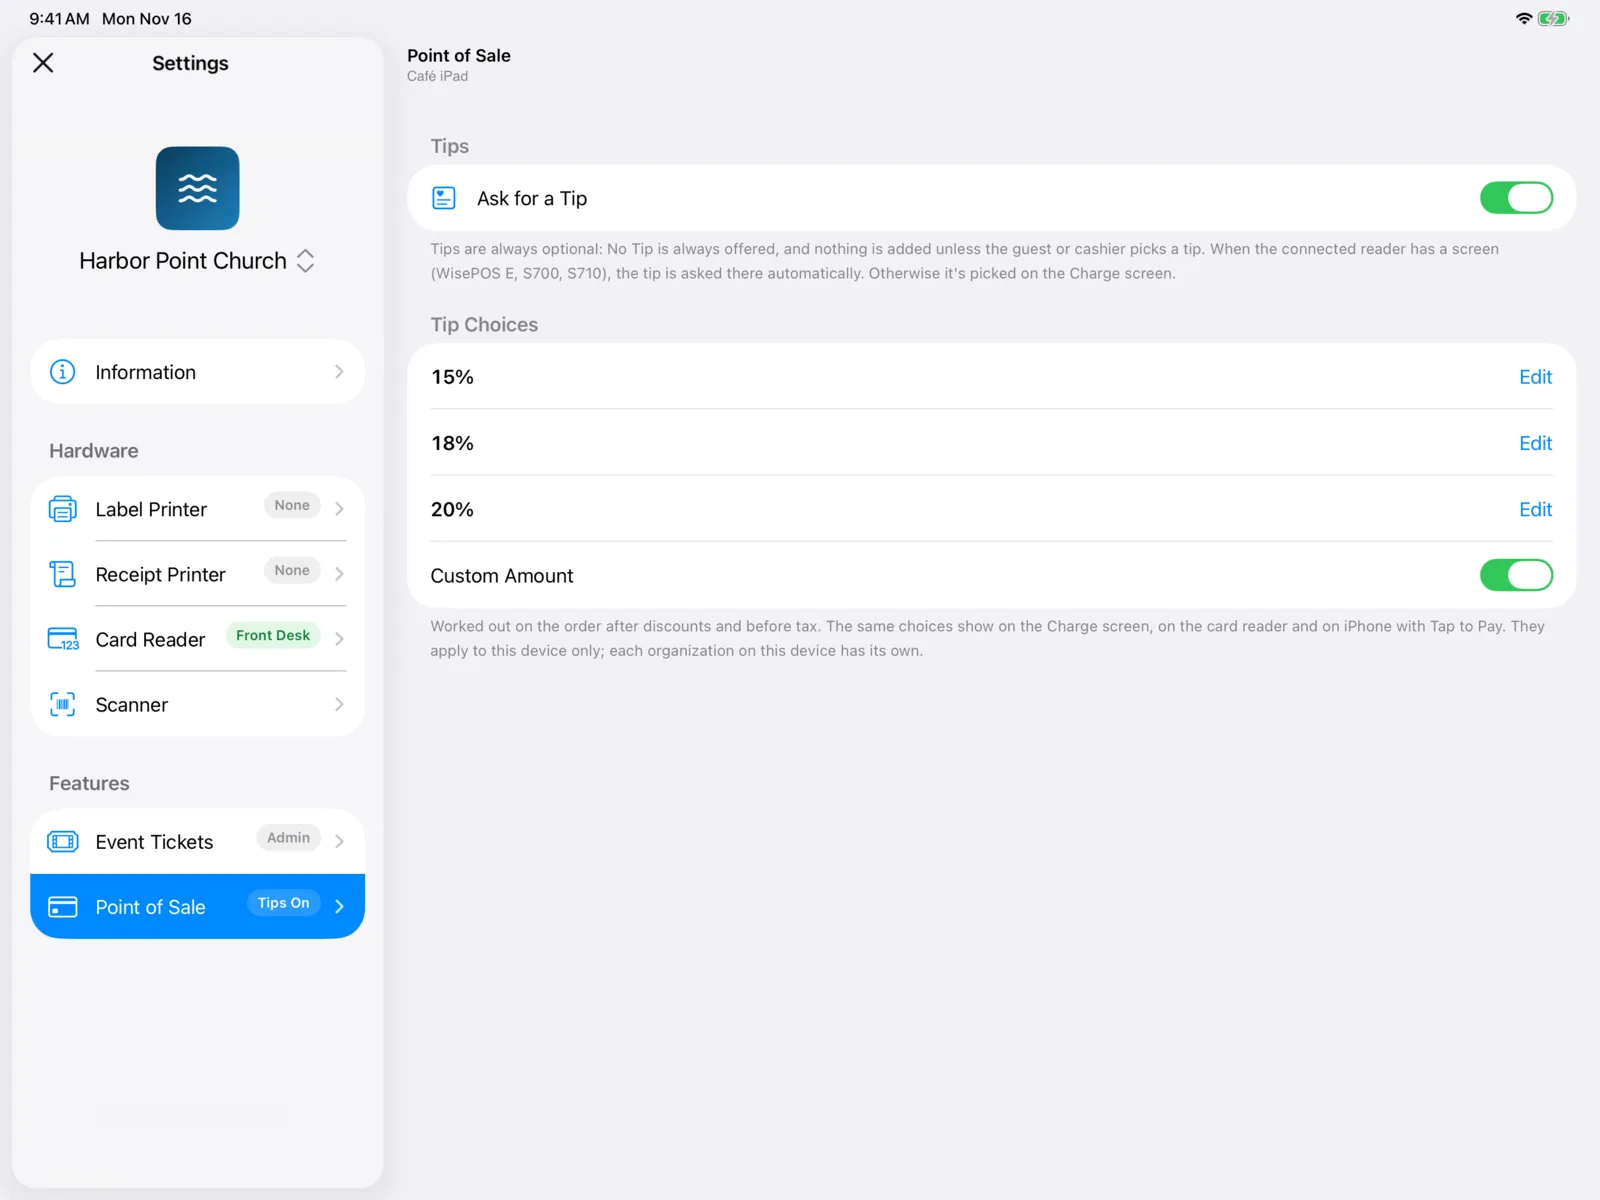
Select the gear button at the top right of the home screen to open Settings. Select Close (X) to go back.
- On iPad, the list on the left has your organization, Information, then Hardware and Features. The page you pick shows on the right.
- On iPhone, it’s one list: your organization, Device Name, Hardware, Features, About This Device, and Remove Device. Select a row to open its page.
Your organization’s logo and name are at the top. Select the arrows beside the name to switch organizations or add one. See More than one organization.
Most settings are for this device only. When a device has more than one organization, each one keeps its own.
Status at a glance
Each row shows a status label, so you can check a device without opening every page. They update while Settings is open.
| Row | What it shows |
|---|---|
| Label Printer | Ready when a printer is set up, or None. iPad only. |
| Receipt Printer | Ready when a printer is set up, or None. iPad only. |
| Card Reader | The reader in use, like Front Desk or M2 (green when connected). Needs Approval while an iPhone waits for Tap to Pay approval. None when there’s no reader. |
| Event Tickets | Admin or Guest-Facing. |
| Point of Sale | Tips On or Tips Off. |
Information
| Setting | What it does |
|---|---|
| Device Name | The name your organization sees for this device in the dashboard, like “Café iPad”. Type a new one to change it. |
| About This Device | The model, iOS version, and Community Portal app version. Handy when you contact us for help. |
| Remove Device | Removes this organization from the device. You can add it again later with the device code. |
If the app can’t reach your organization when you remove the device, you’ll see Couldn’t Remove Device. Check your connection and try again.
Hardware
| Page | See |
|---|---|
| Label Printer and Receipt Printer (iPad only) | Printers |
| Card Reader | Card readers |
| Scanner | Scanners |
Event Tickets
Choose who uses Sell tickets on this device, under Used By:
| Mode | Best for | What changes |
|---|---|---|
| Admin | A welcome desk your team runs. | Staff get tickets for people. Discounts are chosen from a list, and staff can sell past an event’s capacity with Sell Anyway. |
| Guest-Facing | A device guests use themselves. | People get their own tickets. Discounts are applied with a code, and other people’s contact details are hidden when searching. |
A new device starts on Admin.
Point of Sale
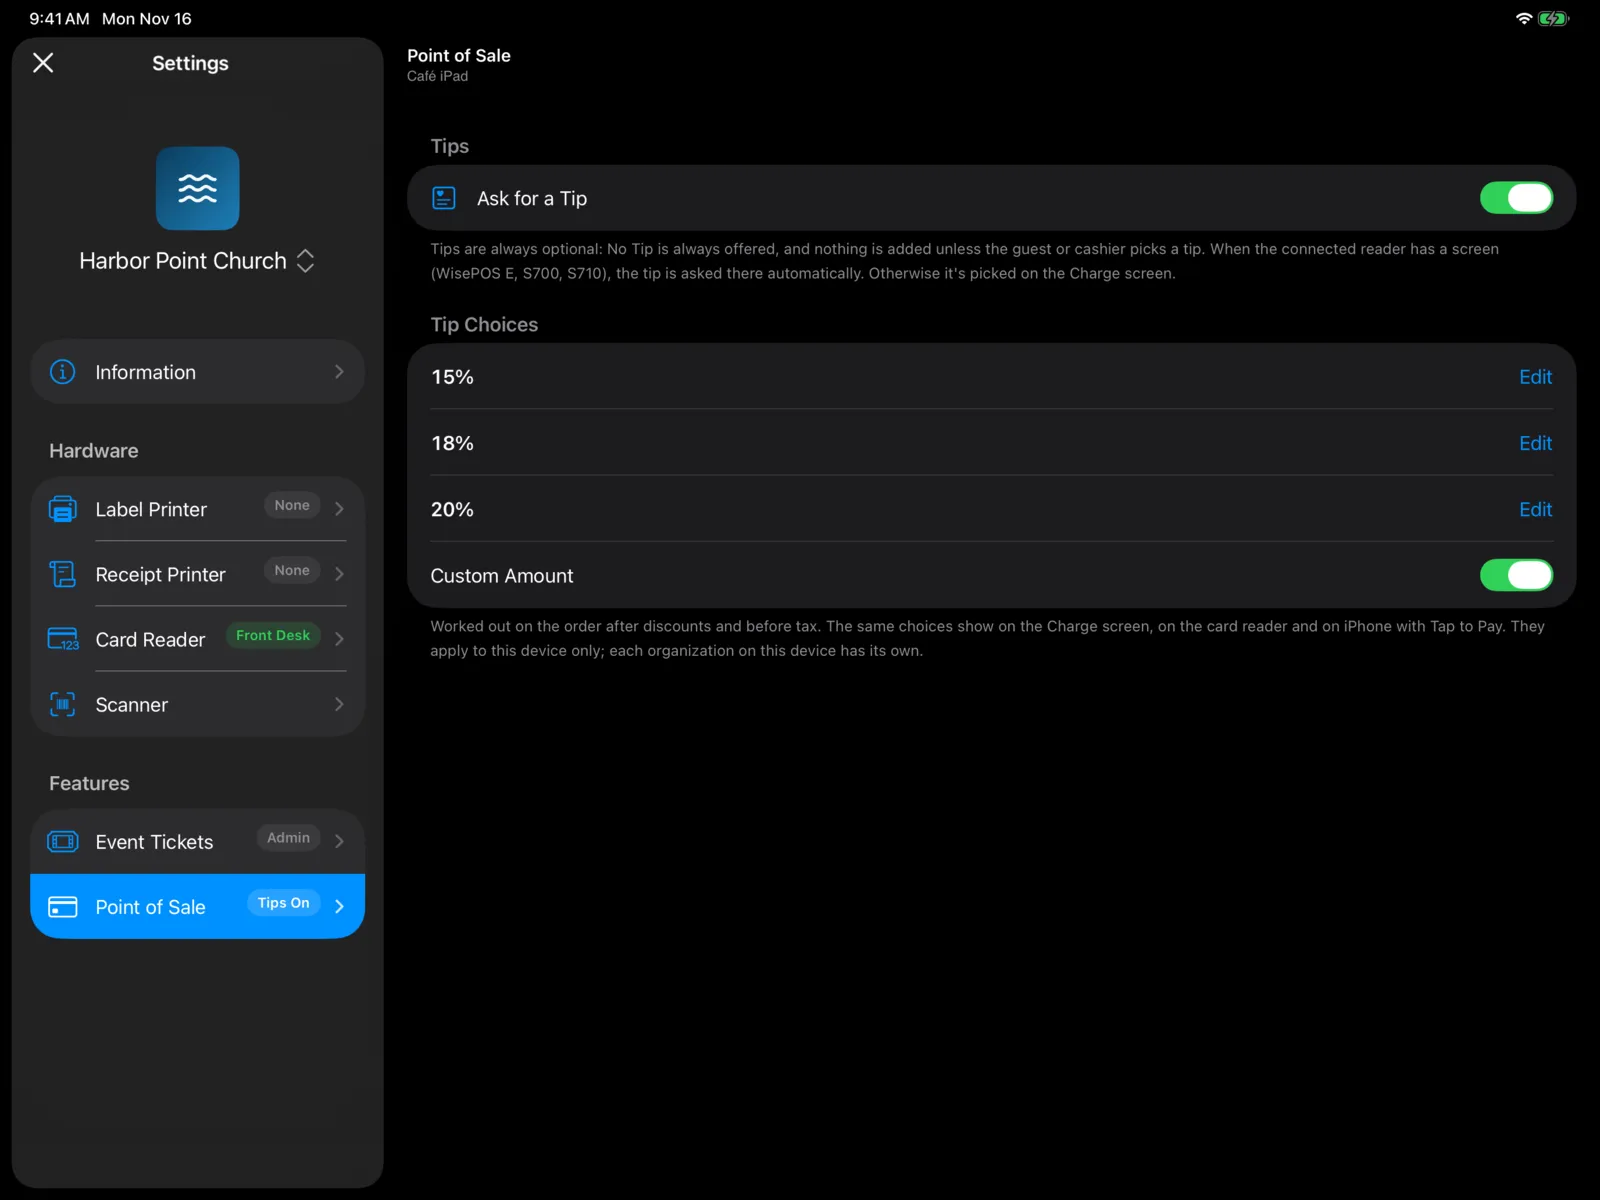
How tips work on this device’s Point of Sale.
| Setting | What it does |
|---|---|
| Ask for a Tip | Offers a tip on each sale. On to start. |
| Tip Choices | The three percentages offered, 15%, 18%, and 20% to start. Select one (it says Edit), type any whole number from 1 to 100, and select Save. They stay in order, smallest first. |
| Custom Amount | Also offers a custom tip beside the choices. On to start. |
Tip Choices and Custom Amount only show while Ask for a Tip is on.
Good to know:
- Tips are always optional. No Tip is always offered, and nothing is added unless the guest or cashier picks a tip.
- Tips are worked out after discounts and before tax.
- Where the tip is picked: when the card reader has a screen (WisePOS E, S700, S710), the guest picks the tip on the reader. Otherwise it’s picked on the Charge screen. With Tap to Pay on iPhone, the guest sees Add a tip? on the iPhone before they tap.
- The same choices show everywhere tips are asked on this device.