
Events and tickets
Every event you create in the dashboard gets its own page on your website. Events show up wherever you’ve added an events section, on the calendar, and in announcements that link to them.
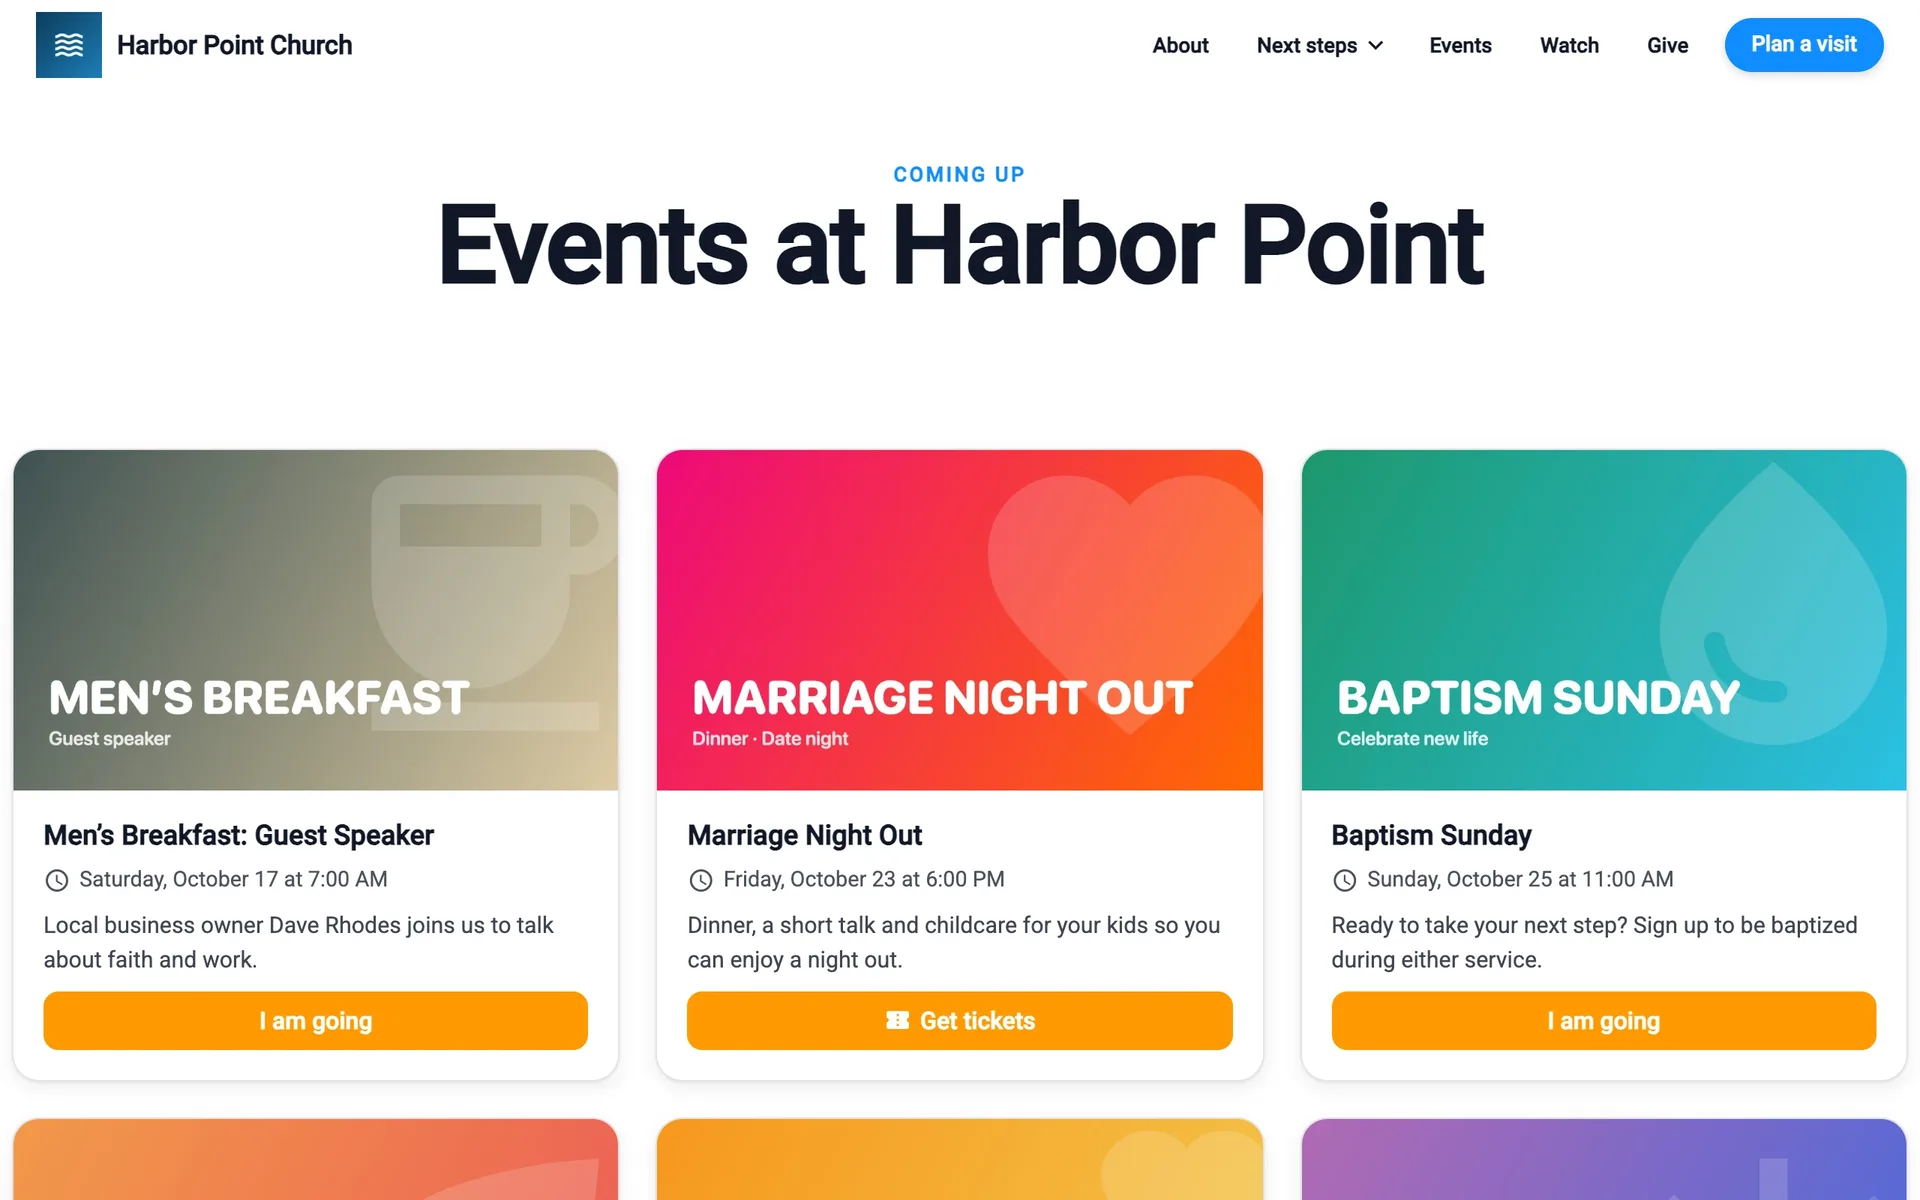
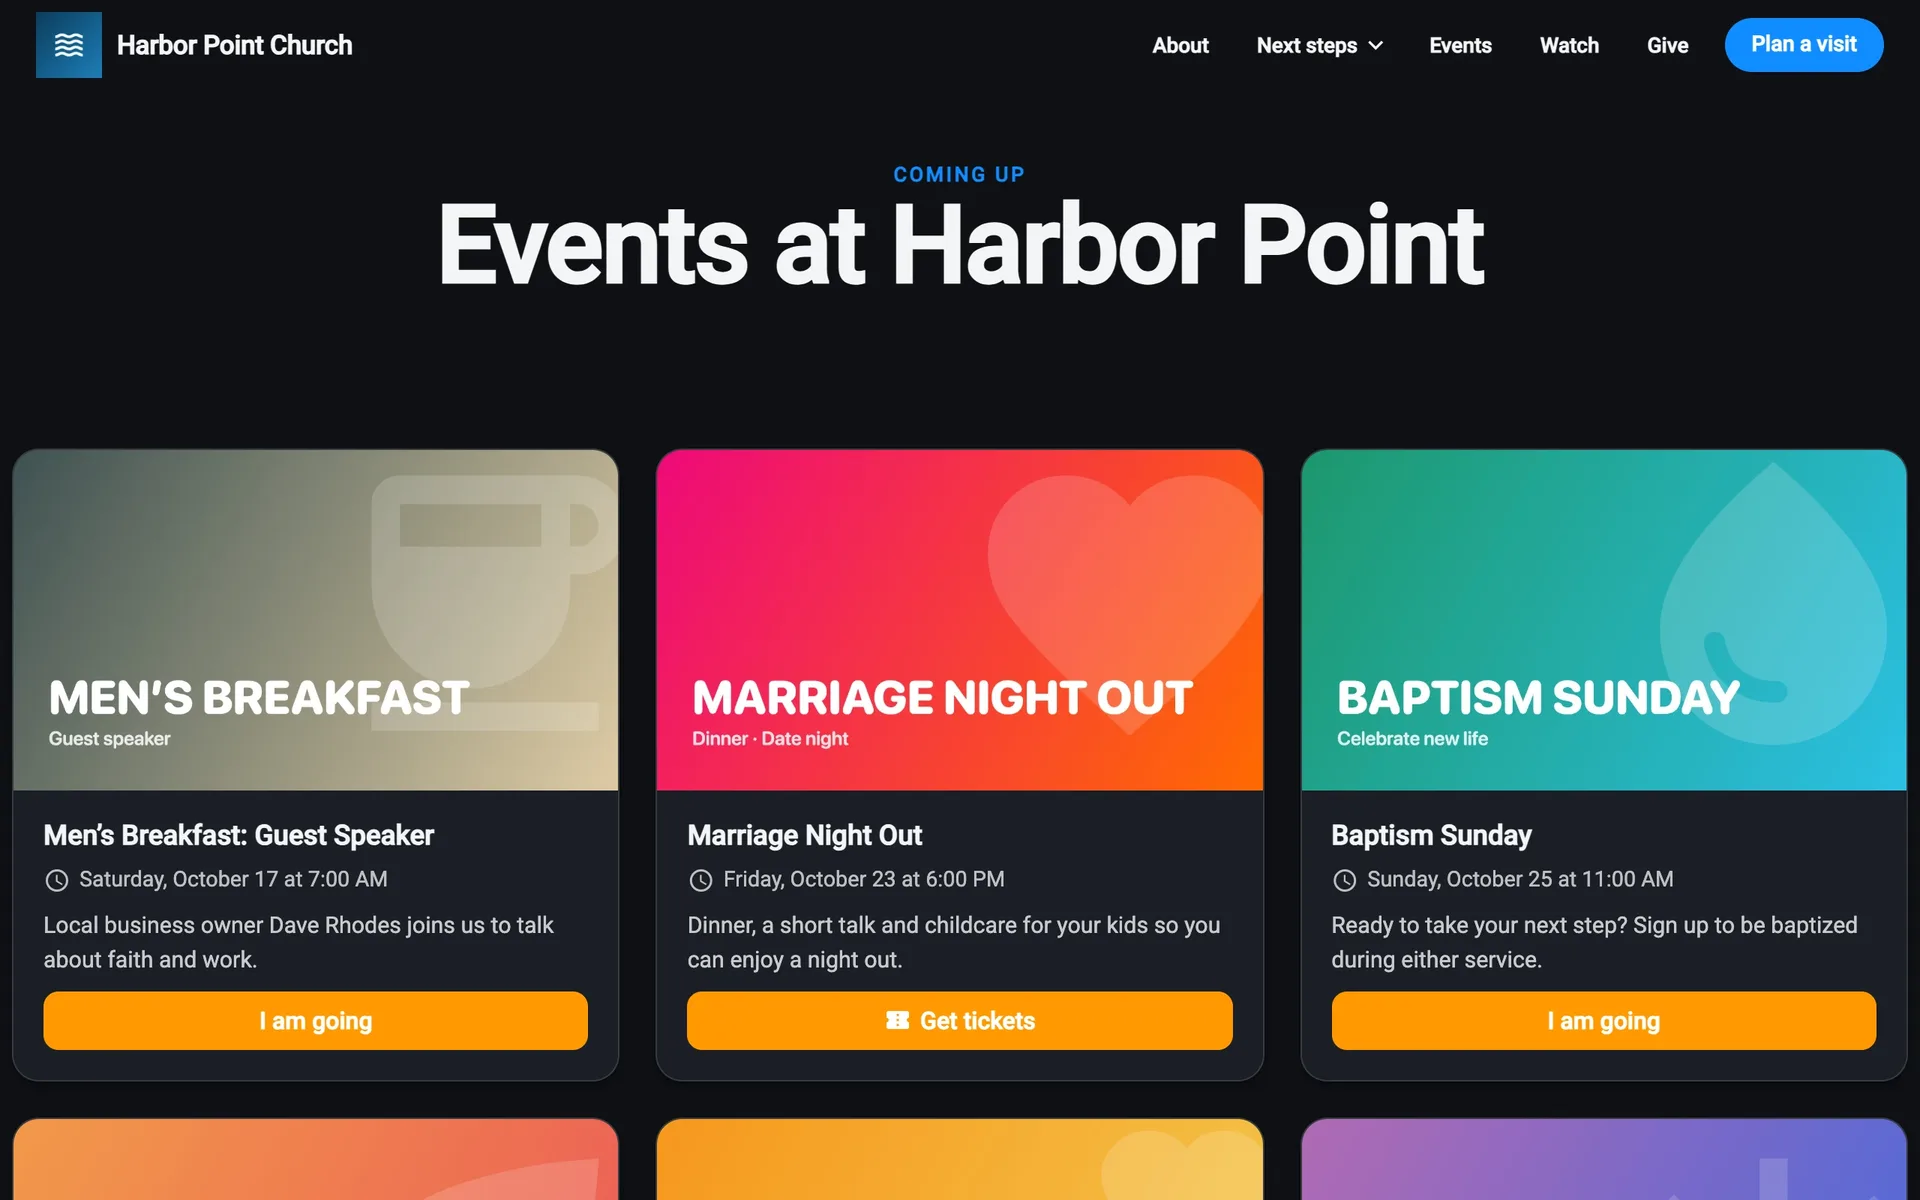
An event’s page
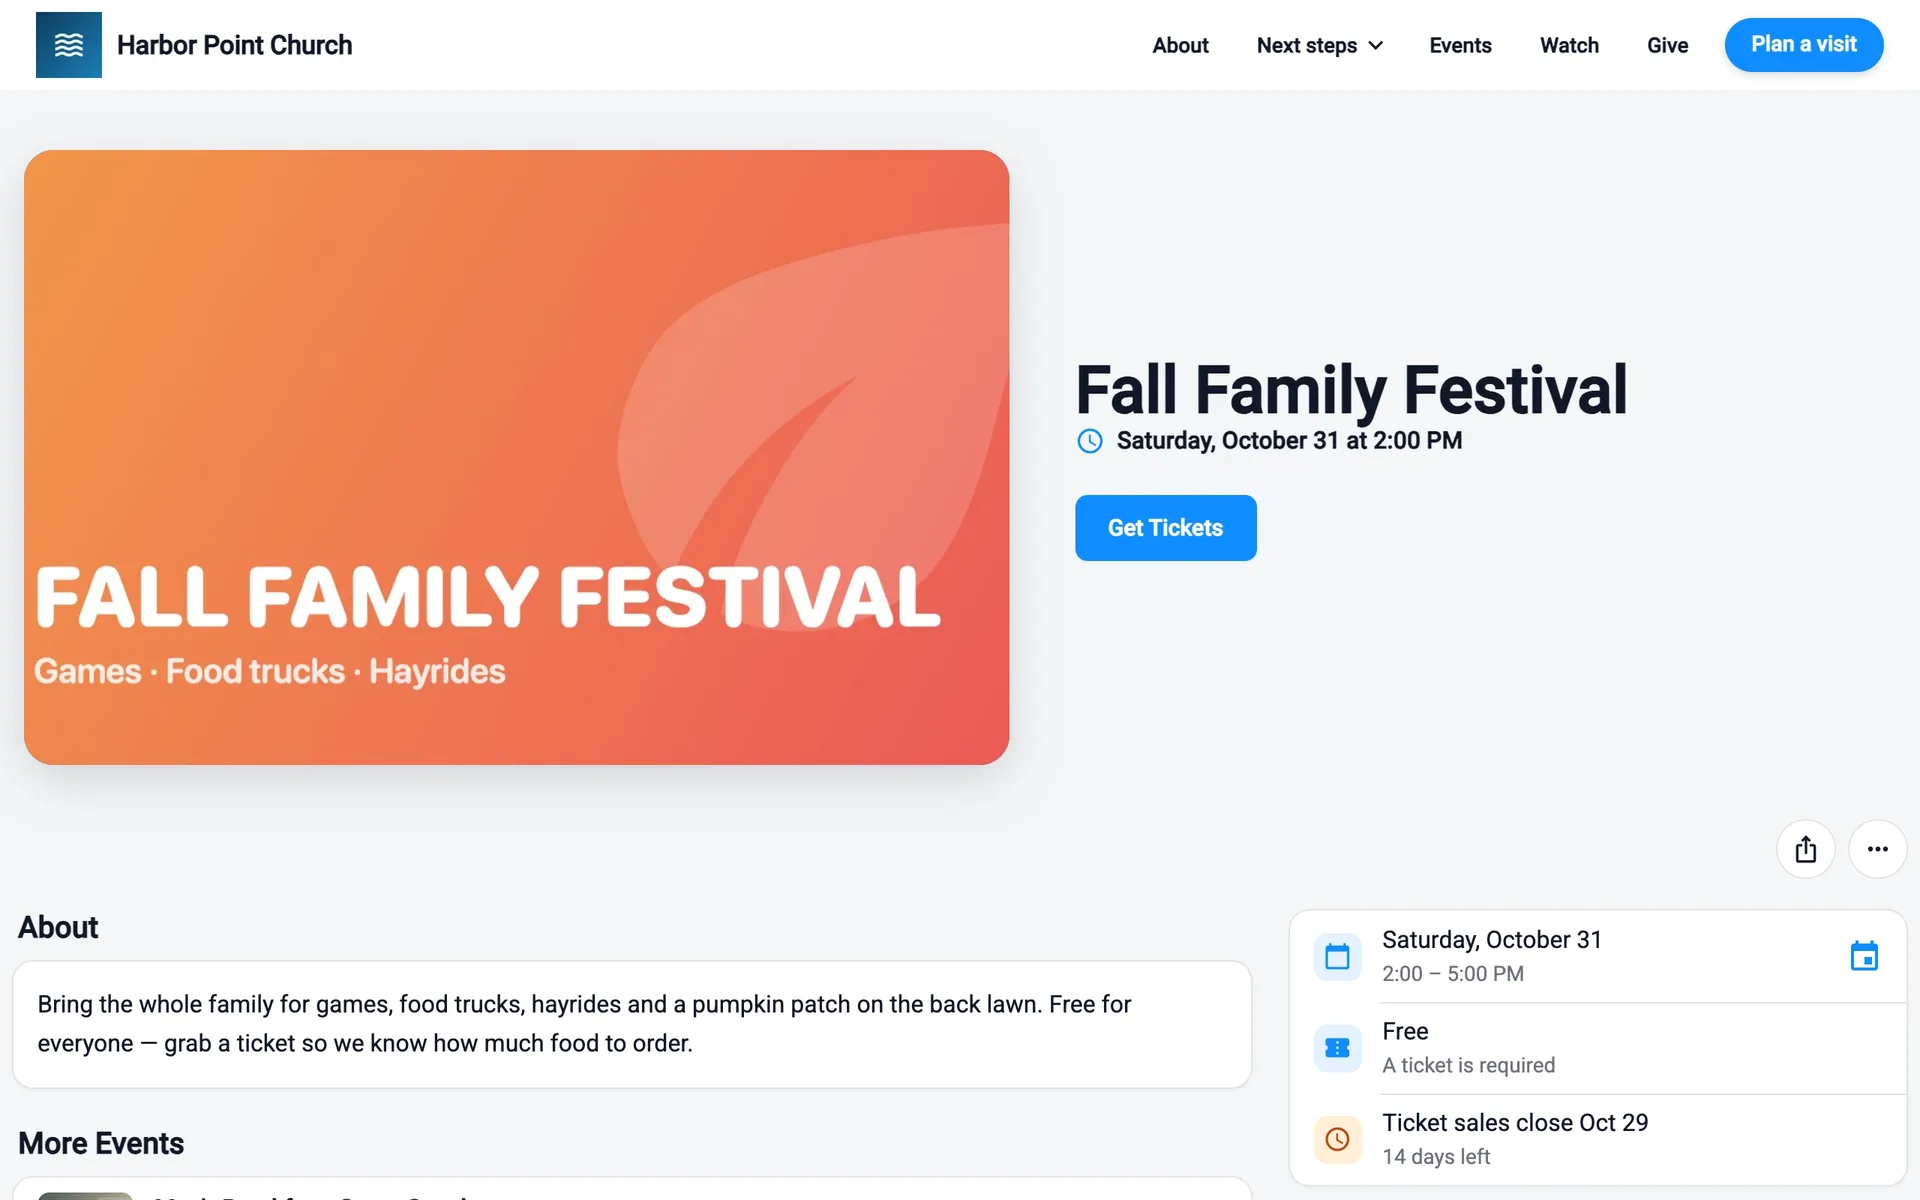
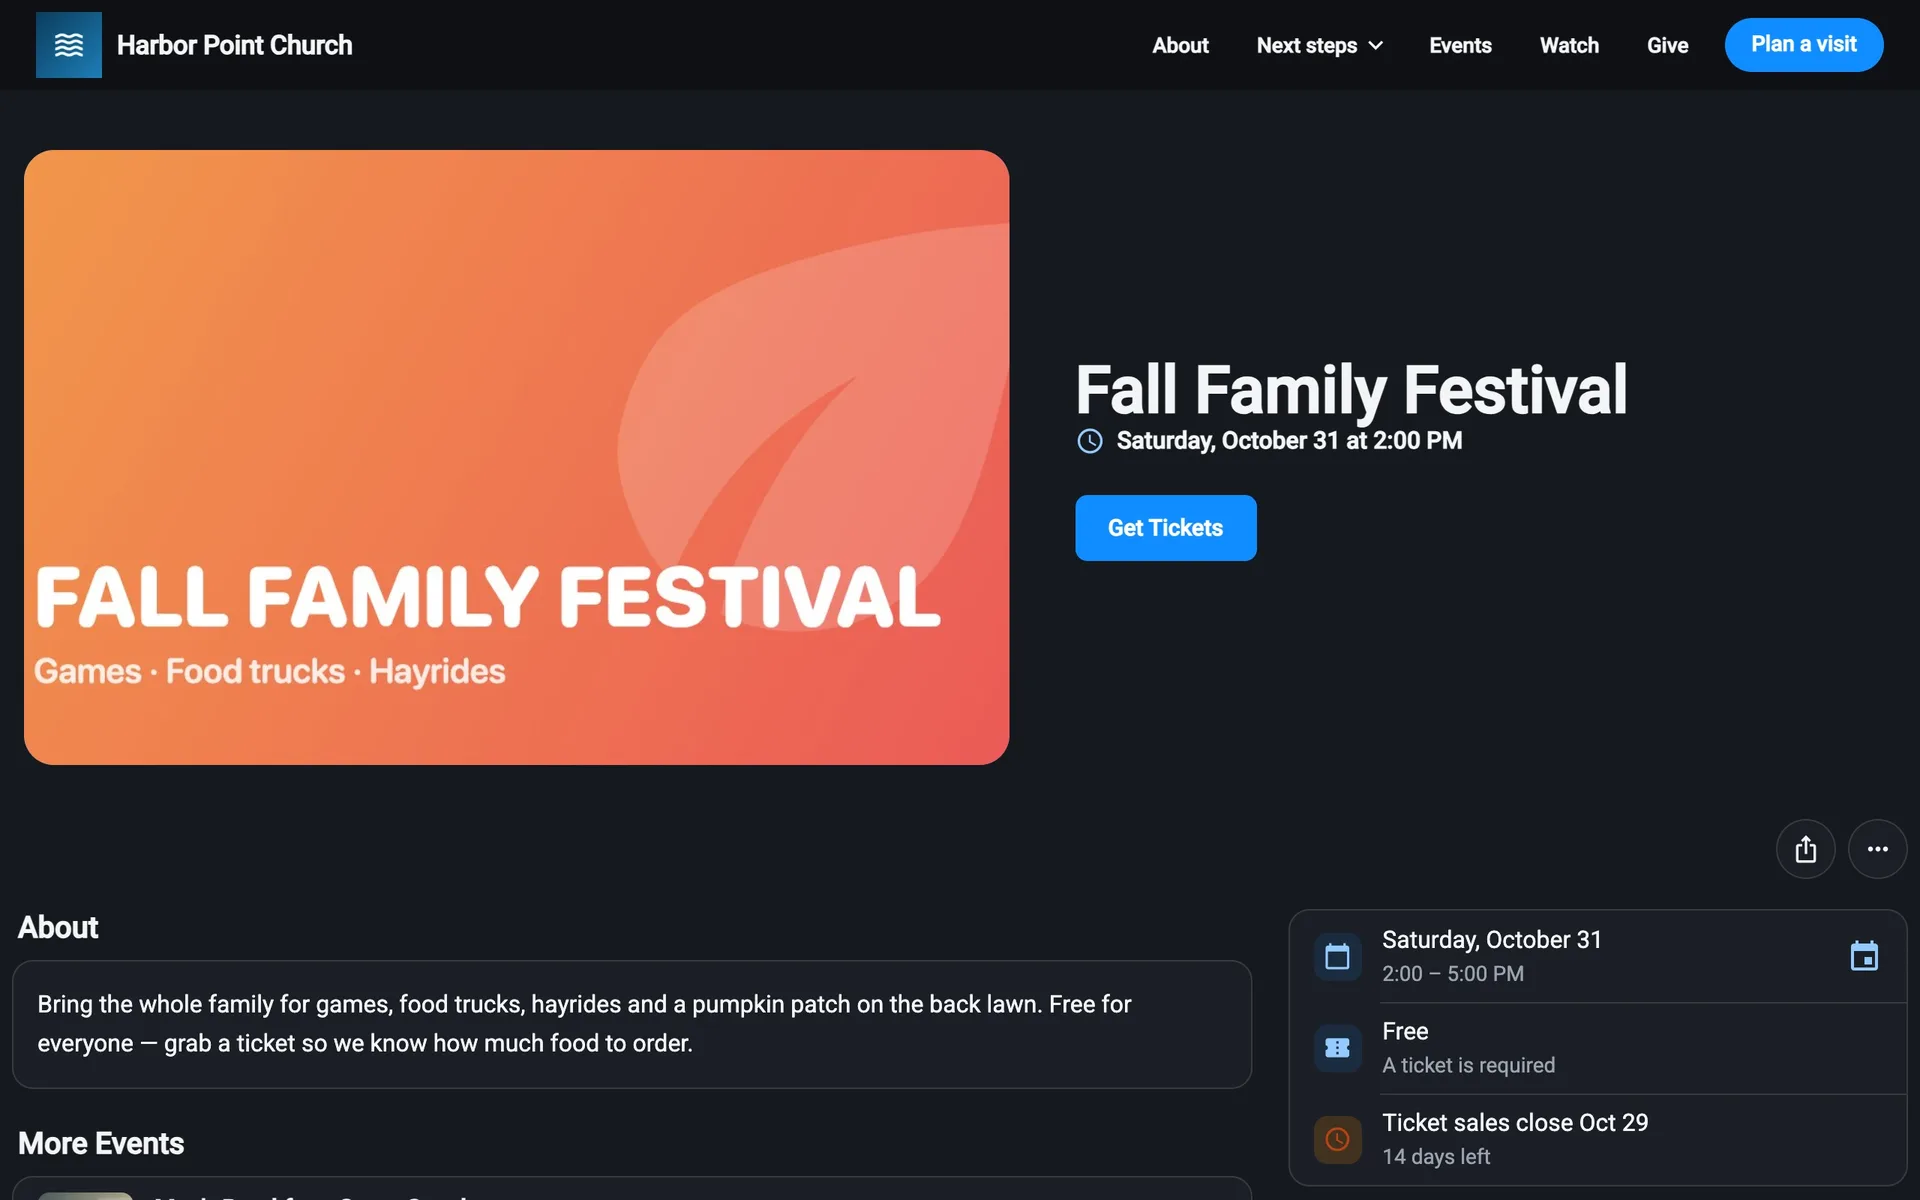
You choose the page’s look (classic, banner, or split) and which parts show in the site editor. The page can have:
- A status at the top: Happening Now, Today, You’re Going, or Event Ended.
- About, When, and Schedule (each date can be added to a calendar).
- What’s Planned, the itinerary. Once they’re going it becomes Itinerary, with Plan My Schedule to star sessions.
- Watch, for event videos.
- Files, which becomes Before You Go once they’re going.
- Who’s Going, shown only to signed-in members of your organization.
- More Events.
Share at the top shares the page or copies its link. The ••• menu has Add to Calendar, which downloads a calendar file.
During the event, the page shows what’s on NOW, with Take Notes, Show Ticket, and Directions.
Free events
The bar at the bottom says Free and how many are going, with I’m Going. Signed-out visitors are asked to sign in first. They’re added to People going.
To take it back, they open ••• and select Can’t Go, then Remove Me.
Events with tickets
The bar shows the price per ticket, and any deposit or installment plan, with Get Tickets. It may also say Only number left, Ticket sales close …, Sold Out, or Sales Ended.
If the payment offers a deposit or installments, Ways to Pay shows Pay in Full, Deposit, and Installments side by side.
People need to be signed in to get tickets. There’s no guest checkout on the website.
Buy tickets
Get Tickets opens the ticket window over the page. On a phone, Tickets and Cart are two tabs.
Add attendees
What they fill in depends on the ticket type:
- How many tickets would you like?: just a number.
- Name tickets: a First Name and Last Name for each person, with Add attendee for more.
- Form tickets: each attendee fills in the event form, then shows Form completed.
There may be a limit per person or per order.
Review the cart
Under Cart, they choose Pay in full, Pay a deposit, or Pay in installments (if offered). Installments show the Payment schedule.
A Discount code goes in the box with Apply. Codes only work when paying in full.
The cart shows the tickets, any discount, what’s Due later, and what’s Due today.
Pay
Pay $amount (or Get tickets when it’s free) opens Payment Method. They pick a saved card or enter a new one (Name on Card and Card), then Pay for Tickets. Cards are processed by Stripe.
You’re all set
Their tickets are saved to My Account → Tickets and shown on the event page under Your Tickets.
If tickets sold out while they were checking out, they’ll see Not Enough Tickets or Tickets Didn’t Go Through.
Pay a balance
With a deposit or installment plan, the event page shows Balance Due, Next Installment, or Payment Past Due, with Paid so far and Remaining balance.
- Pay $amount pays what’s due now.
- Details shows every payment.
My Account → Event Payments lists every balance due and what’s been paid. To collect a payment yourself, see Collect a balance.
Your tickets
My Account → Tickets has Today (with any check-in and pick-up passes), Upcoming, and Past. Past tickets filter by All, Used, and Not Used.
Selecting a ticket shows its QR code to scan at the door. Click the code to make it bigger. The ticket’s menu has:
- Share Ticket: sends it to someone else’s Culminate Life account by email. It then says Sharing With, and Stop Sharing takes it back.
- Delete Ticket.
- Go to Ticket: the attendees, with used tickets marked Used.
Get More Tickets on the event page buys more for the same event.